
How to Weld Repair a Die Casting Mold Insert: TIG, Laser and H13
Table of Contents
An H13 core insert can run 40,000 clean shots and then crack across the gate fillet inside two shifts. A 0.6 mm heat-check net lifts a fin on the casting edge and drops the shot rate from 90 to 60 cycles an hour. A new insert costs 5,000 to 25,000 USD and takes 2 to 6 weeks inside a die worth 400,000 USD. This guide gives the weld repair numbers for that insert, from failure size to filler metal. It also marks the point where a new insert costs less than another repair.
Every figure below is a typical value for H13 aluminium die casting tooling, to check against the die drawing before a torch lights.
The Snapshot
- Heat checks break out at 30,000 to 80,000 shots. A crack net runs 0.2 to 2 mm deep at the gate, the runner and the rib roots.
- A weld repair costs 1,000 to 6,000 USD and 2 to 5 days. A new insert runs 5,000 to 25,000 USD and 2 to 6 weeks.
- Preheat 250 to 350 °C, interpass under 400 °C, temper 600 to 610 °C. The 2 to 6 hour post-temper brings the patch within 2 HRC of the base.
- A welded zone delivers 50 to 80 percent of base life. A PVD layer or a nitride case on the repair returns 1.5 to 2 times the bare figure.
How Die Casting Inserts Fail
Aluminium enters the cavity at 660 to 700 °C, and the insert surface cycles to about 450 °C on contact. It falls back to a die temperature of 180 to 300 °C inside the same shot. That swing repeats 3,000 to 8,000 times a day on a 15 to 30 second cycle. H13 at 44 to 48 HRC holds that shock for 30,000 to 80,000 shots before a crack net opens.
Heat checking is a net of fine cracks, not one crack. The cells run 0.5 to 3 mm across, and the depth runs 0.2 to 2 mm. The net concentrates at the gate, the runner bend and the rib roots, where melt velocity and heat flux peak together. Surface hardness at a hot spot falls from 46 HRC to about 40 HRC by 50,000 shots.

Washout follows the melt. Metal moving at 5 to 15 mm/s across a gate land strips the oxide layer, then the steel. A wall of 1.2 mm in the die reads 1.5 mm on the casting after 50,000 shots. The part gains weight and flash together.
Solder pick-up leaves pits instead of cracks. Molten aluminium bonds to steel at a spray-starved hot spot, then tears out on ejection. The crater left behind runs 0.3 to 1.5 mm deep and prints as a raised blob on the next casting. The spray rules sit in the die soldering and washout guide, and the steel side of the fix is a blended weld.
Read the damage with numbers before booking a welder. A 0.2 mm check on a painted part is cosmetic, and the same check on a Class A face is a rejection. A washout at a gate land is a dimensional change that repeats on every shot. A pit at a rib root becomes a crack starter.
Weld Repair Versus a New Insert
A new insert is the clean answer and rarely the fast one. A finished H13 core costs 5,000 to 25,000 USD and takes 2 to 6 weeks. The pocket, the water lines, the gate detail and the fit are all re-cut and tried out. A weld repair on one zone is 1,000 to 6,000 USD and 2 to 5 days from teardown to first shot.
Schedule dominates money on a running program. A cell shipping 400 USD of castings an hour loses 3,200 USD over one eight-hour shift. A 4 week insert build takes 22 working days, so the same cell loses about 70,000 USD of output. On a 400,000 USD die, a 3,000 USD repair inside a weekend protects the program schedule.
Welding also keeps the parts of the tool that still work. The pocket fit, the water circuit and the ejector geometry stay as they were proven. A new insert spends 2 to 4 days re-fitting that geometry and risks a fresh trial cycle.
The economics flip on a worn insert. A weld becomes a patch on a failing part once the crack net covers over 30 percent of the face. The same holds when the wall has washed out past 30 percent of its section. The sequence for a damaged tool sits in how to repair a damaged mold, and this insert route adds the thermal numbers to it.
Consumables for H13
Filler metal has to match the insert steel, not just weld well. H13 inserts take 88H, GT-17 or NBt-1 wire in 0.8 to 2.4 mm diameter. All three are Cr-Mo-V tool steels that answer to a 600 to 610 °C temper. The target after tempering is weld metal within 2 HRC of the 44 to 48 HRC base.
Split the three wires by duty. 88H is the general H13 rod for face damage, blended checks and small corner loss. GT-17 holds its hardness match on a thin edge where dilution runs high and the deposit is short. NBt-1 carries niobium for hot strength, so it goes into the gate land and the runner bend where melt velocity peaks.
Powder covers deep damage. A washout over 1.5 mm deep is built with pre-alloyed H13 powder at 45 to 106 µm. The powder feeds into a laser or a plasma-transferred arc torch at 400 to 1,200 W. Deposition runs 0.5 to 2 mm per pass, so a 4 mm washout takes 3 to 5 passes instead of 10 TIG beads.
Keep the deposit clean and dry. Swarf, die spray and moisture all end up as porosity, and a 0.2 mm pore opens as a sink mark after 5,000 shots. Store the wire in a dry cabinet and wipe the joint with acetone. Do not swap in an austenitic 309L wire, because that deposit cannot be tempered to the base hardness.
The Heat Budget
The heat budget decides whether a repair cracks or holds. H13 moves from a tempered 44 to 48 HRC to a brittle as-welded state at the fusion line. The patch is welded inside a controlled temperature window rather than at shop temperature.
Preheat the insert to 250 to 350 °C before the first arc. Use a resistance blanket or the tempering oven, not a torch flame. A flame leaves 80 to 150 °C of difference between the surface and the steel 25 mm below it. Soak about 1 hour per 25 mm of section and verify at two points.

Hold interpass under 400 °C. Measure 25 mm behind the last bead with a contact pyrometer or a thermal crayon. Above 400 °C the pool runs, dilution climbs past 30 percent and the grain coarsens. Let the insert cool in the blanket between passes when the reading climbs.
Temper after welding, every time. Soak at 600 to 610 °C for 2 to 6 hours, then cool at under 50 °C per hour to below 150 °C. An air quench from 600 °C cracks a rib section of 0.4 mm or less. Check hardness at three points and keep the spread within 2 HRC of the base.
Repeat repairs cost hardness. Each 600 °C temper draws the surrounding base about 1 HRC, so three cycles drop a 46 HRC insert toward 43 HRC. An insert at 44 HRC is the practical floor for another weld.
TIG Versus Laser Parameters
Both processes run on the same preheat and the same temper. Depth, area and access decide the choice between them. Pulsed TIG is the deep route, and pulsed laser is the fine route. A repair card names the process before the welder lifts a torch.
Pulsed TIG runs 60 to 160 A onto a 0.8 to 2.4 mm thoriated or ceriated tungsten. Argon flows at 8 to 12 L/min through a 6 to 10 mm cup. A 1.2 mm gouged check takes 3 to 6 passes at 1.5 to 2.5 mm wide, and every pass is peened and brushed.
Pulsed laser runs 100 to 400 W through a 0.3 to 0.6 mm spot and lays 0.1 to 0.5 mm per pass. It holds a heat-affected zone under 0.3 mm and distortion under 0.05 mm. A fine texture, a sharp edge and a nearby water passage all survive that heat input. The process split is covered in laser welding vs TIG for mold repair.

Dilution moves the chemistry of the top layer. A TIG bead at 100 A mixes 10 to 30 percent of base metal into the deposit. The top 0.3 mm is then no longer 88H even when the rod was correct. Laser runs leaner at 5 to 15 percent on a short pulse, and either way the zone is re-tempered and re-cut.
| Process | Depth the route suits | Power or current | Deposit per pass | Heat-affected zone | Typical job |
|---|---|---|---|---|---|
| Pulsed laser | Under 0.5 mm | 100 to 400 W, 0.3 to 0.6 mm spot | 0.1 to 0.5 mm | Under 0.3 mm, distortion under 0.05 mm | Face heat checks, texture and polish areas |
| Micro-TIG | 0.3 to 1 mm | 20 to 60 A, 0.5 to 1.0 mm tungsten | 0.2 to 0.6 mm | 0.5 to 1 mm, distortion 0.05 to 0.15 mm | Blending checks, small corners, thin ribs |
| Pulsed TIG | 0.6 to 3 mm | 60 to 160 A, 0.8 to 2.4 mm tungsten | 0.6 to 3 mm | 1 to 2 mm, distortion 0.1 to 0.3 mm | Gate lands, runners, chipped edges, pits |
| Powder-fed laser or PTA | 1.5 to 6 mm | 400 to 1,200 W with pre-alloyed powder | 0.5 to 2 mm | 1.5 to 3 mm, distortion 0.1 to 0.4 mm | Washout and wall build-up on wide areas |
← swipe to scroll →
Table note: current, power and deposit rates are typical shop values for H13 inserts welded at a 250 to 350 °C preheat. Confirm the filler grade and the temper against the die drawing.
Defect Versus Route
The route follows the defect, not the welder's habit. Measure the depth, the area and the distance to the nearest water line. Every row below carries the test that proves the repair afterwards.
| Defect | Size and location | Route | Proof after the repair |
|---|---|---|---|
| Heat-check net | 0.2 to 0.5 mm deep, patch under 25 mm², cavity face | Pulsed laser, 0.1 to 0.5 mm per pass, no gouge | Blend flush to 0.02 mm, PT, texture re-cut |
| Deep heat checks | 0.5 to 2 mm deep at a gate or a rib root | Gouge to sound metal, TIG with 88H or GT-17 | Temper 600 to 610 °C, hardness within 2 HRC, PT |
| Washout | Wall lost 0.3 to 2 mm over 100 to 500 mm² | Powder-fed laser or PTA with pre-alloyed H13 | Re-cut gate detail, wall check on the first 500 shots |
| Solder pits | 0.3 to 1.5 mm deep in a spray-starved zone | Blend out, TIG or laser fill, fix the spray pattern | PT, wall read against the print, spray card update |
| Chipped edge or corner | 0.5 to 3 mm of edge loss on a core pin or land | TIG build with GT-17, then re-EDM the edge | Edge position on CMM within 0.05 mm |
| Crack into a water line | Any depth, within 10 to 15 mm of a channel | New insert, or drill and plug the channel first | Pressure test at 5 bar for 30 minutes |
| Worn face | Wall loss over 30 percent, or a third repair in one zone | New insert, re-pocketed and re-tried | First article and a capability run |
← swipe to scroll →
Table note: sizes and routes are typical for H13 inserts at 44 to 48 HRC. Water-line distance, remaining wall and insert material override the row.
Two rows are the ones buyers get wrong. A check net under 0.5 mm is a laser pass even when the area looks large. That repair removes 0.1 to 0.2 mm of stock and saves the texture. A crack within 10 to 15 mm of a cooling channel is the opposite case, because the weld heat distorts the channel wall.
The last row is a cost decision rather than a process decision. Once a zone has been welded three times, hardness has fallen about 3 HRC and the HAZ has grown with every pass. A new insert is then the cheaper route over 200,000 shots.
Defect Discipline and Testing
Most weld repairs fail at the cleaning stage rather than at the arc. Aluminium swarf, die spray and moisture all turn into porosity. A 0.2 mm pore under a textured face opens as a sink mark after 5,000 shots.
Clean the zone to bare metal with a carbide burr or glass bead. Wipe with acetone and let it flash dry. Grind 10 to 20 mm around the repair so the arc never strikes contaminated steel. Weld with argon at 99.99 percent purity, because damp shield gas carries hydrogen into the pool.
Crack removal is the second discipline. Gouge the crack, drill a 3 mm stop hole at each end, and grind until the penetrant signal disappears. A weld over a crack that stopped 0.5 mm short of sound steel returns within 500 shots.
Test after blending, not before. Penetrant testing to ASTM E165 and magnetic particle testing to ASTM E1444 are the two field checks. Both run on the cooled part after the blend pass. A pressure test at 5 bar for 30 minutes covers any repair inside 15 mm of a water line.
Hydrogen cracking is a schedule risk as much as a material risk. A repair left cold overnight can crack on residual stress alone. The 600 to 610 °C post-temper runs on the same day as the weld. A delay past 8 hours sends the insert back to the oven first.
Surface and Texture Rebuild
A weld repair ends at the surface, and the surface has to match the tool rather than the welder's eye. Blend the patch flush within 0.02 mm of the surrounding cavity. Check the blend with a straight edge and a 0.02 mm feeler gauge. A 0.05 mm step prints a visible ridge on every casting.
Textured dies carry a VDI 3400 number or an SPI grade on the drawing. A VDI 27 field is listed around Rz 16 to 20 µm. The patch has to come back at that number, because roughness scatters light. A different finish reads as a colour shift on a Class A face.

Two routes rebuild the texture. An EDM recut sinks a copper or graphite electrode cut from the master texture into the patched area. It removes 0.02 to 0.03 mm of stock and keeps a sharp gate detail. A masked glass-bead blast matched to the VDI chart covers a broad face at lower cost.
Blend the texture 3 to 5 mm into the base so the boundary disappears. A polished patch in a textured field is the classic repair defect. A 2 to 4 gloss unit step at 60 degrees reads as a shine mark. Polish along the draw direction, never across it, and re-blast the field when the patch covers over 30 percent of it.
Life Math After a Weld
A repaired zone is a shorter-life zone, and the number is predictable. The heat-affected zone carries coarser grains than the base, and the fusion boundary sits 1 to 3 HRC under the surrounding steel. Field records put a welded zone at 50 to 80 percent of base life before the same crack net returns.
That ratio sets the inspection schedule. A base life of 60,000 shots buys 30,000 to 48,000 shots from a sound repair. The first check of the repaired zone belongs at 10,000 to 15,000 shots. The shot-count cadence in the die casting mold life guide applies to the patch as well.
Coating the repair pays that ratio back. A PVD layer of CrN or TiAlN at 2 to 4 µm adds a hard skin to the patch. A gas-nitride case at 0.05 to 0.15 mm does the same job at lower cost on a non-polished face. Both typically return 1.5 to 2 times the bare repair against heat checking and solder pick-up.
Track cost per 1,000 shots rather than the invoice. A 3,000 USD repair that runs 40,000 shots costs 75 USD per 1,000 shots. A 15,000 USD insert over 200,000 shots costs the same 75 USD per 1,000. The weld wins only while the repair window stays short.
The Decision Tree
Three numbers decide the route: depth, area and distance from a water passage. Everything else is a preference.
Weld it when the damage is under 0.5 mm deep with a patch under 25 mm². Weld it when a single gouge reaches sound metal at a depth of 0.5 to 2 mm. Keep more than 60 percent of the local section in place.
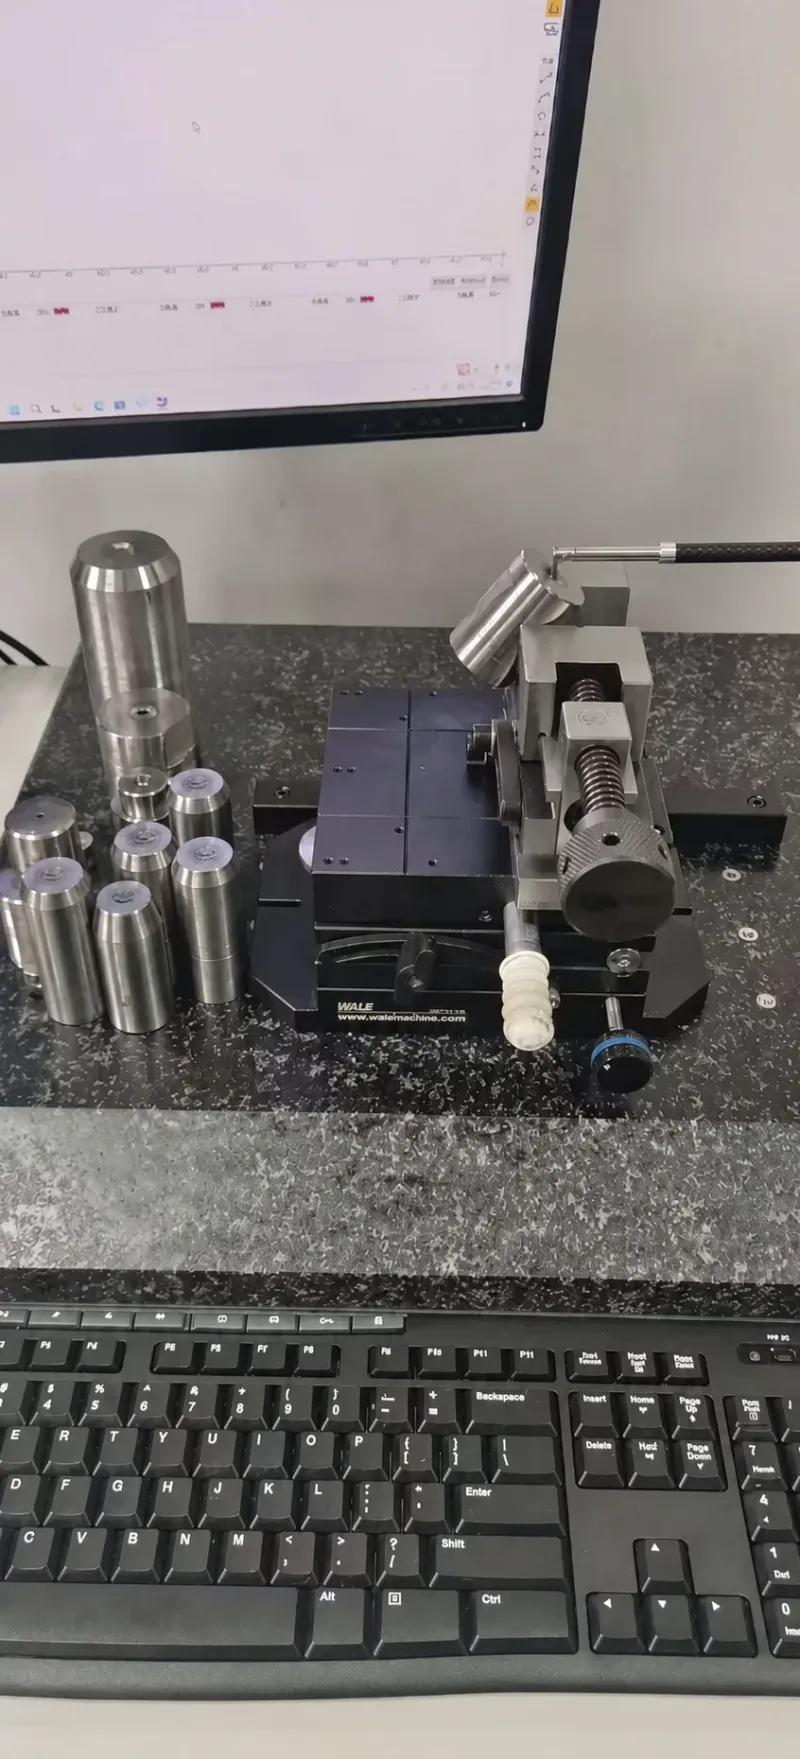
Replace it when wall loss passes 30 percent of the local section. Replace it when a crack reaches within 10 to 15 mm of a cooling channel, because the weld heat opens that channel. Replace it when one zone has taken three repairs, or when a crack sits 20 mm deep behind a 10 mm opening.
Change the card when the insert steel is not H13. A maraging insert takes a matching maraging filler and a lower preheat. A copper-beryllium core needs its own filler and procedure. A coated insert is stripped 20 to 30 mm around the patch, welded, tempered and then re-coated.
Weld Repair Process Card
Run the repair against a written card, and keep the signed card in the die file. The card carries the sequence, the numbers and the proof. The next repair then starts from a record instead of a memory.
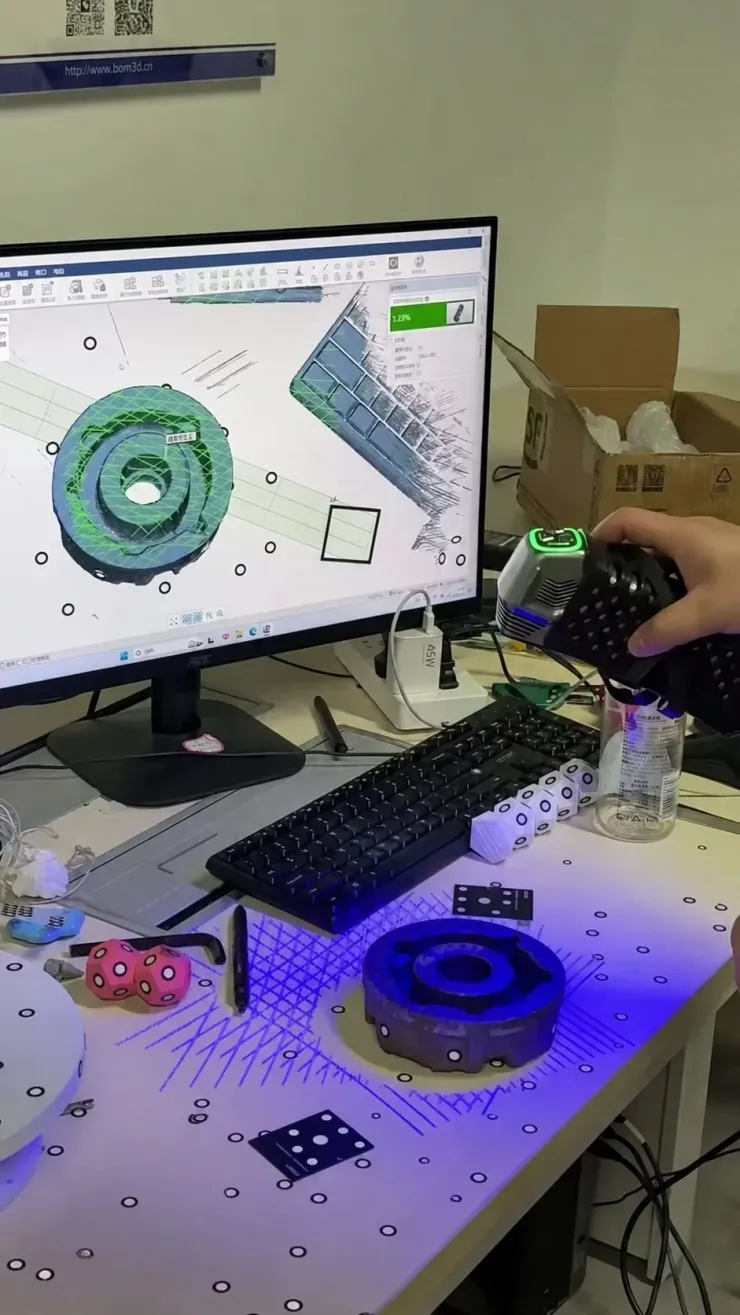
- Triage and log. Penetrant or magnetic particle test the zone, record depth and area in mm and mm², and photograph the defect with a scale.
- Crack removal. Gouge to sound metal, drill a 3 mm stop hole at both ends, and confirm with a second penetrant test.
- Clean. Burr or glass bead to bare metal, wipe with acetone, and keep oil and die spray out of a 20 mm radius.
- Preheat 250 to 350 °C. Blanket or oven only, soak about 1 hour per 25 mm of section, and verify at two points.
- Process and filler. Laser or micro-TIG under 0.5 mm, TIG at 60 to 160 A from 0.6 to 3 mm, powder feed over 1.5 mm. Use 88H, GT-17 or NBt-1 wire.
- Interpass under 400 °C. Measure 25 mm behind the last bead, overlap each bead 100 percent, and peen and brush every pass.
- Temper 600 to 610 °C. Soak 2 to 6 hours on the same day as the weld, then cool under 50 °C per hour to below 150 °C.
- Hardness check. Three points on the patch, all within 2 HRC of the base certificate value.
- Blend and test. Flush within 0.02 mm, then penetrant test to ASTM E165 on the cooled part.
- Texture rebuild. EDM recut or masked blast back to the VDI or SPI number, blended 3 to 5 mm into the base.
- Dimensional check. Patch geometry against the die drawing, with the edge position inside 0.05 mm on the CMM.
- Ramp and record. Log the first 500 shots, inspect at 10,000 to 15,000 shots, and file the card under IATF 16949 traceability.
Two lines on that card carry the whole result. The preheat and temper windows decide whether the patch survives its first 50,000 thermal cycles. The crack removal step and the test after blending decide whether the defect comes back.
The Bottom Line
An H13 insert weld repair runs on a short list of numbers. Preheat 250 to 350 °C and hold interpass under 400 °C. Temper at 600 to 610 °C for 2 to 6 hours and check the patch within 2 HRC of the base. Laser covers damage under 0.5 mm, and pulsed TIG covers 0.6 to 3 mm with 88H, GT-17 or NBt-1 wire.
The economics decide the route as much as the metallurgy does. A weld repair lands at 1,000 to 6,000 USD and 2 to 5 days. A new insert runs 5,000 to 25,000 USD and 2 to 6 weeks. Replace the insert when wall loss passes 30 percent, or when one zone has taken three repairs and life is down to half.
DieStrike builds and repairs precision die casting tooling to IATF 16949. Mold accuracy is plus or minus 0.005 mm, and plus or minus 0.002 mm on EDM and jig grinding. Cavity hardness reaches HRC 62, and standard components ship in 3 to 7 days. Tool lead times run 2 to 5 weeks, with tier-1 references that include TE, Amphenol, Luxshare and Dongshan. Route a cracked insert through mold repair and maintenance with the defect measurements and the shot count, so the card starts from data.
KEEP READING
Related Reading
How to Repair a Damaged Mold: 7-Step Workflow
The teardown, cleaning, welding and re-fit sequence that any mold repair follows before the insert numbers are added.
Read articleArticleLaser Welding vs TIG for Mold Repair
How pulse energy, spot size and heat-affected zone decide whether a patch is a laser job or a TIG job.
Read articleArticleHow to Extend Die Casting Mold Life
Shot-count inspection intervals, spray control and coating choices that stretch a die past its first repair.
Read articleServiceMold Repair and Maintenance
IATF 16949 repair and refurbishment for die casting inserts, with weld cards, crack testing and texture rebuild.
Read articleNEXT STEP
Ready to Start Your Mold?
Send us your element dimensions or part numbers — our team responds within 24 hours with pricing and lead time.

Written by
Ray ChanMold Buyer's Guide Author · Precision Mold Manufacturing Specialist. Ray helps global importers, distributors and OEMs source factory-direct molds and mold parts.