
How to Design Molds for Microcellular Foam Molding
Table of Contents
A 300 t press was booked for a part that needs 800 t the conventional way. The first tool ran a 0.8 mm pin-point gate on a 2 mm wall, and that gate stayed open past the point where the dissolved gas left solution. The melt foamed back into the runner instead of the cavity, and shot weight swung 4 percent across 60 cycles. Two weeks of trial time went into gate, vent and switchover changes before the tool held a repeatable 12 percent density reduction.
This guide covers the tool decisions that make microcellular foam repeatable: gate freeze time, hot runner dead spots, vent area, steel and surface, wall rules, clamp tonnage and process control limits. It is aimed at programs where the density target is already set and the question is what the mold has to do differently.
The Snapshot
- 0.1 to 0.5 percent gas by weight. Nitrogen or CO2 is dosed into the barrel at 15 to 30 MPa and dissolves into a single-phase melt; nucleation starts where cavity pressure falls below the 5 to 10 MPa threshold.
- Gate freeze in 0.15 to 0.4 s. A 0.6 to 1.2 mm gate on a 2 mm wall must seal before the cells grow in the runner, because no pack phase follows to hold the part.
- Vent area at 2 to 4 times normal. A gas-laden melt needs 5 to 15 mm wide perimeter vents at 0.02 to 0.04 mm depth, or trapped gas diesel-burns the cavity at 200 to 250 °C.
- 40 to 70 percent less clamp tonnage. Peak cavity pressure runs 20 to 40 percent below a packed solid tool with no hold at all, so a 300 t machine runs the part that needs 800 t the conventional way.
How Microcellular Foam Forms Inside the Cavity
A microcellular tool is not a gas-assist tool with different setpoints. Gas assist injects nitrogen at 10 to 30 MPa behind the melt and leaves a hollow channel along the gas path. Microcellular foam works the other way: 0.1 to 0.5 percent gas by weight is dissolved into the melt under 15 to 30 MPa, and the melt stays a single phase.
Solution only holds while pressure holds. Once cavity pressure drops below the 5 to 10 MPa critical threshold, the dissolved gas comes out of solution across the whole wall at once. Nucleation therefore starts near the gate and continues to the last point to fill, which is why a foam part carries cells through the section instead of one hollow core.

Cell growth follows the pressure gradient. Fresh cells expand to 10 to 100 µm where the melt is still mobile and pressure is low. Growth stops when the skin freezes or when cavity pressure climbs again, and the result is a foamed core behind a solid skin of 0.2 to 0.6 mm.
Three tool decisions control how much of that happens. A gate that stays open lets the melt decompress into the runner. A shallow vent traps gas at the end of fill. A cold cavity face freezes the skin before the cells finish growing.
Why a Foam Tool Cannot Pack
Conventional injection molding spends its hold time replacing the volume that shrinkage takes out of the part. The screw pushes melt at 30 to 50 MPa while the gate is still open, and the cavity holds that pressure until the part freezes.
A foam tool has no meaningful pack phase. The gas that supplies the volume is already inside the melt, and the gate seals in 0.15 to 0.4 s to trap it. Pressure applied after the seal cannot reach the cavity, so extra screw stroke only pushes material into a closed runner. The channel-flow alternative is covered in the gas-assisted mold guide.
Three responsibilities move onto the tool as a result. Cell growth replaces pack as the shrinkage compensation. Gate freeze time replaces hold time as the dimensional control. Vent area replaces clamp force as the safeguard against trapped gas.
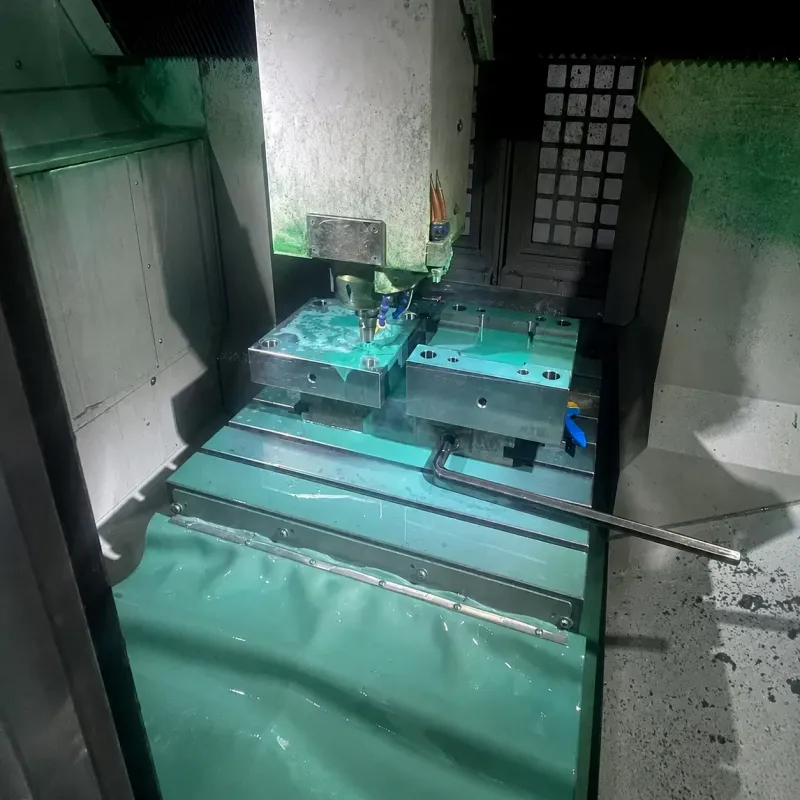
The pressure profile also changes, and not in one direction only. Fill pressure and peak cavity pressure run 20 to 40 percent below a packed solid tool, which is where the tonnage saving comes from. Local spikes of 60 to 120 MPa still appear where cells collapse against the frozen skin, and those spikes load small areas of steel.
Cooling time stays in charge of the cycle. A foamed core insulates less than a solid wall of the same thickness, but the skin still has to freeze before ejection. Cycle time falls 10 to 20 percent because the pack and hold steps are gone.
Gate Design That Freezes in Under a Second
The gate is a timer in a foam tool. It has to fill the cavity and then seal before the cells in the runner keep growing. On a 2 mm wall that means a gate diameter of 0.6 to 1.2 mm, which seals in 0.15 to 0.4 s at a normal cavity temperature with no pack behind it.
Undersized gates fail in a different way. A 0.4 mm gate on the same wall shears the melt, and shear heat raises the local melt temperature by 10 to 20 °C, which delays freeze instead of advancing it. Oversized gates never seal in the window at all, and the part comes out 3 to 5 percent heavy with visible foam in the runner.
Keep the gate land at 0.6 to 1.0 mm and the vestige at 0.3 to 0.6 mm. Post-gate dimensions follow gate freeze, so a drop that seals at 0.25 s and a drop that seals at 0.6 s will not hold the same part weight. Gate wear then shows up as drift in shot weight before it shows as a visible defect.
Above 8 cavities, use valve gates. Sequential opening with a 0.1 to 0.3 s stagger balances fill without raising injection pressure, and positive pin closure gives a repeatable freeze point on every drop. A two-plate tunnel gate still works below 4 cavities, but its freeze time moves with gate wear.
Hot Runner Dead Spots and Gas Dropout
Dissolved gas needs a smooth, fully filled channel through the whole feed system. Wherever the melt slows down, local pressure falls, and the gas comes out of solution at that point. The foam then expands inside the manifold instead of the cavity, and the next shot runs short.
Manifold channels run 4 to 8 mm in diameter depending on the drop count, and every direction change carries a radius of at least 1.5 channel diameters. A dead end longer than 1.5 diameters is a foam generator, so drop tips must sit flush with the manifold face.
Thermal uniformity matters more here than on a solid tool. A hot spot 5 °C above setpoint lowers the melt viscosity in that branch, drops its pressure, and starts dropout in the hottest drop first. Hold manifold zones within ±2 °C and check every drop with a contact probe before the trial starts.
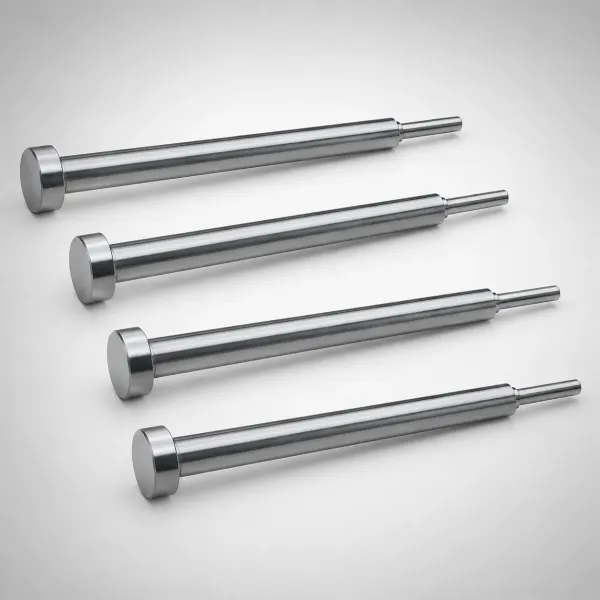
Shut-off nozzles or valve gates with positive pin closure belong on any tool above 4 cavities. Pin closure holds barrel pressure through the freeze window and stops drool into the next shot. Purge the feed system after any stoppage over 10 minutes, because material sitting at process temperature keeps off-gassing and the first 2 to 5 shots carry foam from the manifold.
Venting a Gas-Laden Melt
Venting is where a foam tool earns or loses its surface finish. A gas-laden melt releases its gas in the cavity, so the volume that has to escape is 2 to 4 times what a solid shot produces. Standard 0.02 mm vents on a 10 mm land cannot move that volume against a 5 to 10 MPa fill pressure.
Cut full-perimeter vents 5 to 15 mm wide at 0.02 to 0.04 mm depth with a 1 to 2 mm land, then relieve to 0.5 to 1 mm to atmosphere. The 0.04 mm upper limit holds on a foaming melt because the skin freezes at the vent mouth, so a deeper channel does not flash.
Sintered metal inserts are the alternative where a vent line cannot follow the parting line. A 20 to 40 percent porosity insert with 5 to 15 µm pores and a 3 to 5 mm land passes gas without a machined channel. Press the insert into its pocket with a 0.02 mm interference fit and back it with a 1 mm relief slot to atmosphere.
Trapped gas does more than cause short shots. Compressed to 5 to 10 MPa at 200 to 250 °C, the trapped mixture diesel-burns against the steel. The burn leaves black streaks, a pitted cavity face and a 0.05 to 0.2 mm erosion patch that transfers to every part after it. The depth and land rules sit in the mold venting guide.
Two habits keep a vent working. Clean it every 2,000 to 5,000 shots, because a film of degraded resin closes a 0.03 mm channel in a single shift. Add vacuum assist at 0.05 to 0.10 bar absolute on thin walls and long flow paths.
Steel and Surface for a Low-Pressure Cavity
Steel choice in a foam tool is not driven by high average pressure. It is driven by the local spikes of 60 to 120 MPa where cells collapse at the skin, and by the absence of any steady pack.
Pre-hardened P20 at HRC 30 to 34 wears faster here than it does on a solid tool. Vent edges round over, gate lands peen, and a 0.03 mm vent becomes a 0.06 mm flash channel in 100,000 to 300,000 shots. Reserve P20 for prototype tooling and runs under 50,000 shots.
Hardened hot-work steel at HRC 48 to 52 holds those numbers. Grade 1.2344 or 420 stainless is the usual choice for thick sections and for tools above 500,000 shots, because a cell-collapse spike is an impact load as much as a pressure load. Nitride vent lands and gate faces to build a 0.05 to 0.10 mm wear case.
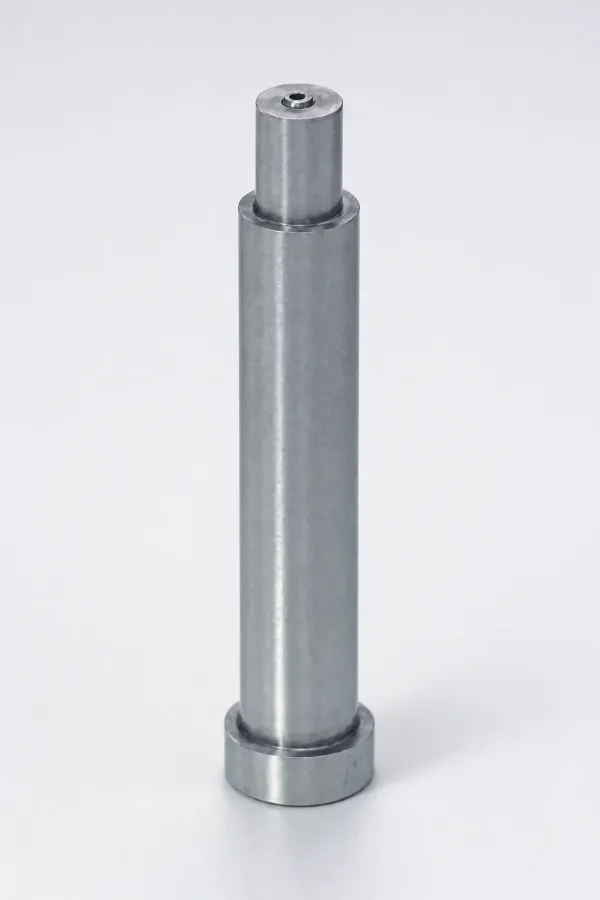
Surface finish sets how much of the foam pattern shows through. Polish cores and cavity faces to Ra 0.2 to 0.4 µm where the part is visible, and use gas counter-pressure at 5 to 15 MPa during fill to hold the melt against the steel until the skin sets. Where cell marks still print, a texture depth of 0.05 to 0.1 mm hides them without adding cost to the tool.
| Steel or treatment | Hardness or build | Where it belongs | Watch point |
|---|---|---|---|
| P20 pre-hardened | HRC 30 to 34 | Prototype and low-volume foam tools | Vent lands round over and a 0.03 mm vent doubles in 100,000 shots |
| 1.2344 (H13) through hardened | HRC 48 to 52 | Thick-section inserts, runs above 500,000 shots | Re-polish at 300,000 shots, keep the vent land sharp |
| 420 stainless | HRC 48 to 52 | Visible faces, medical and cleanroom parts | Polishes to Ra 0.2 µm, lower thermal conductivity |
| Hard chrome plating | 0.02 to 0.05 mm | Core faces, gate lands, worn vent edges | Re-plate at 300,000 to 500,000 shots |
| Sintered vent insert | 20 to 40 percent porosity | Deep pockets, bosses and last-fill corners | Degraded resin plugs 5 to 15 µm pores, clean by shot count |
← swipe to scroll →
Table note: hardness bands, plating builds and porosity ranges are typical industry values. Confirm each against the heat treatment certificate, the plating report and the trial data before the tool file is signed off.
Wall Thickness, Ribs and Transitions
Foam removes the old penalty on thick sections. Shrinkage still happens, but cell growth inside the wall offsets much of it, so a 3 to 6 mm rib can run at near-nominal thickness instead of the 0.5 to 0.6 times wall rule that a solid tool needs. Keep the base wall between 1.5 and 4 mm and let the rib follow at 0.8 to 1.0 times that number.
Transitions decide whether the part stays flat. Cell density tracks melt pressure, so a sudden section change creates a boundary between a heavily foamed region and a lightly foamed one. Those two regions shrink by different amounts, and the part warps along that line.
Change thickness at 10 to 15 percent per 25 mm of flow, and radius every internal corner at 0.5 times the wall or more. Draft of 1 to 2 degrees per side helps ejection release a foamed skin, which grips harder than a solid one. Ribs deeper than 6 mm are better cored than foamed, because the cell structure at the core of a deep rib is not uniform. The thick-section shrinkage math behind these limits sits in the thick-wall mold guide.
Weight Savings and Clamp Tonnage
A density reduction of 10 to 30 percent is the headline number, and it converts straight into wall thickness. A 3 mm wall at a 25 percent density cut carries roughly the stiffness of a 2.2 mm solid wall at 75 percent of the weight.
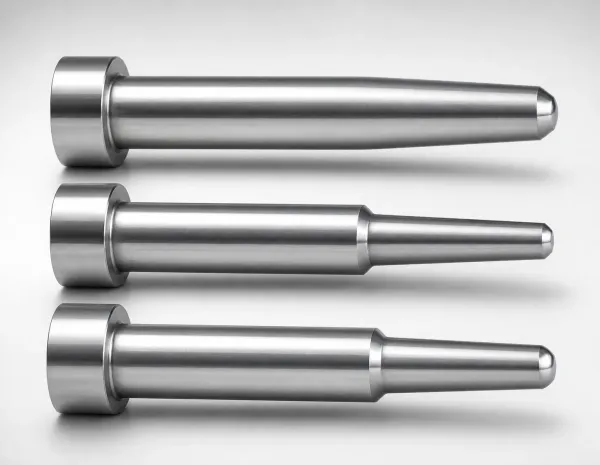
Clamp tonnage falls 40 to 70 percent because there is no pack phase and fill pressure is lower. A part that needs 800 t the conventional way runs on a 300 t machine. That single change often decides the program, because it turns a new press purchase into a used press or moves the work onto capacity that already exists on the floor.
Resin saving follows the density reduction. A housing that weighs 420 g solid comes out at 310 to 380 g, which is 10 to 30 percent off the material bill at the same shot rate. Cycle time drops 10 to 20 percent because the hold step disappears, and the barrel spends less time at pressure.
Two checks keep the saving honest. Stiffness falls with density, so verify deflection at the new wall thickness or thicken the rib. A visible face needs counter-pressure and polish before the saving counts as a finished surface.
Process Control and Shot Weight Variation
A melt that contains dissolved gas is compressible, and a compressible melt does not meter like a solid one. Shot weight typically varies 1 to 3 percent on a foam tool against 0.3 to 0.8 percent on a packed solid tool. That spread reaches dimensions and flash before it reaches the part weight chart.
Two controls close it. Melt-quality control uses a pressure-controlled fill profile and switches to hold on cavity pressure rather than screw position, which removes the effect of the compressible cushion. A shut-off nozzle holds the melt single phase through the freeze window and stops drool between shots.
Gas dosing hardware is the other half of the loop. A dosing unit meters 0.1 to 0.5 percent gas by weight to about ±0.05 percent, and the unit itself adds 60,000 to 120,000 USD to the project. Dry the resin before dosing: PA and PBT below 0.05 percent moisture, most other grades below 0.1 percent.
Cavity pressure sensors earn their place here, because the 5 to 10 MPa nucleation threshold is a measurable event on the trace. Review the pressure curve with the dosing log whenever a shot goes heavy or light, and change one variable at a time.
Defect Map From the Tooling Side
Most foam defects that reach the press are tool decisions seen late. The table maps each symptom to the tool feature that causes it.
| Defect | Tool-side cause | Number to check | Fix |
|---|---|---|---|
| Short shot with a foamed runner | Gas drops out in a blind pocket or dead end | Dead end over 1.5 channel diameters | Flush the drop tip and radius every turn to 1.5 diameters |
| Black streaks and burn marks | Vent area too small for a gas-laden melt | Vent under 0.02 mm deep or land over 2 mm | Cut 5 to 15 mm vents at 0.02 to 0.04 mm, add vacuum assist |
| Heavy or light shot weight drifting | Gate sealing outside the 0.15 to 0.4 s window | Gate wear past 0.1 mm on diameter | Replace the gate insert, move to a valve gate above 8 cavities |
| Swirl and silver streaks on a visible face | Skin freezes before cells stop growing | Cavity face above 60 °C on a 2 mm wall | Raise counter-pressure to 5 to 15 MPa and add a 0.05 mm texture |
| Flash on a vent land after 100,000 shots | Soft steel at the vent edge peening over | Land measure over 0.05 mm | Move to HRC 48 to 52 inserts and nitride the vent land |
← swipe to scroll →
Table note: thresholds are typical shop values for a 2 mm wall at a 10 to 30 percent density target. Confirm each against the trial data and the tool file before the countermeasure is released.
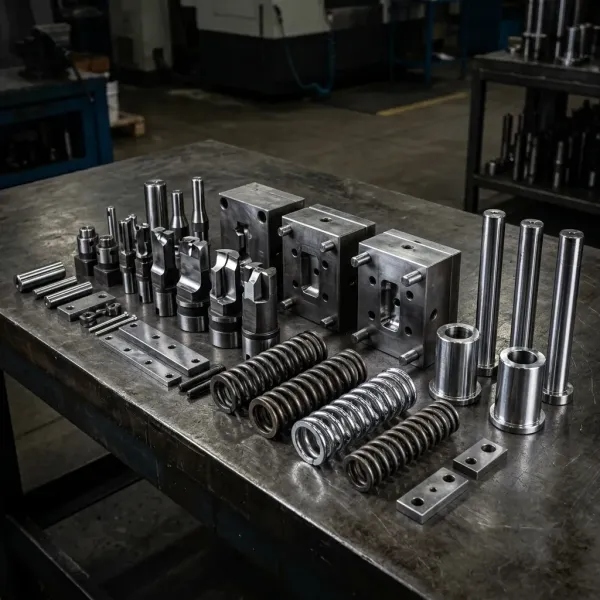
Run the defect map against the T1 samples, where a 0.02 mm vent error and a 0.1 mm gate error are still curable at the bench.
What a Foam Tooling Package Costs
Two line items belong to the process rather than the tool. A gas dosing unit adds 60,000 to 120,000 USD, and melt-quality control with cavity pressure sensing adds 15,000 to 40,000 USD on a typical tool.
The tool carries a 5 to 15 percent premium over a conventional tool of the same size. Valve gates above 8 cavities, sintered vent inserts, hardened inserts at HRC 48 to 52 in place of P20, and perimeter vent machining account for the difference.
Against that premium sit 10 to 30 percent less resin, 40 to 70 percent less clamp tonnage and a 10 to 20 percent shorter cycle. A 400 g housing at 200,000 units a year usually clears the package inside the first year on material alone.
DieStrike builds foam and precision injection molds to IATF 16949, with ±0.005 mm mold accuracy and ±0.002 mm on EDM and jig grinding, HRC 62 maximum cavity hardness, 120+ machines and DFM feedback in 24 hours. Tool lead times run 2 to 5 weeks and standard components ship in 3 to 7 days. Send the part data and the density target with the RFQ, or ask for a DFM review before the wall sections are frozen.
Microcellular Foam Mold Design FAQ
Q1. What gate size does a microcellular foam tool need?
0.6 to 1.2 mm on a 2 mm wall, sized so it seals in 0.15 to 0.4 s. Below 0.5 mm the shear heat delays freeze and the melt foams in the runner. Above 1.5 mm the gate never seals inside the window, and the part runs 3 to 5 percent heavy.
Q2. Why does my foam part show black streaks or burn marks?
Trapped gas. A gas-laden melt releases 2 to 4 times the gas volume of a solid shot, and that gas compresses to 5 to 10 MPa at 200 to 250 °C and diesel-burns the steel. Open the vent area to 5 to 15 mm wide at 0.02 to 0.04 mm deep and add vacuum assist at 0.05 to 0.10 bar.
Q3. How much clamp tonnage does microcellular foam save?
40 to 70 percent on the same part. Peak cavity pressure runs 20 to 40 percent below a packed tool and there is no hold phase, so a 300 t machine runs work that needs 800 t the conventional way.
Q4. Which steel should a foam mold use?
Hardened 1.2344 or 420 stainless at HRC 48 to 52 for thick sections and runs above 500,000 shots. P20 at HRC 30 to 34 is acceptable for prototype tools only, because vent edges round over and a 0.03 mm vent doubles in 100,000 shots.
Q5. Can an existing solid mold be converted to microcellular foam?
Sometimes, but the gate and the vents both have to change. A solid tool usually carries a gate that seals after 0.6 s and vents sized for a solid shot. Both need re-cutting, and a shut-off nozzle is added at the press.
The Bottom Line
Microcellular foam is a tool problem, not a press setting. The gas dissolves at 0.1 to 0.5 percent by weight under 15 to 30 MPa, nucleates below the 5 to 10 MPa threshold and grows cells of 10 to 100 µm through the wall. There is no pack phase, so the gate has to seal in 0.15 to 0.4 s, the vents have to carry 2 to 4 times the normal gas volume, and vent lands hold 0.02 to 0.04 mm depth in steel at HRC 48 to 52.
Get those numbers right and the payoff is measured: 10 to 30 percent less resin, 40 to 70 percent less clamp tonnage and a foamed core that lets a 3 to 6 mm rib run at near-nominal thickness. Get them wrong and the tool produces foamed runners, burned cavities and a shot weight that drifts 3 percent.
KEEP READING
Related Reading
Mold Venting: Depth, Location and Design Rules
Vent depth, land length and last-fill placement, the numbers a gas-laden melt pushes past every shift.
Read articleArticleHow to Design for Micro Molding
Small-shot tooling rules where a 0.1 g part weight and a 0.02 mm gate land decide the cycle.
Read articleArticleHow to Calculate Clamp Tonnage
Projected area against cavity pressure, the arithmetic that shows why a foam tool needs less press.
Read articleServiceInjection Mold Manufacturing
IATF 16949 mold building with ±0.005 mm accuracy, DFM feedback in 24 hours and 2 to 5 week lead times.
Read articleNEXT STEP
Ready to Start Your Mold?
Send us your element dimensions or part numbers — our team responds within 24 hours with pricing and lead time.

Written by
Ray ChanMold Buyer's Guide Author · Precision Mold Manufacturing Specialist. Ray helps global importers, distributors and OEMs source factory-direct molds and mold parts.