
How to Die Set a Progressive Die: Shut Height, Feed and First-Off
Table of Contents
A 250 t press went back into production with the upper shoe sitting 0.06 mm high at the operator side of the bolster. The first stroke sheared both pilots and cracked a section of the die block. Repair took 11 days and the line lost two shifts of output. Die setting is the step that turns a built die into a running die, and the job is a sequence of measurements that all live inside a few hundredths of a millimetre.
Everything below covers the press side: shut height, clamping, bottom dead centre, tonnage, feed line and pilot timing, sensor re-arm, spring pre-load, first-off approval and the six set-up errors that account for most die crashes.
The Snapshot
- Shut height within +/-0.10 mm of the die card value. A die set 0.05 mm high cuts short of the die land and leaves a burr above 10 percent of stock thickness. One set 0.10 mm low drives the punch tips into the die block and lifts tonnage by 40 percent.
- Ram adjustment in 0.02 to 0.05 mm steps. Each step needs a measurement. Two turns of a coarse ram screw move the slide 1.0 to 2.5 mm and pass straight through the correct setting.
- Clamp torque of 190 to 210 N·m on an M16 class 12.9 bolt. Snug every clamp at 30 percent, then torque diagonally from the centre outward. A corner tightened first tilts a 1000 mm shoe by 0.02 to 0.05 mm.
- Feed length inside +/-0.05 mm per pitch and +/-0.15 mm over 20 pitches. Pitch drift above 0.10 mm shows first as pilot marks on the strip and then as a broken pilot.
- Tonnage at 50 to 70 percent of press rating. Set the monitor at 110 to 120 percent high and 70 to 80 percent low, against a signature that repeats within 5 percent over 20 strokes.
Why Die Setting Decides Whether the Die Runs
A progressive die reaches the press as a finished tool with a validated strip layout and a documented shut height. What happens next depends on how it is installed. A die set inside tolerance runs at 300 to 600 strokes per minute with repeatable burr and tonnage. A die set 0.10 mm out of position produces scrap on the first stroke.
Downtime is where the money sits. A mid-size stamping line carries a downtime cost of 80 to 250 dollars per hour, and a changeover that should take 45 minutes stretches to three hours when the first-off fails inspection. Every extra trial stroke also spends tool life, because punch and die clearance closes with stroke count.
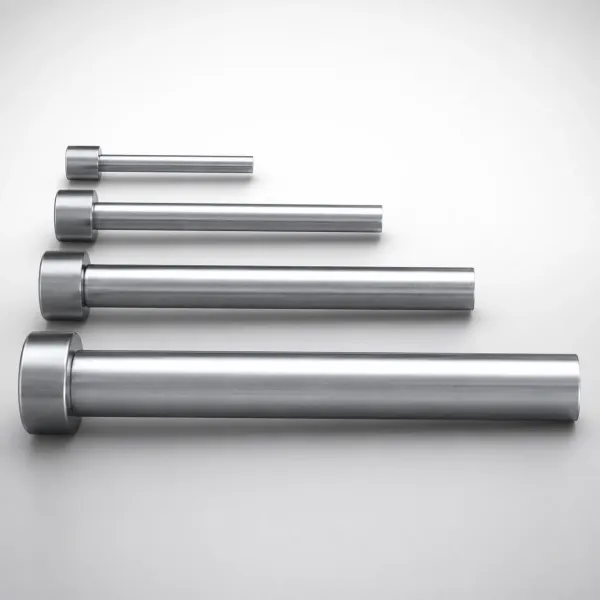
The die card is the contract between the die shop and the press team. It records shut height, tonnage window, strip width and thickness, feed length, stroke rate, sensor list and spring charge. A setter who reads it before the first clamp and records measured values at the end of the job has a die that behaves the same way next month.
Shut Height: Reading the Die Card Before the First Clamp
Shut height is the distance from the bottom face of the lower shoe to the top face of the upper shoe when the die is fully closed. A press set for 245.00 mm will not accept a die built at 246.50 mm without a spacer plate. Confirm the card value against the physical die before the die goes near the bolster.
Measure the assembled die with a height gauge or a stack of gauge blocks at four points around the shoe. The four readings should agree within 0.05 mm. A wider spread means the shoe is bowed or the die needs a level check on the shop floor before it is clamped down.

Once the die sits on the bolster, the fine ram adjustment moves the slide to the die card value. Work in steps of 0.02 to 0.05 mm. A ram dial graduated at 0.05 mm per division keeps the arithmetic simple: one division per step, then measure, then decide.
Penetration is the check that matters. On 1.0 to 2.0 mm mild steel with 5 to 10 percent clearance per side, the punch tip should enter the die land by 1.5 to 3.0 mm at bottom dead centre. Short penetration leaves a rolled edge, a burr above 10 percent of stock thickness and slugs that can pull back onto the strip.
Setting a die low is the more expensive mistake. The punch tip bottoms on the die block, tonnage climbs 30 to 40 percent on the monitor, and the punch head takes a fatigue load it was never designed for. Set high, measure penetration on the first slugs, then close the last 0.05 mm with a lead check rather than by feel.
Clamping Order and Torque on the Press Bed
Clamping moves a die by hundredths of a millimetre, and the order of the clamps decides the direction. Snug every clamp to about 30 percent of final torque first. Then torque in a diagonal pattern from the centre outward, in two passes, so the shoe seats without twisting.
| Fastener | Dry torque | Typical use | Re-check |
|---|---|---|---|
| M12 class 12.9 | 90 to 100 N·m | Upper shoe clamps on a 100 to 160 t press | After the first 5 to 10 strokes and at 2 hours |
| M16 class 12.9 | 190 to 210 N·m | Standard lower and upper clamps on 200 to 400 t presses | After the first 5 to 10 strokes and at 2 hours |
| M20 class 12.9 | 370 to 400 N·m | Heavy die shoes above 400 t | After the first 5 to 10 strokes and at 2 hours |
| M24 class 12.9 | 640 to 680 N·m | Large progressive and transfer tools | After the first 5 to 10 strokes and at 2 hours |
| Hydraulic clamp at 200 bar | Per clamp supplier data | Quick changeover systems with a fixed clamp set | Every changeover, with a pressure gauge check |
← swipe to scroll →
Table note: torque values assume clean, lightly oiled class 12.9 threads. Confirm against the press manual and the clamp supplier data before use, and record the wrench setting on the set-up sheet.
A corner torqued to full value first twists the shoe. Measure the tilt with a dial indicator on the top face of the upper shoe at the four corners after clamping. A spread above 0.02 mm is worth re-clamping, because the die will lift unevenly at bottom dead centre.
Re-torque after the first 5 to 10 strokes. The die seats under load, and a bolt that read 200 N·m on the wrench can read 150 N·m once the shoe settles. Mark the bolts with a paint stripe and check the stripe at the two hour point, when the press frame has grown 0.05 to 0.10 mm from thermal expansion.
Never clamp across a T-slot opening, and never clamp with less than 60 percent of the strap in contact with the shoe. A strap touching on 5 mm of a 40 mm face concentrates the load and can crack the shoe at the edge. Leader pins, guide bushings and spring pockets all lose alignment when the shoe twists.
Bottom Dead Centre: Lead Wire and Blue Contact Checks
Lead wire is the oldest parallelism check in the trade, and it is still the most direct. Place soft lead or solder wire of 0.5 to 1.0 mm diameter at four to six points across the die faces, near each corner and at the centre. Run one slow stroke and measure the flattened wire with a micrometer.
The flattened thicknesses should agree within 0.02 mm. One corner reading 0.06 mm against 0.03 mm at the opposite corner means the slide is out of parallel with the bolster by 0.03 mm, or the shoe has pulled down unevenly. Correct the cause before the die runs production.

A blue contact check works where the shut faces are wide and flat. Prussian blue spread on one face transfers to the mating face on closing, and a good result shows contact over 70 to 80 percent of the area. Wide bare patches point to a low corner or a bowed plate.
Repeat the check after warm-up. A mechanical press frame grows 0.05 to 0.10 mm over the first 60 to 90 minutes of running, and the tonnage signature moves with it. Re-check burr height, tonnage and shut height at the two hour mark, then use those values as the starting point for the next changeover.
Tonnage Verification Against the Calculated Load
The calculated load is the sum of the cutting, stripping and cam forces, with cutting carrying 80 to 90 percent of it. Shear perimeter times stock thickness times shear strength gives the figure per station. Shear strength for mild steel runs at roughly 0.7 of the tensile strength.
Work an example. A terminal made from 1.0 mm brass has 120 mm of cutting perimeter at the first two stations and 90 mm at the next four. At a shear strength of 300 MPa the six stations add about 100 kN. Stripping at 10 to 15 percent of that brings the total to roughly 115 kN per stroke.
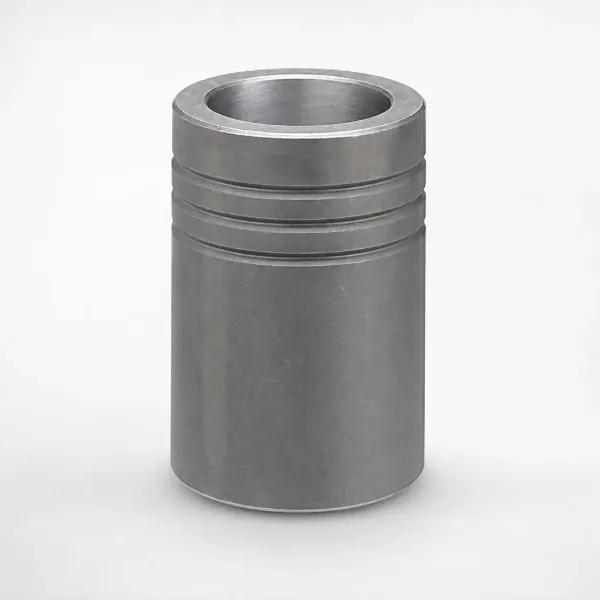
Size the press so the total load lands at 50 to 70 percent of rated capacity. Rated tonnage is available only in a window roughly 20 to 40 mm above bottom dead centre, and the press curve falls away steeply above it. A press running at 85 percent of rating mid-stroke will overload when the coil drifts to the top of its thickness tolerance.
The tonnage monitor turns the calculation into a control. Set the high limit at 110 to 120 percent of the reference stroke and the low limit at 70 to 80 percent. Capture the reference over 20 consecutive strokes on proven material, and confirm that it repeats within 5 percent. The arithmetic behind those numbers sits in the press tonnage guide.
Feed Line Height, Pilot Release and First-Station Fit
Feed line height is the height of the strip as it passes through the die. Set it so the strip underside matches the die pass line within +/-0.10 mm. More than that tilts the strip, and the first-station pilot starts the stroke at an angle instead of square.
Measure it with a height gauge from the bolster top to the strip underside, at the feeder outlet and again at the die entry. A 0.5 mm mismatch over a 300 mm span bows the strip and drags the strip edge against the die entry block. Edge drag also strips the lubricant film exactly where the die needs it most.
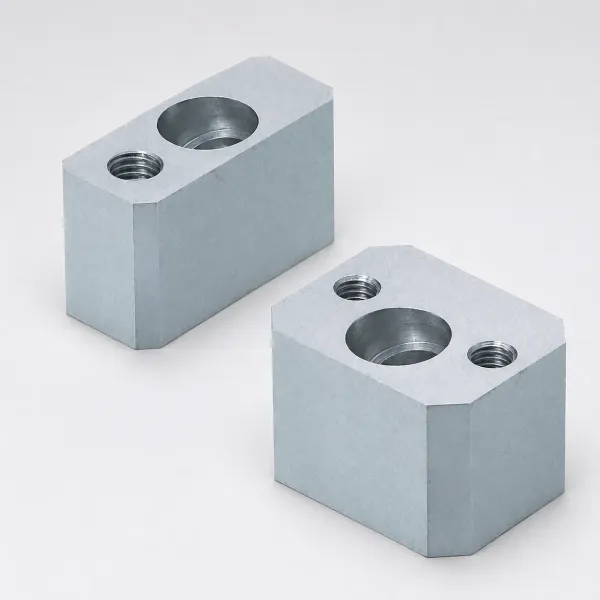
Pilot release timing protects the strip. The feeder grip must open 10 to 20 milliseconds before the pilots enter the holes, which on a mechanical press is 15 to 25 degrees of crank angle before bottom dead centre. A late release leaves the strip held while the pilot pushes sideways, and the holes tear at the lead-in.
Pilot diameter runs 0.02 to 0.05 mm under the pierced hole diameter, with a nose taper of 5 to 10 degrees. A pilot measuring at hole size will not enter freely once the holes wear 0.03 mm. Fit the first station by hand before the first powered stroke: push the strip against the pilot with light hand pressure and confirm that it drops in and lifts out without drag.
The feeder is the other half of that fit. Roll feed accuracy, loop control and the settings that hold one pitch steady across a full coil are covered in the strip feed accuracy guide.
Feed Length Accuracy and Stock Lifter Settings
Feed length is measured, not trusted. Mark the strip at the first station, run 20 strokes with the press on inch, and check the progression with a steel rule or a pitch gauge. Target +/-0.05 mm per pitch and +/-0.15 mm cumulative across the 20 pitches.
A servo feed holds +/-0.02 mm on a steady loop, while a mechanical roll feed with a worn roll typically drifts 0.05 to 0.10 mm as the coil runs down. If the measured pitch is correct but the strip still sits off register, the pilot has to shift the strip, and 0.10 to 0.30 mm is the working limit for pilot shift.
Stock lifters raise the strip off the die block on the return stroke so it clears the pilots and any raised forms. Set the lift at 0.5 to 1.5 mm, driven by air at 0.3 to 0.5 MPa or by die springs. Too little lift drags the strip over the pilots and pulls the progression back. Too much lift lets the strip clear the guide rails and wander sideways.
Pressure pads and hold-down pads need a pre-load that flattens the strip before the punch contacts it. A pad force of 2 to 5 kN set 0.2 to 0.5 mm above the strip height is enough for 0.8 to 2.0 mm stock. Set the gap with the die open and check it with a feeler gauge.
Sensor Re-Arm and the Die Protection On-Call Test
Sensors belong to the die, not to the press. Every changeover re-arms the sensor set for that part number and re-verifies it. Clamping moves the die 0.02 to 0.10 mm relative to the sensor brackets, which is enough to push a proximity sensor outside its window or leave a gap sensor reading the wrong surface.
Verify one sensor at a time. Block a part-out window with a card, disconnect a single sensor, or place a shim in a slug detection gap. Confirm that the press stops at the top of the stroke instead of finishing the next one. Clear the fault and confirm the press will not restart until the fault is reset.
Then run the on-call test at the press. Feed one strip deliberately short at 1 to 5 strokes per minute and repeat 20 to 50 times. Every short feed must trip the press with zero misses. Follow that with 20 to 50 good cycles and confirm zero false stops. Sensor families, placement rules and the timing budget inside a 100 millisecond stroke at 600 SPM are covered in the die protection sensors guide.
Spring Pre-Load, Lubrication Points and the Sign-Off Sheet
Stripper force comes from coil springs or nitrogen gas springs, and both need a pre-load check at set-up. A gas spring charged to 100 to 150 bar loses force quietly. A charge 10 percent below the die card value will not strip the strip off the punch on high-strength material, and the part climbs with the punch into the next stroke.
Check the charge with a gauge on the gas spring port before the first stroke. Check the installed length of every coil spring against its free length. A coil spring pre-loaded to 10 to 15 percent of its travel holds the stripper plate square, while a loose spring lets the plate cock and mark the strip.
Lubrication is a set-up item rather than an operator preference. Coil stock lubricant at 1 to 5 percent dilution suits mild and low-carbon steel, while stainless and coated stock need 5 to 10 percent. Apply it by roller or felt wick so the film covers the full strip width, and set the in-die interval at 500 to 1,000 strokes for pilots, stripper plates and cam slides.
Every value below belongs on the set-up sheet next to the die card. A set-up that is recorded can be repeated on the next shift; a set-up that lives in the setter's memory changes with every changeover.
| Set-up value | Target window | How it is verified | Re-check point |
|---|---|---|---|
| Shut height | Die card value +/-0.10 mm | Height gauge on the closed die, lead check at bottom dead centre | Every changeover and at 2 hours |
| Clamp torque | 190 to 210 N·m on M16 class 12.9 | Torque wrench, diagonal pattern from the centre | After 5 to 10 strokes and at 2 hours |
| Bed parallelism | Within 0.02 mm across four corners | Lead wire at 4 to 6 points, measured with a micrometer | Before production and after warm-up |
| Tonnage window | 110 to 120 percent high, 70 to 80 percent low | Tonnage monitor reference over 20 strokes | Start of shift and after any tool change |
| Feed length | +/-0.05 mm per pitch, +/-0.15 mm over 20 | Rule or pitch gauge on a marked strip | Every changeover and after a coil change |
| Sensor set | 20 to 50 consecutive short feeds all trip | Deliberate short-feed test at 1 to 5 strokes per minute | Every changeover |
| Spring charge | 100 to 150 bar gas, coil pre-load 10 to 15 percent of travel | Gauge at the gas port, rule on the installed length | Every changeover |
← swipe to scroll →
Table note: windows are typical values for a 100 to 400 t mechanical press running 0.8 to 2.0 mm steel. Confirm the die card and the press manual before the first stroke.
First-Off Approval and the Dimensional Report
First-off approval means a part that is inspected and signed before the die runs production quantities. Take the first 5 to 10 parts after the press reaches running speed, inspect them fully, and hold approval until 30 consecutive parts pass the same checks.
The dimensional report should carry 10 to 20 features from the drawing, measured on a CMM or an optical comparator, plus the shop floor checks: burr height, pilot mark depth, strip flatness and part weight. Keep burr height at or under 5 percent of stock thickness, which is 0.05 mm on 1.0 mm stock. Pilot marks belong under 0.02 mm deep and away from functional faces.
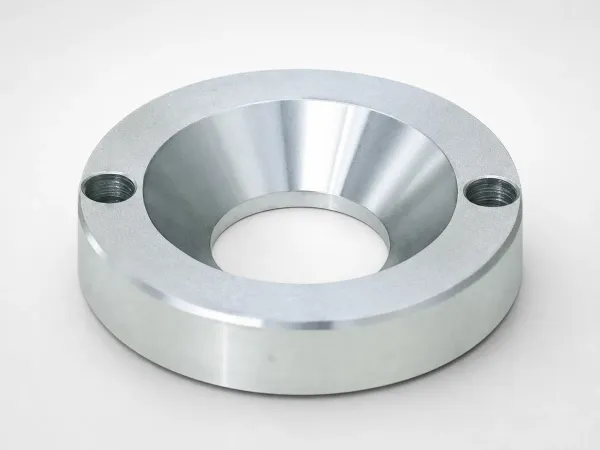
Then run 100 to 200 strokes and re-check. Tonnage, burr height and shut height all move as the press warms and the die seats. Any change to the ram setting, clamp torque or spring pre-load invalidates the first-off, and the setter has to re-approve before the die returns to full rate.
DieStrike builds progressive and stamping dies to IATF 16949 with 120+ machines and a +/-0.005 mm mold tolerance that tightens to +/-0.002 mm on EDM and jig grinding, with heat treatment to HRC 62 maximum. Tool lead time runs 2 to 5 weeks and standard components ship in 3 to 7 days, with tier-1 references including TE, Amphenol, Luxshare and Dongshan. Die build, sensor integration and tryout data sit with the stamping die manufacturing team.
Six Common Set-Up Errors and Their Symptoms
1. Partial-pitch feed. The die receives the strip one pitch short, so the pilot lands on the web instead of in the hole. The first sign is a pilot mark on the strip and a torn hole edge, followed by a jammed scrap cutter.
2. Wrong shut height. A die set 0.05 mm high cuts short and leaves a heavy burr on one side of the part. A die set 0.10 mm low raises tonnage 30 to 40 percent and leaves bright contact marks on the die block.
3. Reversed clamp order. Corner-first torque tilts the shoe by 0.02 to 0.05 mm, and the strip cuts differently at one end of the die than the other. A dial indicator on the shoe top face after clamping shows it in a minute.
4. Unverified sensors. A sensor that was re-armed but never proved will not stop the press on the stroke that matters. Run the short-feed test at every changeover, not once a month.
5. Wrong pass line height. A feed line 0.5 mm off the die pass line bows the strip and drags its edge. The symptom is a feed length that wanders 0.1 to 0.3 mm with no change to the feeder settings.
6. Springs set without pre-load. A loose coil spring or a gas spring 10 percent low on charge will not strip the strip off the punch, so the part climbs and takes a second hit. Wear on the punch and die block follows, and the numbers for clearance and regrind limits are in the punch clearance guide.
The Bottom Line
Die setting is a measurement sequence, not a judgement call. Shut height within 0.10 mm of the die card, the last 0.05 mm closed with a lead check, clamps torqued diagonally in two passes at 190 to 210 N·m on an M16 bolt, and tonnage held at 50 to 70 percent of press rating.
The feed side is just as measurable. Pass line within 0.10 mm, pilot release 10 to 20 milliseconds before entry, feed length inside 0.05 mm per pitch, lifters raising the strip 0.5 to 1.5 mm, and every sensor re-armed and proved on a deliberately short strip.
Sign the first-off with a dimensional report, then re-check tonnage, burr and shut height after 100 to 200 strokes and again at the two hour thermal mark. A die that passes those checks holds its burr and its progression for the run, and the next changeover starts from recorded values instead of from memory.
KEEP READING
Related Reading
Die Protection Sensors in Progressive Dies
Sensor families, placement after the feeder and the timing budget inside a 100 ms stroke.
Read articleArticlePunch Clearance in Progressive Dies
Clearance per side by material, wear limits and the burr height that says it is time to regrind.
Read articleArticleStamping Die Steel Selection
Punch and die block grades, hardness windows and the coating choice for high stroke counts.
Read articleServiceStamping Die Manufacturing
IATF 16949 progressive die building with sensor integration and 2 to 5 week lead times.
Read articleNEXT STEP
Ready to Start Your Mold?
Send us your element dimensions or part numbers — our team responds within 24 hours with pricing and lead time.

Written by
Ray ChanMold Buyer's Guide Author · Precision Mold Manufacturing Specialist. Ray helps global importers, distributors and OEMs source factory-direct molds and mold parts.