
How to Select Leader Pins and Bushings for Mold Alignment | DieStrike
Table of Contents
A 32-cavity automotive connector mold started flashing after 486,000 shots. The operator blamed clamp tonnage. The real cause was 0.02 mm of wear in the leader pins and one bellmouthed bushing. Parting-line shift reached 0.03 mm, parts fell outside a 0.02 mm flatness check, and the customer rejected a 9,000-piece lot. Sorting, idle press time, and a rushed bushing replacement added roughly $16,000 in typical industry terms.
Leader pins and bushings are the cheapest alignment insurance in a mold. On a $40,000 tool, the four pins and four bushings are a rounding error in the BOM. On the same tool, 0.02 mm of play converts straight into flash, dimensional drift, and scrap. The pair either holds the parting plane or it does not, and there is no middle ground.
This guide covers pin diameter by mold base size, fit and clearance classes, steel and hardness, lubrication strategy, failure detection, and a 5-step workflow. Every section ends with a number you can put on a drawing or a maintenance card.
The Snapshot
- Mold bases from 2020 to 5050 run four leader pins at 20 to 50 mm diameter in typical industry practice.
- A new g6/H7 pair on a 20-50 mm pin leaves 0.007-0.05 mm of diametral clearance (typical ISO fits).
- Measure lateral play at the parting line and replace the pair when it exceeds 0.01-0.02 mm.
- Case-hardened pins and bearing-steel bushings run HRC 58-62 at the surface (typical).
- DieStrike ships standard leader pins and bushings in 3-7 days and machines molds to ±0.005 mm, with critical geometry at ±0.002 mm.
How Alignment Works in a Mold
Every molded part is made by two steel halves that meet on a parting plane. Any lateral offset between those halves shows up directly on the part. A 0.01 mm shift appears as a step on the witness line. A 0.05 mm shift can create flash thick enough to feel with a fingernail. Features that span the parting plane are hostages to this offset.
A mold carries three sources of relative motion between its halves. Plate machining error places the cavities slightly off true position. Guide clearance allows the pins to rock inside their bushings. Wear grows that clearance shot by shot. Alignment hardware exists to keep the sum of all three inside the part tolerance.
Alignment happens in two stages. Leader pins provide coarse guidance during the closing stroke. They bring the halves together square and protect delicate core and cavity detail from crashing. In the last millimeters of travel, taper interlocks or side locks take over and lock the halves against lateral force. Pins guide, locks hold, and both are needed on precision tools.
Lateral loads are the reason this matters. Unbalanced gate locations, angled actions, and core pullers all push one half sideways against the other. On a 200-ton press, even 5% lateral load is 10 tons. Four 25 mm pins carry that share through the bushing walls, which is why diameter, fit, and lubrication are load-bearing decisions, not catalog trivia.
The failure sequence is slow and measurable. Clearance grows a few microns at a time. Flash appears on one side of the cavity first. Wall thickness drifts toward the low side of the print. Each check catches the problem earlier than the last one, but only if somebody checks. Section 7 below gives the numbers to check against.
How Leader Pins and Bushings Work Together
Leader pin, guide pin, and guide post are the same component under different names. It is the ground steel column pressed into one mold half. The leader bushing, also called the guide bushing, is the hardened sleeve pressed into the opposite half. The pin slides into the bushing on every closing stroke. Return pins are a different component that pushes the ejector plate home, so do not mix the two families.
The geometry is simple: a column and a sleeve, arranged so the column finds the sleeve before any cavity steel touches. The pin has a head or a press-fit shank at one end and a ground working diameter with a lead chamfer at the other. The bushing has a ground bore, a shoulder or flange, and a press-fit outside diameter. The two parts are never selected alone because their clearance is what sets alignment repeatability.
The timing of engagement is the first design rule. The pin must enter the bushing before the core and cavity surfaces meet. A typical target is 5-15 mm of guided travel before parting-line contact, so a crashed insert edge can never happen purely from closing geometry. If the cavity stack is 120 mm tall, the pin working length must exceed the bushing engagement plus that lead margin.
How the Pair Transfers Alignment
On the closing stroke, the pin centers the moving half inside the fixed half. Once both plates touch, the machine tonnage locks them, and the pins carry whatever lateral force the tooling generates. Wear concentrates where the pin enters the bushing, which is why the classic failure shape is a bellmouth at the bushing top.
Bending stiffness sets the practical length limit. A pin deflects under side load in proportion to its length cubed and inversely to its diameter to the fourth power. That means diameter does the heavy lifting on tall molds. A common shop rule keeps unsupported working length within 15-20 times the pin diameter for steel pins running in steel bushings (typical).
Four pins are the standard arrangement on rectangular bases. One pin is often offset or sized differently so the tool cannot be assembled reversed. Two diagonal pins can work in theory. Four distribute wear, balance handling loads, and keep the plates square when the mold hangs in a crane. Section 3 turns this into a diameter table.
Pin Diameter and Quantity by Mold Size
Choose diameter from the mold base size first. Then confirm it against cavity stack weight and unsupported pin length. A 300 mm square base does not need 50 mm pins. A 500 mm base with a 200 mm stack does not want 20 mm pins. The table below is the typical industry starting point.
Typical Diameters by Mold Base Class
Base class numbers are the plate width in millimeters. A 3030 base is a 300 by 300 mm footprint, and a 5050 base is 500 by 500 mm. Cavity weight and shut height climb with the base, so the pins climb with them. Standard mold base catalogs and DieStrike's standard mold base line follow the same logic, with guide holes pre-located to the plate datum.
Reading the table is only the first pass. Confirm the diameter against three loads. They are the moving-half weight during handling, the lateral force from gates and actions, and the unsupported pin length. When any one of the three is high, step up one diameter class rather than trusting the minimum.
| Mold Base Class | Plate Size (mm) | Typical Leader Pin Ø (mm) | Quantity |
|---|---|---|---|
| 2020 | 200 x 200 | 20 | 4 |
| 2525 | 250 x 250 | 20-25 | 4 |
| 3030 | 300 x 300 | 25 | 4 |
| 3535 | 350 x 350 | 25-32 | 4 |
| 4040 | 400 x 400 | 32 | 4 |
| 4545 | 450 x 450 | 32-40 | 4 |
| 5050 | 500 x 500 | 40-50 | 4 |
← swipe to scroll →
Note: Diameters are typical industry sizing. Confirm against the base standard you build to, because JIS, DME, and HASCO style catalogs differ at the margins.
Quantity and Arrangement
Four pins at the corners is the default for every class in the table. Some very small tooling runs two diagonal pins to save space on slides, and very large bases above 600 mm sometimes add center guides. On a rectangular base with asymmetric cavity weight, keep four and make one pin offset so the halves assemble only one way.
Working length is a separate field on the order. Specify pin length from the bushing engagement depth plus the stack height plus the 5-15 mm lead margin from Section 2. If that length pushes the unsupported span past 20 times the diameter, step up one diameter class or add a mid-plate guide.
DieStrike carries leader pins and bushings across this diameter range as standard stock components, with 3-7 day shipment on the standard sizes. If you need the complete engineered set, the mold base comes with guide holes located and machined to the same datum as the cavity pockets.
Fit and Clearance Classes
A leader pin pair has two interfaces, and both carry a tolerance class. The sliding interface is the pin shank running inside the bushing bore. The press interfaces are the pin head and the bushing outside diameter seated in their plates. Sliding fits get clearance so the mold closes freely. Press fits get interference so the components never walk under 200-2,000 cycles per day of cycling.
The Two Fits That Matter
The classic sliding combination is a g6 pin shank in an H7 bushing bore. This is the ISO running fit that dominates mold and die catalogs. The press fits that seat the parts in their plates are standard practice. The bushing OD runs m6 or n6, and the pin mounting shank gets a light interference.
Clearance numbers come straight from the ISO tables. A 20 mm g6/H7 pair allows roughly 0.007-0.041 mm of diametral clearance new. A 40-50 mm pair allows about 0.009-0.050 mm. The lateral slack between the halves is approximately half that clearance, because the pin can shift only until it touches the bore wall.
Clearance Classes and Wear Limits
Standard H7/g6 is right for most production molds. Precision tooling that must hold tight parting repeatability uses matched pairs, ground and honed together to a running clearance near 0.005-0.015 mm (typical). Matched sets cost more and must be replaced as sets, because mixing one new pin with one worn bushing rebuilds the slop overnight.
Bore position error binds a pair faster than clearance error. If the two plates locate their guide holes 0.03 mm apart, the pin fights the bushing on every stroke even with perfect parts. Machine the pin and bushing holes in one setup, or dowel and bore the plates as an assembly. Position tolerance of 0.005-0.01 mm between the four holes is typical for precision bases.
The wear limit keeps molds out of trouble. When lateral play at the parting line passes 0.01-0.02 mm, replace the pin and bushing together. That play is measured, not guessed, and Section 7 shows the 10-minute method. Replacing a $20 pair of components early is cheaper than one scrapped lot at $16,000.
| Interface | Typical ISO Class | Result New |
|---|---|---|
| Pin shank to bushing bore (standard) | g6 / H7 | 0.007-0.05 mm diametral clearance (D 20-50 mm) |
| Pin shank to bushing bore (precision matched) | ground set | 0.005-0.015 mm running clearance (typical) |
| Bushing OD to plate | m6 / n6 press | Interference fit, no movement in service |
| Pin mounting shank to plate | light press | Interference fit, pin cannot rotate or lift |
← swipe to scroll →
Note: Fit classes and resulting clearances follow published ISO tolerance tables. Matched-set clearances reflect typical precision mold shop practice.
Never order a pin and bushing from different tolerance philosophies. A loose pin in a tight bore gall on the first dry stroke, and a tight pin in a worn bore binds at temperature. Write the class on the drawing: pin shank g6, bushing bore H7, press fits m6. The receiving inspector can verify all four with a micrometer and a bore gauge in 10 minutes.
Steel and Hardness
Leader pins and bushings wear against each other at parting-line speed on every shot. The material pair decides whether that contact polishes or destroys. Mold guide components split into two families: case-hardened alloy steel for pins, and through-hardened bearing steel for bushings, with graphite-bronze as the dry-running alternative.
Leader Pin Steel
Pins are typically low-alloy steel, carburized on the working surface and ground to final size. Carburizing puts a hard shell on a tough core. Surface hardness lands at HRC 58-62 with case depths around 0.8-1.5 mm on common pin sizes (typical). The core stays at roughly 28-42 HRC so a dropped pin bends instead of shattering.
Grinding is what makes the pin usable. After carburizing, the working diameter is centerless ground to the g6 class. Surface finish on the working length typically lands at Ra 0.2-0.4 µm, and precision sets run to Ra 0.1-0.2 µm. Finish matters more than hardness for galling resistance, because two smooth hard surfaces slide while two rough ones weld.
Bushing Steel
Bushings are usually through-hardened bearing steel, such as GCr15, SUJ2, or 52100 class, at HRC 58-62 (typical). The bore is honed or internally ground after hardening to hold the H7 class and a finish at or below Ra 0.4 µm. The outside diameter is ground to the m6 press class so the sleeve seats without walking.
Hard-on-hard works in molds because the contact is slow and lubricated. In stamping dies and high-speed slides, shops switch the bushing side to bronze or graphite-bronze to prevent galling at higher sliding speeds. Keep that split in mind when a mold runs fast cycles or starved lubrication, because the steel pair needs grease.
| Component | Typical Material | Typical Hardness | Finish |
|---|---|---|---|
| Leader pin | Carburized alloy steel (8620 / SCM415 class) | 58-62 HRC case, 28-42 HRC core | Ra 0.1-0.4 µm ground |
| Steel bushing | Bearing steel (GCr15 / SUJ2 / 52100) | 58-62 HRC through | Bore honed to H7 |
| Self-lubricating bushing | Bronze matrix, graphite plugs | Softer matrix, dry running | Bore sized to pin, graphite transfer film |
← swipe to scroll →
Note: Materials, hardness ranges, and case depths are typical published values for mold guide components.
Corrosion changes the pick. Molds that run water near the guides, humid cleanrooms, or aggressive purge chemistry push buyers toward corrosion-resistant variants. Nitrided or chrome-plated pins and stainless bushings appear in those tool rooms. If the environment wets the guides daily, say so in the RFQ, because standard carbon steel will pit and score.
Do not over-specify hardness for the sake of it. A pin harder than its bushing by a wide margin converts normal wear into bushing-only wear and accelerates bellmouthing. Keep both sides in the 58-62 HRC band, or drop the bushing to bronze where sliding speed demands it.
Lubrication vs Self-Lubricating Bushings
Steel-on-steel guide pairs need grease, and the interval is a maintenance plan item, not a guess. A common target is relubrication every 10,000-50,000 shots or at each scheduled mold service, whichever comes first (typical). The arithmetic explains why. A 20-second cycle runs 180 shots per hour, 1,440 per 8-hour shift, and about 7,200 per week. A 50,000-shot interval is roughly seven weeks of one-shift running.
Light lithium grease in the NLGI 2 class is the everyday choice for mold guides. Apply a thin film to the pin and bushing bore, not a packed cavity. Over-greasing is a real failure mode. Excess grease collects dust and fines, and the mixture turns into lapping compound that hones the bushing from inside.
Vertical pins drain grease downward, which starves the upper bushing zone. On tall molds, grease channels or a second lube point at the bushing top fix the dry band. Operators who wipe and re-grease the pins at every maintenance window catch that starvation before it scores.
Self-lubricating bushings remove the interval entirely. Graphite plugs pressed into a bronze matrix transfer a dry film to the pin as it slides, so the pair runs without an external lubricant. These are the standard choice where grease contamination is banned, such as medical cleanrooms, food-contact tooling, and electronics molding near gold-plated contacts.
The trade-off is load and speed. Bronze with graphite is softer than hardened steel, and published PV limits for graphite-bronze slide bearings typically sit below about 2 MPa·m/s. Above that duty, the film breaks and the bushing wears fast. The pair runs hundreds of thousands of cycles at slow closing speeds in clean environments. For heavy slides or dirty shops, lubricated steel still wins.
Monitor graphite plugs on inspection. When plugs wear flush below the bore surface, the film supply drops and wear accelerates. Replace the bushing at that point. One spare pair per mold, kept in the tool crib, turns a 2-hour wear fix into a 20-minute swap.
Failure Modes and Detection Methods
Guide components fail in recognizable shapes, and each shape has a cause. Learn to read them during maintenance and the mold tells you what broke before the parts do. Four modes cover most guide damage: galling, bellmouthing, off-center wear, and press-fit fretting.
The Four Common Failure Modes
Galling is cold welding between pin and bushing surfaces. Scoring lines run parallel to the pin axis, typically 0.01-0.05 mm deep on the pin OD. Contamination or lost lubrication causes it. A galled pin feels rough under a fingernail and must be replaced, because regrinding below the carburized case removes the hardness that made it work.
Bellmouthing is a flared opening at the bushing top. Misalignment, side loading, or a bent pin forces the pin against the entry edge on every stroke. The bore measures round and correct 20 mm down but oversize at the rim. A bellmouth of 0.02 mm at the entry is a replacement trigger.
Off-center wear shows as a crescent pattern on one side of pin or bore. The usual causes are a bent pin from handling damage, or plate bores that are not coaxial. If one crescent appears on all four pins in the same rotational position, the halves are walking under load. Check the interlocks, not the pins.
Press-fit fretting is reddish-brown dust around the bushing shoulder. It means the bushing is micro-moving inside its plate because the press was light or the hole grew. Check the hole for ovality and rebore to the m6 class before pressing the new bushing.
How to Detect Them Early
The 10-minute play check runs on the press. Close the mold at low pressure. Mount a dial indicator on the fixed half. Push the moving half laterally by hand or with a pry bar. The reading is the lateral play at the parting line. When it exceeds 0.01-0.02 mm, schedule the replacement. Trend the reading on the maintenance card, because a jump between two checks means damage, not wear.
A bore gauge inside the bushing catches bellmouth early. Measure at the entry and at 20 mm depth. A difference above 0.01 mm flags the start of flaring. The same gauge detects ovality when the pin loads one side. Do this at every major service, and pair it with a visual sweep of the pin OD for grooves and rust.
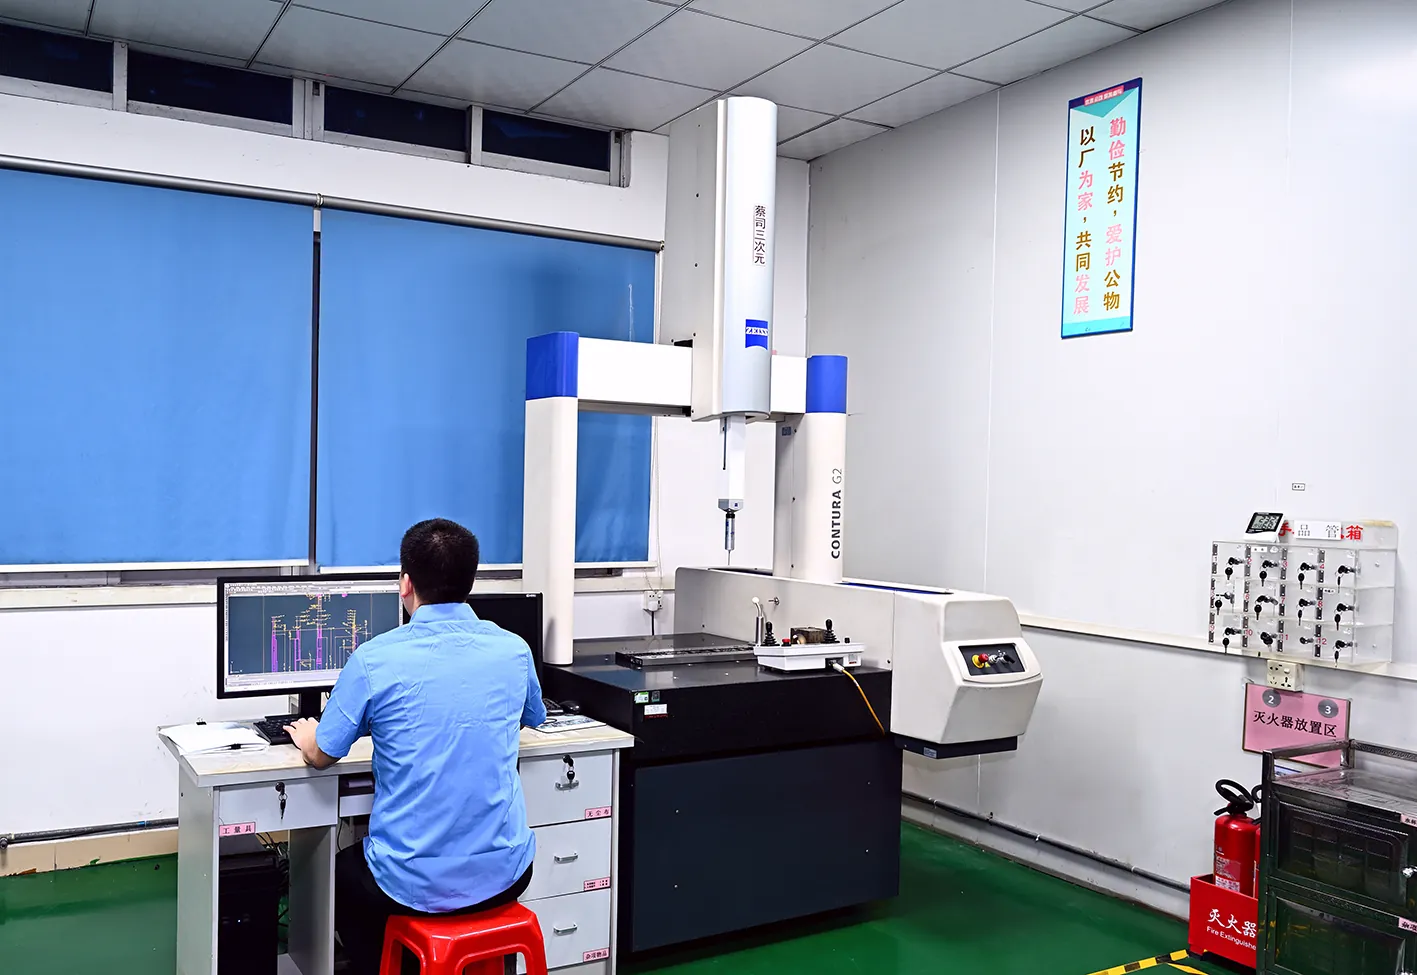
A CMM audit every 100,000-200,000 shots verifies the plate system, not just the parts. Check bore position against the plate datum, perpendicularity of the bores to the plate face, and pin straightness out of the mold. DieStrike runs this audit on new tooling before sampling. The same machines hold mold geometry to ±0.005 mm and critical features to ±0.002 mm.
Translate the readings into money before deciding to wait. A 0.02 mm play reading is five times the total width of a ±0.002 mm tolerance band, which is 0.004 mm. Waiting until flash appears converts a $20 component swap into a scrapped lot and a line-down event. If your shop does not run this check, route the mold to a repair and maintenance partner that does.
Leader Pin Selection: A 5-Step Workflow
Selection is a sequence, and the sequence starts with the part drawing, not the catalog. Run these five steps in order and every number on the final PO has a reason behind it.
Step 1: Define the alignment budget. Find the critical dimension that crosses the parting plane and read its tolerance. A ±0.002 mm feature allocates roughly 25% of its band, about 0.001 mm, to alignment in typical stack practice. If that share is tighter than any sliding pin can deliver, plan taper interlocks now and size the pins for handling and shear instead.
Step 2: Select diameter from the base class. Use the Section 3 table: 2020-3030 bases take 20-25 mm pins, 3535-4040 take 25-32 mm, and 4545-5050 take 40-50 mm. Step up one class for tall stacks, heavy cavity plates, or long unsupported pin spans above 15-20 times the diameter.
Step 3: Write the fit and length. Specify pin shank g6, bushing bore H7, press fits m6, and the working length from the Section 2 engagement math. For fine-pitch tools that must hold parting repeatability, order a matched ground set at 0.005-0.015 mm clearance instead of stock pairs.
Step 4: Choose steel, finish, and lubrication for the environment. Carburized pins and bearing-steel bushings at HRC 58-62 with grease suit normal production. Graphite-bronze bushings suit cleanrooms and contamination bans. Corrosion-resistant variants suit wet or humid running. Write the choice on the drawing so maintenance does not improvise.
Step 5: Set inspection thresholds and stock spares. Put the 0.01-0.02 mm play limit on the maintenance card. Schedule the bore gauge check at major service. Keep one spare matched pair per mold in the crib. Verify incoming parts with a micrometer and bore gauge in 10 minutes, and reject anything outside the stated class.
Send the base drawing and tolerance map to DieStrike for a second pass. Selection guidance and a cost breakdown come back within 48 hours, DFM feedback within 24, and the standard components themselves ship in 3-7 days. DieStrike has run this same workflow across 120+ machines for connector programs from TE Connectivity, Amphenol, Luxshare, and Dongshan Precision.
Sizing Example: The ±0.002 mm Budget
An 8-cavity connector housing prints a critical dimension of 12.00 ±0.002 mm that spans the parting plane. The total tolerance band is 0.004 mm. The program runs 1,000,000 shots on a 4545 base, and the buyer wants the pin spec on the RFQ. Here is the full conversion from part budget to guide hardware.
Start with the stack split. A common allocation puts 25% of the band on alignment repeatability, about 0.001 mm, with the rest shared by cavity machining and process variation. The alignment share is 1 µm. Any guide system that moves more than 1 µm at the parting line eats the budget before the machine even cycles.
Now size the pins by the table. A 4545 base takes 40 mm pins, four of them. A 40 mm g6/H7 pair allows about 0.009-0.050 mm of diametral clearance new. Lateral slack between halves is about half of that, up to 0.025 mm. That slack is 25 times the 1 µm alignment share. Even a matched precision set at 0.010 mm clearance leaves 0.005 mm of slack, still five times the budget.
The conclusion is structural, not a defect in the pins. Sliding clearance cannot be zero because the mold must close freely. So the ±0.002 mm feature cannot ride on pin clearance alone. The tool gets taper interlocks that engage in the last few millimeters of travel. They lock the halves against lateral shift. The 40 mm pins then carry guidance and handling loads.
Ground interlocks change the numbers. Typical side locks with matched 5-10 degree angles and spotted contact repeat within a few microns once seated under tonnage. That brings the alignment contribution inside the 1 µm share in most connector programs, and the CMM audit at sampling verifies it before production starts.
The final spec reads as follows. Four 40 mm leader pins carry g6 shanks with carburized cases at HRC 58-62. The matched H7 bushings are bearing steel, grease-lubricated. Taper interlocks sit on the long edges. Inspection gates are 0.01-0.02 mm of play at the parting line, plus a CMM audit at sampling and every 100,000-200,000 shots. That is how a ±0.002 mm budget flows into a one-line component order.
Frequently Asked Questions
Q1. What is the difference between a leader pin and a guide pin?
They are the same component under two names. Leader pin, guide pin, and guide post are the same column. It is the ground steel part that aligns the mold halves. Its matching part is the leader bushing or guide bushing. Return pins are different: they push the ejector plate back on the closing stroke and never touch the parting alignment.
Q2. What clearance should a new pin and bushing have?
A standard g6/H7 pair on a 20-50 mm pin runs about 0.007-0.05 mm of diametral clearance new, per ISO tables. Matched precision sets run tighter, near 0.005-0.015 mm. Lateral play at the parting line is roughly half the clearance. Replace the pair when measured play passes 0.01-0.02 mm.
Q3. How often should leader pins and bushings be replaced?
Follow the measurement, not the calendar. Check play at every mold service, and replace the pair when play passes 0.01-0.02 mm or when galling grooves and bellmouth exceed 0.01 mm. Lubricated steel pairs commonly run 500,000-1,000,000 shots in typical production. A worn pair is replaced in about 20-30 minutes with the mold on the bench.
Q4. Can I mix pins and bushings from different manufacturers?
Not advised. Lead chamfers, shoulder heights, press classes, and hardness vary between catalogs, and a mismatch converts a running fit into a binding or rocking fit. Replace the pin and bushing as a matched pair from one source. DieStrike ships standard pairs from the same tolerance batch in 3-7 days.
The Bottom Line
Guide hardware decides where the parting line sits on every shot. Sized from the base class and fitted to g6/H7, a set of pins and bushings costs a few dollars per thousand shots. Maintained to the HRC 58-62 spec and replaced at 0.01-0.02 mm of play, it stays that cheap. Ignored, the same components scrap lots, stop presses, and erase the tolerance budget your mold was quoted to hold.
KEEP READING
Related Reading
7 Signs Your Mold Base Needs Replacement
Seven measurable checkpoints, from 0.02 mm guide-pin play to cracked clamp plates, that tell you when a mold base has reached end of life.
Read articleArticleHow to Select SHCS for Mold Assembly
Socket head cap screws sized to grade 12.9 preload at 80-90% of yield, with torque patterns that keep plates from shifting between shots.
Read articleArticleHow to Extend Mold Life: 5 Proven Strategies
Push molds past 500,000 cycles with HRC 62 cavities, PVD coatings, and pin changeouts at 0.01-0.02 mm of measured wear.
Read articleArticleHow to Specify a Mold Base for ±0.002mm Tolerances
Match plate thickness, guide-pin diameter, and steel grade to a ±0.002 mm tolerance budget before the first plate is cut.
Read articleNEXT STEP
Ready to Start Your Mold?
Send us your element dimensions or part numbers — our team responds within 24 hours with pricing and lead time.

Written by
Ray ChanMold Buyer's Guide Author · Precision Mold Manufacturing Specialist. Ray helps global importers, distributors and OEMs source factory-direct molds and mold parts.