
Base Cap Molding: Design and Process Guide
Table of Contents
A home appliance program scrapped 3,800 base caps in the first week of production. The parts were 1.2 mm ABS covers with snap-fit lugs on all four sides. Sink marks opened 0.18 mm deep behind every mounting boss, and 11 of every 100 snap lugs cracked during assembly. The line ran at 62% efficiency while the mold team chased causes on the press. Every failure traced to drawing decisions made before steel was ordered.
A base cap looks like the simplest part in an enclosure: a thin-walled cover, often 1.0 to 2.5 mm thick, that closes the bottom of a device. Under that simple outline sits a web of ribs, bosses, snap fits, mounting holes and draft angles. Each feature fights the others for gate position, cooling and ejection.
This guide walks base cap molding from part geometry to process window, covering materials, gate and cooling layout, defects, and surface finish. Numbers are typical industry values unless marked as DieStrike capabilities. Your grade datasheet overrides any figure here.
The Snapshot
- Base cap walls run 1.0 to 2.5 mm, with rib bases held to 50 to 60% of the wall thickness to control sink.
- Draft runs 1 to 3 degrees per side on walls, and 0.5 degrees minimum on deep ribs and bosses.
- Mold shrinkage spans 0.4 to 0.7% (ABS), 0.5 to 0.7% (PC/ABS), 1.3 to 2.0% (PP) and 0.3 to 0.6% (PA66 with 30% glass).
- Sink marks deeper than 0.1 mm show on glossy parts; textured surfaces of 0.02 to 0.05 mm depth mask them.
- Weld lines form where flow fronts rejoin, so gate placement decides whether they land on the show surface.
- DieStrike returns DFM feedback within 24 hours and ships standard mold components in 3 to 7 days.
What Is a Base Cap Part?
A base cap is the bottom cover of an enclosure, closing the underside of electronics, appliances and industrial equipment. It does three jobs: it protects the PCB from dust and impact, carries the mounting points that hold the device together, and provides service access through removable fasteners.
Typical base caps run 50 to 400 mm across and weigh 5 to 200 g. Programs run 100,000 to 5,000,000 parts per year in 1 to 16 cavities, most often 4 or 8. They appear in routers, smart speakers, kettles, sensor housings and motor end caps.
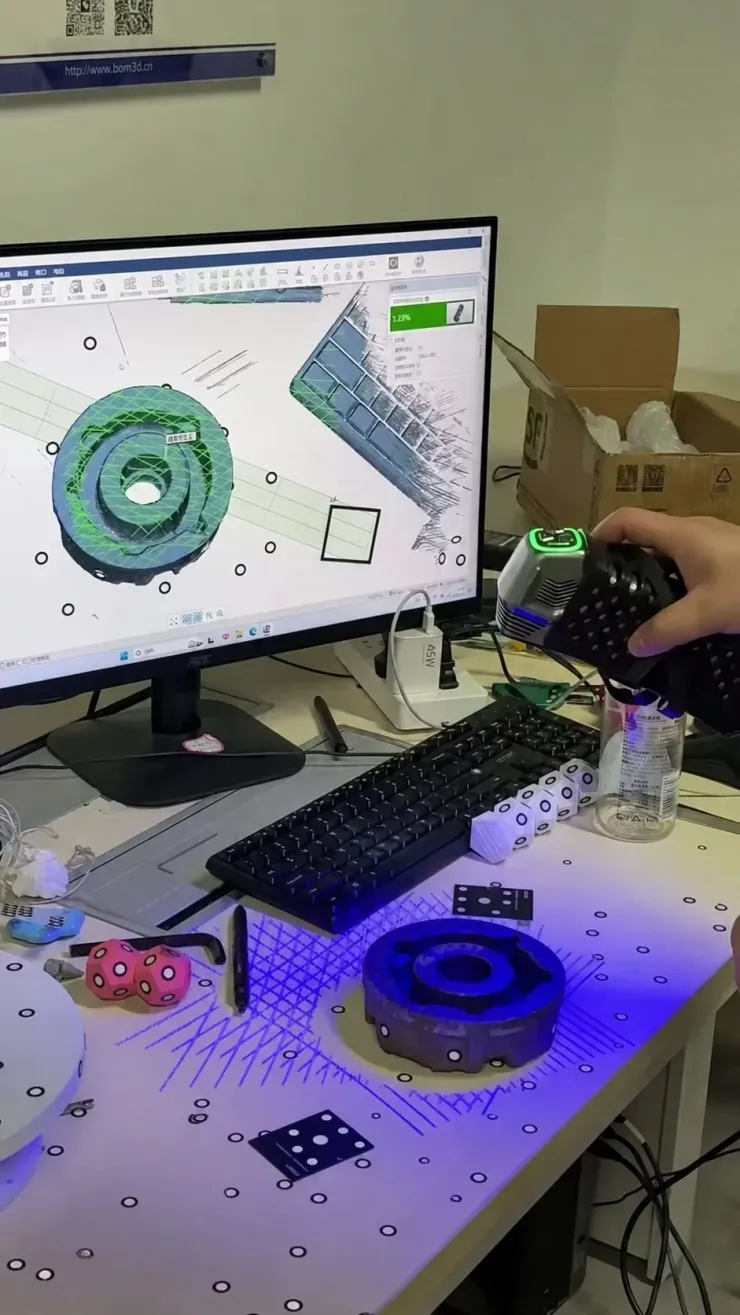
A base cap is a moldability test in miniature. It combines a cosmetic show surface, thin walls, snap-fit lugs, mounting bosses and through holes on one part. Each feature pulls the mold in a different direction, so the same cover can run clean in one tool and scrap 20% in another.
Base Cap Geometry That Drives Mold Design
Five feature families decide how the mold must be built: walls, ribs, bosses, snap fits and mounting holes. Their dimensions set the gate, the cooling layout and the ejection system.
Walls
Base cap walls run 1.0 to 2.5 mm. Large PP caps can drop to 0.8 mm with a flow length to wall ratio near 200:1, while ABS holds a practical ratio of 100:1 to 150:1. Keep the wall uniform within 25% across the part. A jump from 1.2 mm to 2.5 mm creates a thick section that sinks and warps.
Ribs and bosses
Rib bases hold 50 to 60% of wall thickness, height up to 3 times the wall, draft 0.5 to 1.5 degrees per side. Boss outer diameters run at least 2 times the inner, with boss walls near 60% of nominal. Tall bosses over 2 times their diameter need gussets at the base.
Snap fits
Snap-fit lugs are cantilevers with a length to thickness ratio of 8:1 to 12:1. Single-assembly strain limits run 2 to 4% for ABS, 3 to 5% for PC/ABS and 6 to 8% for PP, typical published values. The lug root needs a 0.25 to 0.5 mm radius, and the undercut face 1 to 2 degrees of release angle. Full strain math sits in our snap-fit design guide.

Mounting holes and draft
Through holes for screws and cables run 2 to 10 mm. Draft runs 1 to 3 degrees per side on walls, 2 degrees default, with 0.5 degrees minimum on ribs and bosses so the part releases without ejector stress marks. Textured surfaces need an extra 1 degree per side.
Material Selection for Base Caps
Four materials cover most base cap programs: ABS, PC/ABS, PP and PA66 with 30% glass. The choice follows cost, service temperature and cosmetic requirements, in that order. The table below maps typical values for injection molding grades.
| Material | Mold Shrinkage | Melt / Mold Temp | HDT (1.82 MPa) | Best For | Watch Out |
|---|---|---|---|---|---|
| ABS | 0.4-0.7% | 210-250°C / 40-80°C | ~95°C | General covers, best gloss balance | Lower heat resistance, snap strain ~2-4% |
| PC/ABS | 0.5-0.7% | 250-280°C / 60-90°C | ~110°C | Appliance and electronics with heat | Must dry to under 0.02% moisture, higher cost |
| PP | 1.3-2.0% | 200-240°C / 20-60°C | ~60°C | Large caps, living hinges, low cost | High shrinkage, sink and warp risk |
| PA66 + 30% GF | 0.3-0.6% | 270-300°C / 80-120°C | ~250°C | Structural base plates, motor end caps | Drying critical, glass flow marks, mold wear |
← swipe to scroll →
Table: typical published values for injection molding grades; verify against the grade datasheet.
Cost drives the first cut. Bulk resin prices run about $1.2 to $1.8 per kg for PP, $1.8 to $2.5 for ABS, $2.5 to $3.5 for PC/ABS and $3.0 to $4.5 for PA66 with 30% glass. A 60 g ABS cap carries $0.12 to $0.15 of resin against $0.08 to $0.11 for PP, a gap that disappears once rework starts.
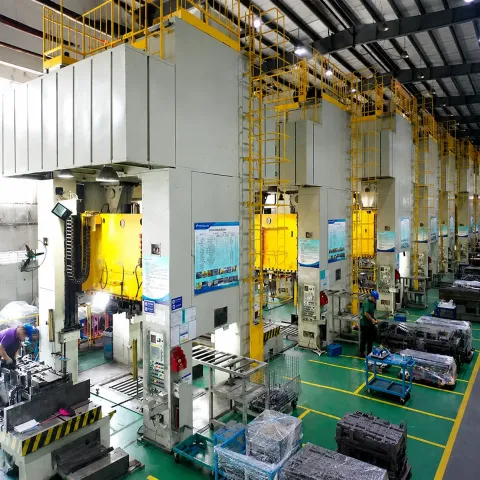
Service temperature decides the second cut: PC/ABS covers routers and appliances seeing 60 to 90°C internal air, PA66 with glass covers motor caps above 100°C. Cosmetic requirements decide the third. ABS and PC/ABS polish to high gloss more easily than PP, which needs a hotter mold to avoid flow marks.
Mold Design: Gate, Cooling, Ejection and Shrinkage
Base cap molds are conventional two-plate tools in 9 out of 10 programs. The design work sits in four systems: the gate, the cooling circuits, the ejection layout and the shrinkage compensation.
Gate position
Put the gate on the hidden inner face or the edge, never on the show surface. A single edge gate handles caps up to 150 mm at 1.2 to 2.0 mm wall; larger caps take a fan gate or two gates, with weld lines managed at the far end. Gate depth runs 60 to 80% of the wall, width 2 to 3 times the depth, land 0.5 to 1.0 mm. A sub-gate of 0.8 to 1.5 mm works when the runner must trim automatically.
Cooling
Cooling channels run 8 to 12 mm, spaced 3 to 5 diameters apart and 2 to 3 diameters from the cavity wall. Bosses and ribs need local cooling from baffles, bubblers or thermal pins. Balanced cooling keeps cavity surface temperature within 5°C across the part, the first defense against warpage. See the related reading on thin-wall warpage control for the full method.
Ejection
Ejector pins of 4 to 8 mm land on ribs, bosses and gussets, where marks stay hidden. Ejector sleeves protect thin bosses, and large caps above 200 mm use a stripper plate. Ejector travel runs 10 to 20 mm, with 0.5 to 1.0 mm of bearing per ejector face.
Shrinkage and venting
Cavity dimensions compensate for the shrinkage in the table above, zone by zone. Venting runs 0.02 to 0.04 mm deep and 3 to 6 mm wide at the parting line, plus extra vents at every weld line. Steel and fit-chain decisions follow the same discipline across mold-making programs at DieStrike.
Injection Molding Process Window
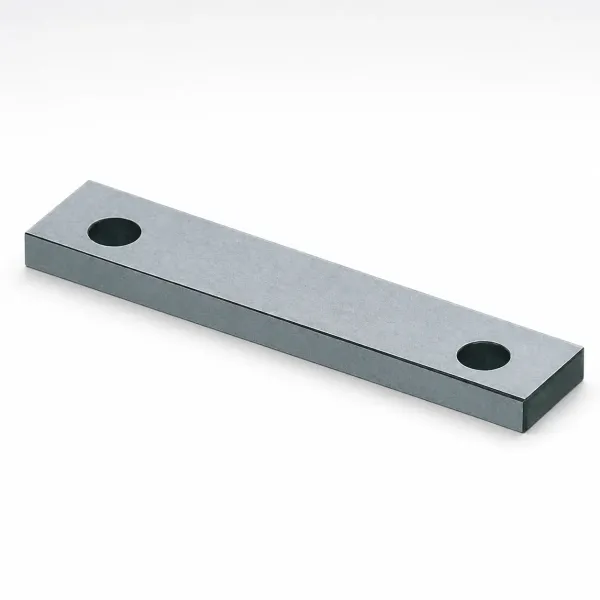
The window follows the material table above: ABS at 210 to 250°C melt into 40 to 80°C steel, PP at 200 to 240°C into 20 to 60°C, PC/ABS at 250 to 280°C into 60 to 90°C, and PA66 with glass at 270 to 300°C into 80 to 120°C.
Fill the shot to 30 to 60% of machine capacity. Start slow for the first 10% of stroke to avoid gate blush, then fill at medium speed. Pack at 50 to 70% of injection pressure for 2 to 3 seconds until the gate freezes. Cushion stays at 3 to 5 mm; clamp force runs 30 to 60 MPa.
Cycle time for a typical 4-cavity base cap tool runs 25 to 60 seconds, and the cooling phase dominates 60 to 70% of it. A 1.2 mm ABS wall at 60°C mold temperature cools to ejection in roughly 12 to 18 seconds, so cooling layout sets the takt time.
Common Base Cap Defects: Root Causes and Fixes
Four defects account for most base cap rework: sink marks, warpage, weld lines and flow marks. Each has a geometry root cause and a process fix.
Sink marks
Sink marks appear where a thick section meets a thin wall, classically behind bosses and ribs. The fix is geometry first: rib bases at 50 to 60% of wall, cored bosses, local wall under 1.25 times nominal. Process second: pack at 50 to 70% of injection pressure and hold until the gate freezes. Sink past 0.1 mm shows on gloss; the same sink vanishes under a 0.02 to 0.05 mm texture.
Warpage
Warpage comes from differential shrinkage between thick and thin zones or between flow directions. Fix wall balance first, gate at the centroid, then balance cooling within 5°C. Ribs at 40 to 60% of wall stiffen the cover without adding sink. PP and PA66 warp more than ABS at the same geometry.
Weld lines
Weld lines form where flow fronts rejoin around bosses, holes and inserts. They weaken the part by 10 to 30% in tensile strength, typical published figures, and show as hairlines on gloss. Move or split the gate so the weld falls off the show face, vent at the rejoin, and raise melt and mold temperature by 10 to 20°C and 10 to 15°C to improve knit strength.
Flow marks and short shots
Flow marks are hesitation lines from a cold surface layer, common on PP and PA66. Raise mold temperature by 10 to 20°C, injection speed by 20 to 40%, and enlarge the gate if shear heating is not enough. Short shots trace to thin walls, long flow paths or blocked vents; check vent depth of 0.02 to 0.04 mm first.
Our mold defect troubleshooting guide covers the full diagnostic sequence for each of these failures.
High-Gloss and Textured Surfaces
Base caps carry the brand surface of the device. Gloss needs SPI A-1 or A-2 cavity polish at Ra 0.012 to 0.025 µm, typical published finishes. Steel must be clean and uniform, so 718H or S136 pre-hardened grades dominate, and the gate stays off the show face.
Gloss parts demand the top of the mold temperature window. ABS at 70 to 80°C copies the cavity finish; at 40°C it looks dull and streaked. Gloss amplifies every hesitation mark, so keep melt flow balanced.
Textured surfaces do the opposite. A 0.02 to 0.05 mm texture masks sink up to 0.1 mm and service scratches. Textures are etched after hardening and polishing, typically MT-11000 patterns at 15 to 30 minutes per depth step. Add 1 degree per side over base draft so the part releases without scuffing the pattern.
Integrating Base Cap with Structural Parts
The base cap can be a simple cover or part of the structure itself. The choice changes the mold cost, the assembly cost and the failure modes.
Integrating the cap with the chassis saves one part, one assembly step and one tolerance stack. The trade is a material compromise and a mold that needs slides for undercuts. Each side action adds roughly 10 to 20% to mold cost, typical industry figures, and adds a wear surface. Integrated parts hold assembly fits to about ±0.1 mm instead of ±0.3 mm across a snap joint.
Keeping the cap separate gives freedom: a PC/ABS chassis with a PP cover, or an overmolded TPE gasket at 20 to 40 Shore A for sealing. Separate parts allow service access and brass inserts for M3 to M6 screws without complicating the chassis tool.
The rule is volume and stability. Programs above 100,000 parts per year with a frozen design can afford integration; programs with frequent service access, color changes or sealing needs stay separate. Run the DFM review before quoting.
FAQ: Base Cap Molding
Q1. What is the minimum wall thickness for a base cap?
Most base caps run 1.0 to 2.5 mm. Large PP caps reach 0.8 mm at a flow length to wall ratio near 200:1. ABS and PC/ABS hold 100:1 to 150:1, so 1.0 mm is the floor above 100 mm unless you add gates.
Q2. Which material is best for a base cap with snap fits?
PC/ABS is the safest default: 3 to 5% snap strain, 110°C deflection temperature and good polish. PP gives 6 to 8% strain but sinks more. ABS is cheaper at 2 to 4% strain and suits short lugs.
Q3. How do I stop sink marks behind mounting bosses?
Core the boss to a 60% wall, keep rib bases at 50 to 60% of wall, and pack at 50 to 70% of injection pressure. If sink still shows on gloss, add a 0.02 to 0.05 mm texture or move the boss behind a rib.
Q4. Where should the gate go on a cosmetic base cap?
On the hidden inner face or edge, never the show surface. A single edge gate covers caps up to 150 mm at 1.2 mm wall. Larger caps take a fan gate or two gates, with weld lines vented off the show face.
Q5. How much draft does a textured base cap need?
Start with 1 to 3 degrees per side on walls, add 1 degree per side for texture above 0.02 mm, and keep 0.5 degrees minimum on ribs and bosses. Without it, the pattern scuffs on ejection.
Q6. How long does a base cap mold last?
A P20 tool at 28 to 32 HRC runs 500,000 to 1,000,000 cycles on unfilled ABS and PP. H13 or S136 at 46 to 52 HRC reaches 1,000,000 to 2,000,000 cycles, and becomes necessary for PA66 with glass.
The Bottom Line
A base cap is a thin-walled cover that fails on cosmetics first. Keep walls uniform, ribs at 50 to 60% of wall, bosses cored, and the gate off the show face. Match material to service temperature and mold design to shrinkage. DieStrike builds base cap molds with CMM-verified dimensions and DFM feedback within 24 hours.
Send us your part drawing and we will return a gate, cooling and ejection review with a cost breakdown in 48 hours.
KEEP READING
Related Reading
5 Mold Cooling Channel Design Tips for Faster Cycles
Mold maker's 5 cooling channel design rules: channel-to-cavity distance 2-2.
Read articleArticle5 Shrinkage Compensation Rules for Mold Design
Shrinkage compensation decides mold accuracy. Five rules: material rates from 0.3% to 2.
Read articleArticle5 Ways to Reduce Mold Cost Without Cutting Quality
Five proven ways to reduce injection mold cost without cutting quality: DFM before quoting, right-sized cavity count,…
Read articleArticle7 Gate Design Best Practices for Balanced Filling
Mold maker's 7 gate design rules for balanced multi-cavity filling: gate depth 50-80% of wall thickness, land 0.5-1.
Read articleNEXT STEP
Ready to Start Your Mold?
Send us your element dimensions or part numbers — our team responds within 24 hours with pricing and lead time.

Written by
Ray ChanMold Buyer's Guide Author · Precision Mold Manufacturing Specialist. Ray helps global importers, distributors and OEMs source factory-direct molds and mold parts.