
Mold Core vs Cavity: Roles and Machining Strategy
Table of Contents
A two-cavity connector mold reaches the production floor, and the first shots stick in the cavity half. Ejector pins hammer push marks across a cosmetic surface, the cavity is pulled for rework, and the core — which should have carried the part out — sits empty. The failure was decided months earlier at the design review: the largest draft-free wall was on the cavity side, the parting line crossed a critical dimension, and one shrinkage number was applied to both halves as if they were the same tool.
Core and cavity are not mirror copies of one geometry. The core is the male half that forms the inside of the part and grips it as the plastic shrinks; the cavity is the female half that forms the visible outside surface and releases first when the mold opens. They carry different loads, run at different hardnesses, get machined by different processes, and fail in different places. Treating them as a single line item in a quote is how sticking parts and out-of-tolerance dimensions happen.
This guide is for mold buyers and mold engineers: what each half does, where the parting line goes, how shrinkage decides ejection, which steel goes on which side, and how machining differs — with typical values for checking a quote or a DFM review.
The Snapshot
- The cavity (female half) forms the part's outside — the A-side cosmetic face; the core (male half) forms the inside — bosses, ribs, and the B-side.
- Typical shrinkage of 0.5-2.5% (amorphous 0.4-0.7%, semi-crystalline 1.5-2.5% — typical published values) makes the part grip the core, so ejection comes from the core side.
- The parting line is a design decision, not a shop-floor afterthought: it decides witness-line location, flash risk, and how the halves seal.
- Cavity steel can run pre-hardened — P20 at 28-32 HRC or 718H at 33-38 HRC; cores more often run hardened S136 or H13 at 48-52 HRC, because the core drags the part off its surface every cycle.
- Cavity machining is dominated by 3-axis/5-axis milling and EDM, finishing to Ra 0.4-0.8 µm typical; core machining leans on cylindrical and optical profile grinding, with ground surfaces at Ra 0.4 µm or better.
- Core and cavity inserts isolate wear zones, cutting replacement cost from a full plate to a single ±0.002 mm-fitted piece.
- Mismatched halves — different draft, shrinkage, or cooling — surface as stuck parts, dimension drift, and flash, usually after the mold is in trial.
Core vs Cavity: What Each Half Does
Injection mold construction starts with two steel blocks closing around the part geometry. The cavity is the concave half, usually on the fixed (nozzle) side of the press. It forms the part's outside contour — the surface the customer sees — and carries the sprue, runner, and gate in most layouts, which is why gate erosion concentrates on the cavity. The core is the convex half, typically on the moving (ejector) side. It forms the inside — bosses, ribs, snap features, the B-side — and carries the ejector system that pushes the part off.
The two halves do not share the same duty cycle. The cavity sees the abrasive flow front on every shot and, on cosmetic programs, must hold a polish. The core sees sliding friction on every ejection — the part drags across its surface as it is pushed off — and its features are often thin, making toughness and hardness more important than polish. A core and cavity treated as one symmetric pair fail together, but for different reasons.
The risk anchor for this pairing is mismatch. Different draft assumptions and the part releases from the wrong half; different shrinkage compensation and the dimension drifts off the drawing; unsealed shut-offs and flash grows along the parting line. Each is a core-vs-cavity problem — caught in design review rather than on the press.
| Design Factor | Cavity (Female Half) | Core (Male Half) |
|---|---|---|
| Surfaces formed | Outside contour, A-side appearance | Inside walls, bosses, ribs, B-side |
| Cosmetic exposure | High — polish and finish specs apply here | Low — hidden from view in most assemblies |
| Shrinkage behavior | Part pulls away from cavity wall on cooling | Part shrinks onto core — core grips the part |
| Ejection role | Releases first; rarely carries ejector pins | Holds the part; carries ejector system |
| Typical steel | P20 (28-32 HRC), 718H (33-38 HRC), S136 | S136 or H13 hardened 48-52 HRC; P20 for low wear |
| Typical finish | Ra 0.4-0.8 µm machined; mirror below Ra 0.1 µm | Ra 0.4 µm ground typical; Ra 0.02 µm optical grinding capability |
| Dominant wear | Gate erosion, flow-front abrasion | Sliding friction at ejection, thin-core fatigue |
← swipe to scroll →
Typical values from mold shop practice; final targets are set per program.
The Parting Line: Where Core and Cavity Meet
The parting line is the interface where the two halves close — and the edge of the part formed at that seam. It is the most consequential line on the drawing: it decides which surfaces carry a witness line, where flash can form, where venting goes, and how much clamping force the mold needs.
Parting line placement follows the part silhouette, but the engineer's job is choosing which silhouette: edges and non-cosmetic transitions, never across a flat A-surface that will show the seam, and never across a critical dimension — a dimension measured across the parting line stacks two halves' machining tolerance with press clamp variation, making it the least repeatable callout in the mold. Flag any critical dimension spanning the parting line in the first design review — moving it later means recutting one or both halves.
The parting line also sets clamp tonnage: projected area at the parting plane times cavity pressure — typically 300-800 bar for standard thermoplastics — is the force the press must hold against flash, and a line that maximizes projected area raises the required press size. Stepped and latched parting lines trade a more complex shut-off for a better seam; steel-to-steel shut-offs should hold at least 3° to avoid galling as the mold wears.
The parting line is also where the mold breathes. Vent slots cut into the parting plane at last-filled points — typically 0.01-0.04 mm deep depending on resin (0.02 mm is the common start for most thermoplastics), 5-10 mm wide — let trapped air escape instead of burning the surface. If the parting line leaves no room for vents, short shots and burn marks are predictable. Our mold design and DFM service reviews the parting line before any steel is ordered: it is the cheapest line on the drawing to move, and the most expensive to move later.
Shrinkage and Ejection: Why Parts Stick to the Core
Every thermoplastic shrinks as it cools from melt temperature to mold temperature. Typical linear shrinkage runs 0.5-2.5%, and the spread matters: amorphous resins (ABS, PC) shrink 0.4-0.7%, while semi-crystalline resins (PP, PA66, POM) shrink 1.5-2.5% (typical published values), with glass-filled grades at the low end. Shrinkage is also directional — more in the flow direction than transverse — which is why a single number applied to both halves is the most common cause of dimension drift on semi-crystalline parts.
The direction of shrinkage decides ejection. The part cools against both halves, but the cavity wall recedes as the part shrinks while the core stays put, so the part grips the core — wrap-around shrink locks it onto the male half. The mold is designed so the cavity releases first and the part stays on the core — which is why the ejector system always lives on the core side.
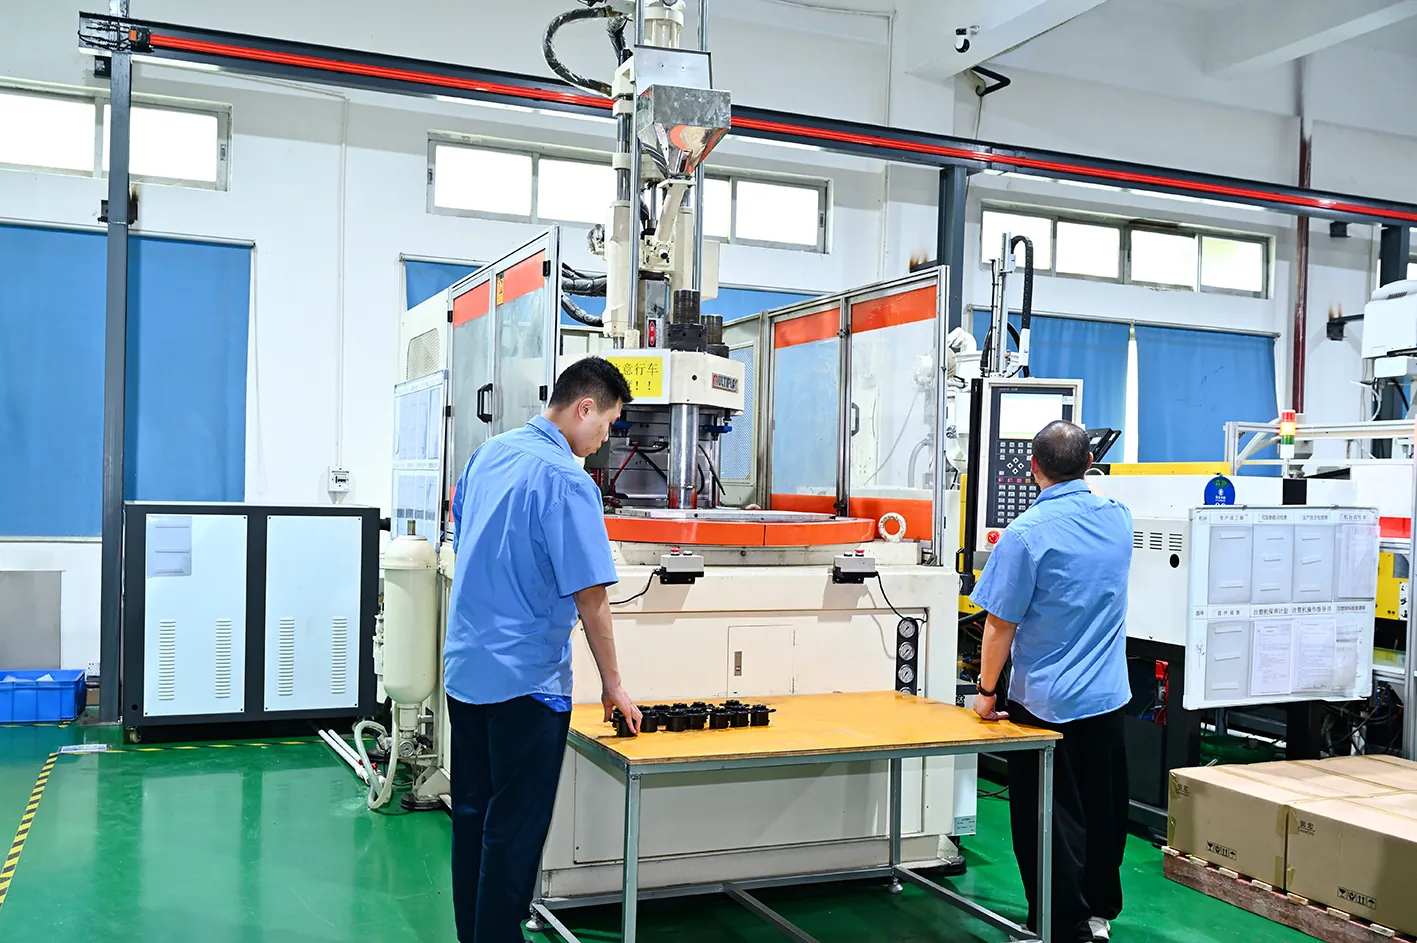
Ejection is a mechanical fight against shrinkage. Ejector pins — typically 1-12 mm diameter, hardened to 58-62 HRC in H13/SKD61 — push the part off the core, and their position is a design decision: pins land on the B-side, bosses, and ribs — never the A-surface, because every pin leaves a witness mark. Sleeves and blades spread the load on thin walls; stripper plates push around the periphery. Pin-to-core clearance is typically 0.01-0.02 mm — tight enough to prevent flash, free enough to move.
Draft is the design side of the same fight. Typical draft is 0.5-2° per side, with deep ribs, tall cores, and textured surfaces at the top of the range — add roughly 1° per 25 µm of texture depth, because texture locks the part onto the steel. The core side usually needs more draft than the cavity side, precisely because the part grips the core. Missing draft means the part sticks, or the ejector system overloads and pins bend. The compensation math — scaling each half by 1 + shrinkage, per direction — is in our five shrinkage compensation rules, the first thing DieStrike's DFM engineers check on a semi-crystalline part.
Steel Selection: Core vs Cavity
The load asymmetry justifies an asymmetric steel strategy: the cavity works against flow-front abrasion and a polish requirement; the core against sliding friction, thin sections, and heat. A common, economical build runs a pre-hardened cavity with hardened cores — each side answers a different question.

| Grade | Hardness | Best Fit on the Mold | Typical Use |
|---|---|---|---|
| P20 | 28-32 HRC pre-hardened | Cavity, general | Standard thermoplastics, low-to-mid volumes, cosmetic parts with normal polish |
| 718H | 33-38 HRC pre-hardened | Cavity, better polish | Where P20 polish is borderline — appliance and consumer programs at mid volume |
| S136 | 48-52 HRC heat-treated | Core or cavity, stainless | Transparent, food-contact, medical, and corrosive-resin programs |
| H13 | 48-52 HRC heat-treated | Core, high wear/heat | Glass-filled and high-temperature resins, thin cores, high cycle counts |
← swipe to scroll →
Hardness ranges are typical published values; final targets are set per application, with critical inserts hardened to HRC 62 on the DieStrike floor.
P20 at 28-32 HRC machines quickly and polishes acceptably, keeping steel cost and machining hours down on the cavity side. 718H at 33-38 HRC is the upgrade when the part demands a better cavity polish. On the core side, S136 hardened to 48-52 HRC answers corrosion and polish where the part is transparent or the program is medical or food-contact; H13 hardened to 48-52 HRC answers wear and thin-section toughness where the resin is glass-filled or runs hot. Critical inserts — gates, thin cores, shut-offs — go to HRC 62, typical of connector and automotive tooling.
The payback logic is the same on both halves: a hardened core out-wears a pre-hardened one by multiples on abrasive resins, but the premium only pays if the resin actually loads that axis. The full trade-off — including the cost ladder and the over-specification trap — is in our P20 vs H13 vs S136 guide. Under IATF 16949, every heat-treated component ships with its hardness log and material certificate: the core and cavity arrive with hardness verified, not assumed.
Machining Strategy: Cavity Milling vs Core Grinding
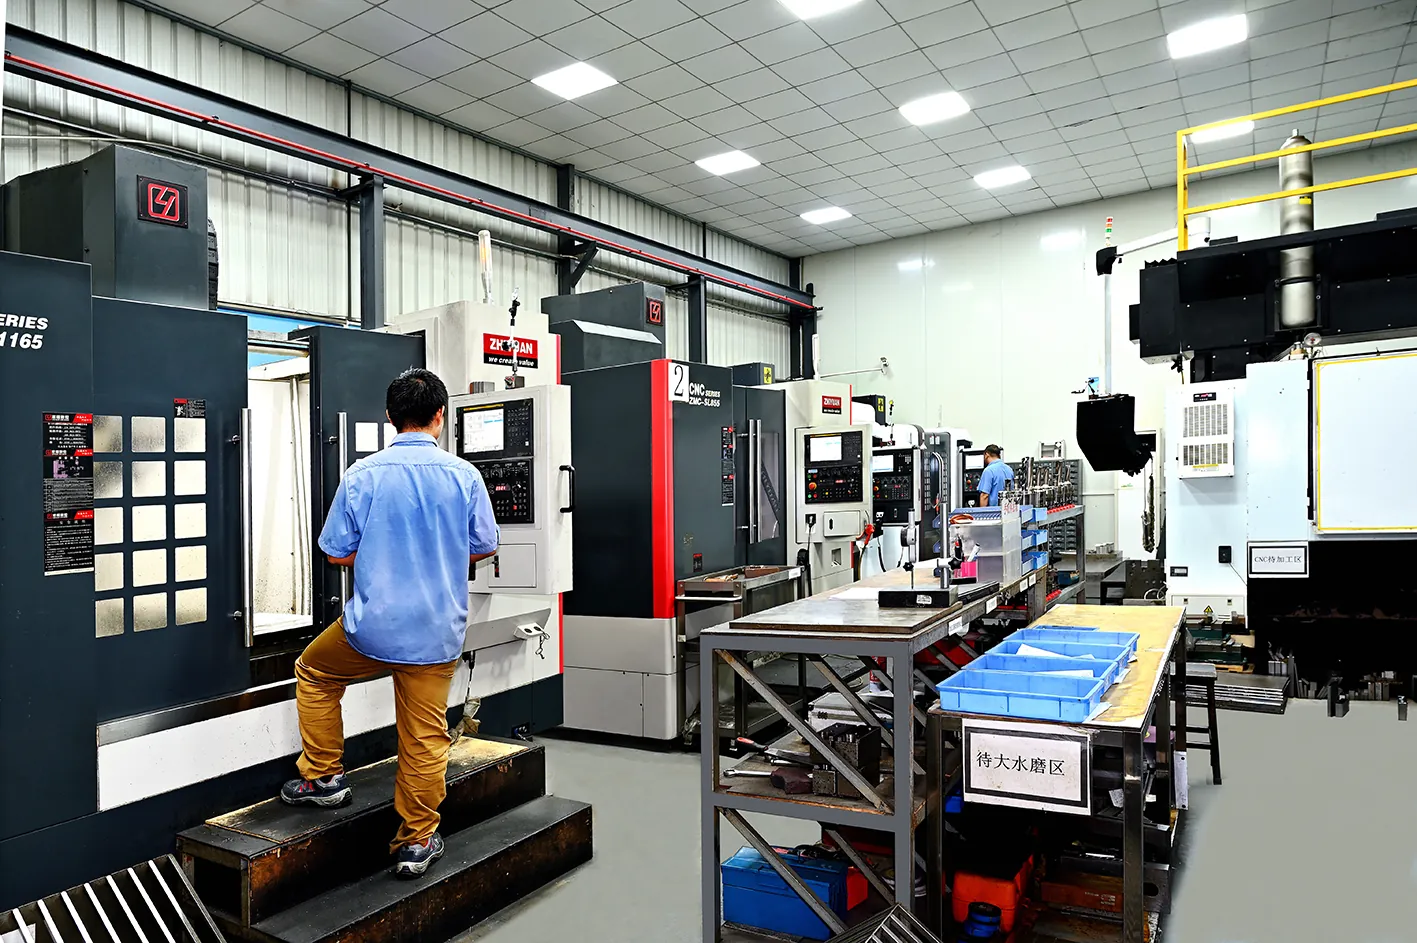
Concave and convex geometry do not machine the same way, and the process split is a fingerprint of a mature mold shop. The cavity is cut from the outside in: 3-axis and 5-axis milling with ball-nose tools roughes and finishes the concave form, EDM takes over where the cutter cannot reach, and polishing brings the surface to spec. The core is cut from the inside out: cylindrical and centerless grinding, optical profile grinding, and precision turning generate the convex forms, with surface grinding finishing the shut-off faces.
On the cavity side, the typical machined finish is Ra 0.4-0.8 µm — enough for most functional and semi-cosmetic surfaces without hand polishing. Internal corners tighter than the smallest cutter radius go to EDM: die-sinking EDM burns the corner to the programmed radius, with typical finishes of Ra 0.2-1.0 µm and mirror EDM below Ra 0.1 µm. On the DieStrike floor, the Sodick EDM line finishes critical cavity details to Ra 0.02 µm — the level behind glass-clear and optical inserts. One constraint: EDM leaves a recast layer, so hardened EDM'd surfaces get a finish pass or slight oversize for polishing.

On the core side, round features are ground rather than milled because grinding holds both geometry and finish on hardened steel. Cylindrical grinding generates core ODs to Ra 0.4 µm typical; centerless grinding handles small round cores in batches; optical profile grinding — the Waida line at DieStrike holds 0.0005 mm — cuts formed profiles milling cannot reach on hardened steel. The rule behind the split: above 48-52 HRC, steel is ground or EDM'd, not milled — a shop proposing to mill a hardened core is either cutting soft and hardening after, with distortion risk, or is not at the hardness on the certificate.
Sequence matters as much as process. The DieStrike route is rough soft, vacuum harden, finish grind and EDM to final geometry, then polish and fit — holding mold part geometry to ±0.002 mm and overall accuracy to ±0.005 mm, with full CMM inspection at the end. Hardening after finish machining risks distortion; grinding away a hardened skin removes the wear resistance the steel premium bought. The tolerance chain is detailed in our guide to holding ±0.002 mm mold tolerances.
Core and Cavity Inserts
A core or cavity insert is a separate hardened piece fitted into a pocket cut in the mold base, instead of cutting the feature into the solid plate — the standard answer to localized wear, complex geometry, mixed steel grades, and replacement economics.
Gate-area erosion is the classic case — the wear zone gets its own hardened piece, so when 200,000 cycles erode the gate, the shop replaces a small insert instead of recutting a cavity plate. Complex cores — deep ribs, thin fins, formed shut-offs — machine better as standalone pieces with EDM and optical grinding access from every side. Mixed grades solve the asymmetric load: a P20 cavity plate carries S136 or H13 inserts hardened to 48-52 HRC where the wear is, cheaper than hardening the whole cavity. Inserts also enable spare strategy: high-wear programs buy a spare set with the mold, and the swap takes hours, not weeks.

Insert fit is where the tolerance discipline lives. A serviceable insert is dowel-located and screw-held, fitted to the pocket with a light interference of 0.005-0.015 mm or a transition fit such as H7/k6 — tight enough to hold under injection pressure, loose enough to disassemble. Critical fits and shut-off faces are held to ±0.002 mm, generated by wire EDM in the hardened state so the insert and pocket share the same datum. The economics follow: an insert replacement costs a fraction of a recut cavity and lands inside the two-to-five-week lead window. Our custom mold inserts page lists the grades, hardness options, and fit standards; our injection mold manufacturing service shows where inserted construction fits a full tooling program.
Venting, Cooling and Draft Differences
The two halves also differ in the three supporting systems: venting, cooling, and draft. None is optional, and each is half-designed if it covers only one side.
Venting. Air trapped at last-filled points must escape or it burns the surface, blocks fill, or leaves weak weld lines. Vents sit at the parting line and shut-offs — typically 0.01-0.04 mm deep (0.02 mm is the standard start for most thermoplastics), 5-10 mm wide, followed by a wider relief channel so it does not clog. Both sides of the parting plane get vented — venting one half only still traps air on the other. Our mold defect troubleshooting guide maps burn marks and short shots back to vent depth and placement.
Cooling. Cooling consumes roughly 70-80% of a typical cycle — a cycle-time decision, not a plumbing detail. The cavity side is usually the easy half: its back face is flat, so straight channels — typically 8-12 mm diameter, spaced 1.5-2.5× diameter apart, about 1.5× diameter from the cavity surface — are simple to drill. The core side is the hard half: the channel must fit inside the core OD, so small cores use baffles, bubblers, or spiral cores; the smallest run on heat pipes or not at all. Unbalanced cooling between the halves warps the part and shifts shrinkage locally — dimensions right on the drawing, wrong on the CMM report. Our mold heating and cooling page covers the channel layouts available on a production tool.
Draft. The asymmetry here is physical: the part grips the core, so the core side needs the margin. Typical draft is 0.5-2° per side, with deep ribs, tall cores, and textured surfaces at the top of the range — add roughly 1° per 25 µm of texture depth. Short draft on the core side climbs ejection force, pins mark or bend, and the part sticks or warps. Draft is checked per surface in DieStrike's DFM review — both halves listed separately, because they are separate decisions.
Decision Checklist
Before a core and cavity go to steel, buyer and mold maker should answer each line below — with a number, not a phrase:
- Parting line — non-cosmetic edges; no critical dimension crosses it; shut-off angles at 3° or more; vent space at last-filled points.
- Draft — 0.5-2° per side verified per surface, core side higher than cavity side, +1° per 25 µm texture depth on textured areas.
- Shrinkage compensation — applied per material and per direction (amorphous 0.4-0.7%, semi-crystalline 1.5-2.5% typical), not one number for both halves.
- Ejection — part confirmed to release from the core; ejector pin positions on B-side surfaces; clearance fit 0.01-0.02 mm; pins 58-62 HRC.
- Steel — cavity grade and core grade specified separately (P20 28-32 HRC or 718H 33-38 HRC cavity; S136/H13 48-52 HRC core as loaded), with a hardness target range per insert.
- Finish — cavity Ra 0.4-0.8 µm machined or better where cosmetic; core Ra 0.4 µm ground typical; mirror surfaces specified with a Ra target, not a phrase.
- Machining route — cavity milled then EDM'd; core ground; hardened features above 48-52 HRC confirmed as grind/EDM, not milled soft.
- Inserts — wear zones (gates, thin cores) identified for inserted construction; fit 0.005-0.015 mm interference or H7/k6; ±0.002 mm on critical fits.
- Cooling — channel layout confirmed on both halves; core-side cooling method (baffle, bubbler, spiral) named; spacing 1.5-2.5× diameter.
- Inspection — CMM plan covers both halves and critical dimensions; heat-treated components ship with hardness logs and certificates.
Frequently Asked Questions
Q1. What is the difference between the mold core and the mold cavity?
The cavity is the concave, female half that forms the part's outside surface, usually mounted on the fixed side of the press. The core is the convex, male half that forms the inside — bosses, ribs, and the B-side — and carries the ejector system. The part shrinks onto the core, which holds it and pushes it out; the cavity releases first.
Q2. Why do injection molded parts stick to the core instead of the cavity?
Because plastic shrinks as it cools: the part pulls away from the cavity wall while the core stays put, so the part grips the core with wrap-around shrink. That is why ejection comes from the core side — pins, sleeves, or a stripper push the part off while the cavity is already open.
Q3. Should the core be harder than the cavity?
Often, yes. The core drags the part across its surface on every ejection and frequently has thin sections, so hardened S136 or H13 at 48-52 HRC is common for cores, while the cavity runs pre-hardened P20 at 28-32 HRC or 718H at 33-38 HRC. The split is driven by load, not habit: a glass-filled resin hardens both halves; a cosmetic program may harden neither.
Q4. When should I use core or cavity inserts instead of a solid block?
When the wear is localized (gate erosion), the geometry is complex, the steel needs differ between zones, or you want a spare strategy. Inserts are fitted with 0.005-0.015 mm interference or H7/k6, dowel-located and screwed, and held to ±0.002 mm on critical fits — replacing a worn insert costs a fraction of recutting a cavity plate.
Q5. What draft angle do the core and cavity need?
Typically 0.5-2° per side, with the core side at the higher end because the part grips the core. Deep ribs and tall cores need 1-1.5° or more, and textured surfaces need roughly 1° extra per 25 µm of texture depth. Both halves are listed separately in DieStrike's DFM review.
Q6. Does cavity surface finish affect function or only appearance?
Both. The cavity forms the visible A-surface, but finish also affects release, wear, and consistency — a rough cavity (above Ra 0.8 µm) traps material and adds release friction, while a mirror cavity on a transparent part is a functional requirement. Machined finishes of Ra 0.4-0.8 µm cover most programs; optical surfaces go below Ra 0.1 µm.
The Bottom Line
Core and cavity are two different tools with different loads, steels, and machining routes — mismatched halves show up as stuck parts and out-of-tolerance dimensions. Specify each half on its own terms, and put the drawing through DieStrike's 24-hour DFM review before steel is cut.
KEEP READING
Related Reading
How to Design for Moldability: 9 Geometry Rules
How to Design for Moldability: 9 Geometry Rules
Read articleArticle5 Mold Cooling Channel Design Tips for Faster Cycles
Mold maker's 5 cooling channel design rules: channel-to-cavity distance 2-2.
Read articleArticle5 Shrinkage Compensation Rules for Mold Design
Shrinkage compensation decides mold accuracy. Five rules: material rates from 0.3% to 2.
Read articleArticle5 Ways to Reduce Mold Cost Without Cutting Quality
Five proven ways to reduce injection mold cost without cutting quality: DFM before quoting, right-sized cavity count,…
Read articleNEXT STEP
Ready to Start Your Mold?
Send us your element dimensions or part numbers — our team responds within 24 hours with pricing and lead time.

Written by
Ray ChanMold Buyer's Guide Author · Precision Mold Manufacturing Specialist. Ray helps global importers, distributors and OEMs source factory-direct molds and mold parts.