
How to Design Co-Injection Molds: Skin, Core and Boundary
Table of Contents
A 12 cavity co-injection tool for a 4 mm thick appliance panel went to the bench with one 3 mm sprue gate. Unit A laid the skin and unit B followed through the same sprue. On shot 30 the core broke through the cosmetic surface on two cavities. The two cavities scrapped at 4.8 kg per shot and the launch slipped six days. The fix was a 1.2 second skin lead and a 40 percent change in gate land.
This guide covers the tool side of co-injection: cycle split, two-channel nozzle, gate and boundary control, material pairs, steel, cooling and trial acceptance.
The Snapshot
- Skin lead of 20 to 40 percent. Unit A fills 20 to 40 percent of the shot before unit B starts, and the last 5 to 15 percent of skin closes over the core.
- Core depth of 0.3 to 1.5 mm. The boundary sits 0.3 to 1.5 mm under the surface, and a break through it scraps the part on the cosmetic face.
- One gate, 2 to 6 mm deep. Two gates make two melt fronts that mix skin and core. A single gate in the thickest section holds the structure.
- Skin at 2 to 3 times core viscosity. That ratio keeps the core centred in the melt track instead of drifting to the wall and breaking out.
How the Co-Injection Cycle Runs
A co-injection tool runs on one station with two injection units feeding a single gate. Unit A injects the skin material first, filling 20 to 40 percent of the shot volume. Unit B then pushes the core material through the same sprue while the skin is still viscous and moving.
The last 5 to 15 percent of the shot comes from unit A again. That final skin closes the gate and seals the core 0.3 to 1.5 mm under the surface. The core never reaches the cavity wall, so it never shows on the part.
Timing is the whole process. A skin-only lead of 0.5 to 1.5 seconds sets where the core starts, and gate freeze sets where it stops. Freeze too early and the core stalls at the gate. Freeze too late and the core runs to the end of fill and breaks out.

Two-shot molding indexes the part between stations and welds two materials in sequence. That needs a rotary platen or a core-back action, and the two-shot mold design guide covers that architecture. Co-injection keeps one station, one cavity and one gate. The whole problem moves into the nozzle and the sequence.
The press carries two barrels, two screw profiles and two velocity profiles. On a 4 mm wall the cycle runs 30 to 60 seconds. Sequence times are set in 0.1 second steps and logged with the shot weight. A 0.2 second drift in the skin lead moves the boundary by about 0.3 mm.
Set the transfer points on screw position, not on time alone. Hold the cushion within 1 mm between shots, and the skin thickness repeats within 0.2 mm.
What Co-Injection Buys: Cost, Barrier and Surface
Material cost is the first reason to co-inject. A recycled or mineral-filled core cuts material cost 15 to 40 percent on the core share of the part. The virgin skin keeps the cosmetic and food-contact surface. A 60 percent core share at a 30 percent lower core price takes 18 percent off the material bill.
Barrier performance is the second. A core of a high-barrier resin limits moisture or oxygen migration through the wall. A 0.3 to 0.8 mm barrier layer inside a 3 mm wall keeps working after forming, which a coating cannot promise. The guide to molds for recycled plastics covers venting, steel and drying for regrind cores.
Surface is the third. A soft-touch, coloured or UV-stable skin sits over a structural core. A glass-filled or mineral-filled core can carry the load under a 0.4 to 1.2 mm cosmetic layer.
The comparison below sets co-injection against the two processes it is most often confused with.
| Method | Tooling | Cycle effect | Bond | Where it fits |
|---|---|---|---|---|
| Two-shot (2K) | Two stations, rotary platen or core back, 1.5 to 2.5 times a single-shot tool | Index adds 2 to 5 seconds per part | Yes, at the interface only | Large second-surface area and hard material pairs |
| Co-injection | One station, two hot runners and a two-channel nozzle, 1.25 to 1.4 times a single-shot tool | No index, 30 to 60 second cycle on a 4 mm wall | Yes, over the whole core surface | Core share above 50 percent, barrier or recycled cores |
| Overmolding | Second tool or a shuttle, two press runs | Two cycles and two setups | Yes, on a prepared surface | Low volume, grips and seals on a finished part |
← swipe to scroll →
Table note: tooling multiples and cycle effects are typical planning values for a 300 to 800 g part. Confirm against the press schedule and the quoted tool cost before a budget is fixed.
The Co-Injection Nozzle and Manifold
Two nozzle architectures cover most production tools. A concentric two-channel nozzle carries skin in an outer annulus and core in a centre bore. A transfer hot runner keeps the two melts apart and brings them together at the nozzle tip. Both runners stay hot, and each needs its own control loop.

Independent control is not a preference. Skin and core often run different grades with different melt ranges. Hold each channel within ±5 °C of its setpoint. A skin channel at 240 to 260 °C over a core channel 10 to 30 °C cooler gives a stable viscosity ratio.
Keep residence time low. A pocket where melt sits above 260 °C for 3 to 5 minutes will degrade. A degraded core shows up as splay and silver streaks through the skin. A manifold with 2 to 4 drops at 12 to 20 mm spacing keeps dead volume small.
Purge the core channel at every stop longer than 10 minutes. Inspect the drop tips for a cold slug before the first shot after a break. Balance and thermal growth follow the same rules as any manifold, and the hot runner manifold design guide sets out the expansion numbers.
The valve pin is the wear part. A pin cycling every 30 to 60 seconds takes 40,000 to 100,000 strokes in a month. Seat it on a hardened, lapped surface and keep a spare pin in the crib.
Gate Design for Skin and Core
A co-injection part needs one gate. Size it 2 to 6 mm deep on a 3 mm wall, and place it in the thickest section. Two gates create two flow fronts that meet in the middle of the part. The skin and core mix at that weld line, and the structure is gone where the load usually is.
Gate freeze sets where the core stops. A gate that seals too early chokes the core at the sprue. A gate that stays open lets the core travel to the last point to fill. Target a gate land of 0.8 to 1.2 mm and time the skin lead at 0.5 to 1.5 seconds around that freeze point. The gate type selection guide lists the freeze numbers for each gate family.
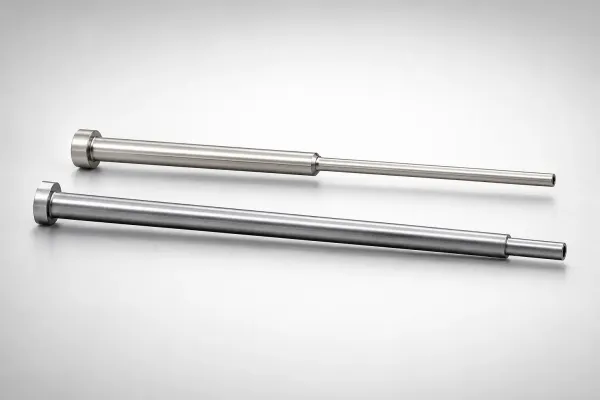
Fill from thick to thin. A flow path of 150 times the wall thickness is the practical ceiling for a 3 mm wall. Adding a second gate to shorten the flow breaks the skin-core structure. Increase the wall, raise the melt temperature by 10 °C, or move the gate instead.
Keep the gate vestige inside the drawing. A co-injection gate of 3 to 6 mm leaves a mark of 0.5 to 1.0 mm unless a valve pin shears the gate clean. On a visible face, put the gate on a hidden wall or machine the vestige flat.
Core Position and Boundary Control
The core is buoyant and centralises in the melt track. A lower-viscosity core inside a higher-viscosity skin travels down the middle of the channel. The skin acts as a tube around it. Hold the skin at 2 to 3 times the core viscosity and the core stays near the centre.
Sprue-to-gate geometry sets how far the core travels before the melt track stabilises. A sprue of 4 to 6 mm into a gate 2 to 6 mm deep is a short run. A 60 mm runner between the two is a long one. Every direction change pushes the core toward the outside of the bend.
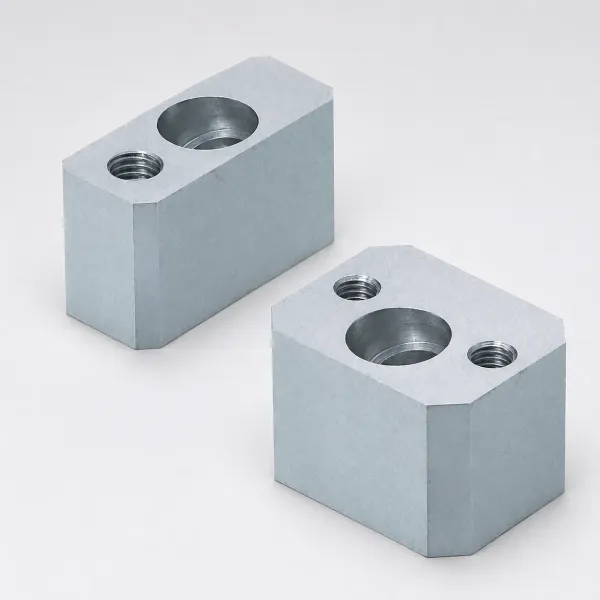
Guard the end of fill. Pressure is lowest in the last 20 percent of the fill, and the skin there is the thinnest of the whole flow path. Cut unit B velocity by 10 to 20 percent in that final fifth. Let unit A take over earlier if the boundary is already under 0.4 mm.
Measure the boundary instead of guessing at it. Section a part at 10, 30, 60 and 100 mm from the gate and polish the cut. Read the skin thickness at four quadrants on each section. Target 0.3 to 1.5 mm with a spread under 0.3 mm.
Material Pairing and Shrinkage Match
Skin and core have to bond. The safest pairs sit in the same polymer family. PP skin over talc-filled PP core, PC skin over a PC/ABS core, and virgin PET skin over an rPET core all bond without an additive. A pair from different families needs a compatibilizer at 2 to 5 percent by weight at the interface.
Viscosity ratio is the second rule. Keep the skin 2 to 3 times the core viscosity so the core stays in the middle of the melt track. A filled core is usually the stiffer melt of the two. A core with a high melt flow rate can end up thinner than the skin.
Shrinkage mismatch under 0.3 percent is the third rule. Unfilled PP skin shrinks 1.2 to 1.8 percent against 0.8 to 1.2 percent for a talc-filled core. On a 200 mm part that mismatch can move the part by 1.2 mm unless the tool compensates. Fix it in the cavity dimension and hold the core share steady.
Dry the core resin to the datasheet limit before dosing. Moisture in a PC or PET core turns into splay that shows through a 0.5 mm skin. Keep both melts within 20 °C of each other, so the viscosity ratio holds mid-shot.
Steel, Cooling and Cycle Time
Gate inserts wear faster on a co-injection tool. A thick gate land carries a valve pin that cycles every 30 to 60 seconds, and the core material is often filled. Build the gate as a replaceable insert in 1.2344 at HRC 50. Keep the nozzle seat on a separate lapped component that can be re-cut.
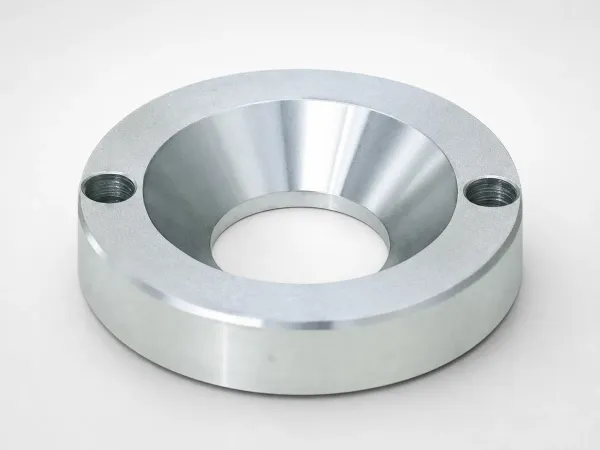
Cooling carries the cycle time on a thick part. A 4 mm wall at a 30 to 60 second cycle leaves no room for a hot spot. Run channels at 10 to 12 mm diameter and 15 to 25 mm from the cavity surface. Core-side baffles and bubblers are the difference between a 45 second cycle and a 70 second one.
Hold the tool at the temperature the skin needs, not the core. A PP skin runs well with the mold at 40 to 80 °C. A PC skin wants 80 to 110 °C so the cosmetic face stays glossy. Set the mold temperature for the skin, then trim the core melt to hold the boundary.
Build tolerance follows the same rules as any precision tool. Mold geometry holds ±0.005 mm. EDM and jig grinding hold ±0.002 mm on inserts, gate lands and interchangeable components. Standard components ship in 3 to 7 days, and a co-injection tool runs 2 to 5 weeks on a clean drawing set.
Core Breakthrough and Defect Control
Core breakthrough is the main reject mode on a new tool. Expect 2 to 5 percent of shots to break through during the first 500 to 1,000 shots while the window is being set. The defect shows as a matte or filled patch on the cosmetic face. It appears at the end of fill where the skin is thinnest.
Three other defects follow the same boundary. Boundary drift shows as a skin that runs 0.2 mm thinner in one cavity. Delamination shows as a flake that lifts when the part flexes, and it points at the material pair rather than the process. Warpage grows with the core share and comes from a shrinkage mismatch over 0.3 percent.
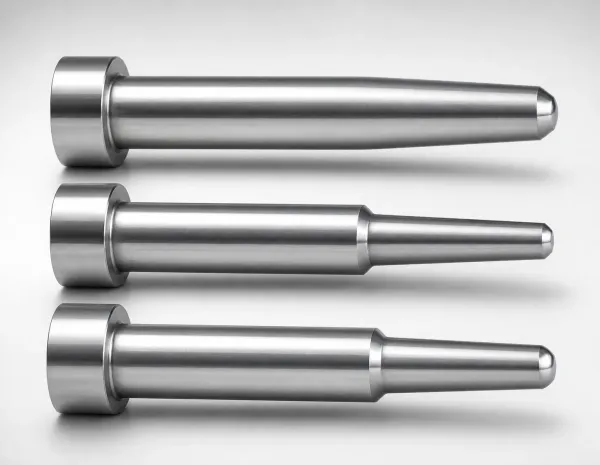
Run a control loop on the boundary, not on the shot. Weigh the part every 30 minutes and hold the weight within 1 percent of target. A 2 percent weight drift changes the skin thickness by 0.1 to 0.2 mm. Log the skin lead, the core volume and the cushion beside that weight.
Countermeasures follow a fixed order, cheapest first. Cut the core volume by 5 percent, then extend the skin lead by 0.2 seconds. Drop unit B velocity by 10 percent in the last fifth of fill, then lower the core melt by 10 °C. Re-cut the gate only after those four moves fail, because a gate change costs a 4 to 8 hour tool stop.
Machine and Cost Reality
A co-injection press carries two injection units on one clamp. Size the skin screw to the skin share of the shot and the core screw to the core share. A core share of 50 to 80 percent usually needs the larger barrel. Two barrels also mean two drying systems, two purge routines and two material logs.
Budget a 25 to 40 percent tool premium over a single-shot tool of the same size. The premium pays for the two-channel nozzle, a second hot runner system and its own controller. It also covers the sequence programming and the trial time needed to set the boundary.
Do the material arithmetic before the quotation. A 600 g part with a 60 percent core share moves 360 g of material to the cheaper grade on every shot. At a 30 percent price gap, that is 18 percent off the material cost of the shot. A run of 250,000 parts a year puts 90 tonnes of material on the cheaper price.
Add the costs that do not show on a tool quote. Expect 30 to 60 shots of setup scrap at each material change and a spare valve pin in the crib from day one. A three-shift tool loses 600 to 1,200 parts a year to boundary drift if the weight check is not run.
Cavity count follows the same logic as any precision tool. A co-injection tool usually runs 1 to 4 cavities. Every extra cavity adds a hot runner drop and a balance problem to a sequence that is already sensitive. A 4 cavity tool needs 12 to 20 mm drop spacing and individually controlled drop temperatures. That adds 8 to 15 percent to the tool cost, and above 4 cavities the boundary window narrows on the outer drops.
Pick co-injection where the part is thick, the volume is high and the core share is large. Below a 30 percent core share, a single-material part with a coating usually costs less. Above a 70 percent core share, the skin is so thin that the boundary window closes.
Tolerances, Inspection and Trial Acceptance
Hold mold geometry at ±0.005 mm on the cavity, the gate land and the nozzle seat. EDM and jig grinding hold ±0.002 mm on inserts and interchangeable components. That accuracy is what keeps a gate insert replaceable without re-cutting the cavity. The boundary is set by steel geometry as much as by the sequence.
The trial runs in two steps. T0 sets the sequence: skin lead, core volume, transfer points and gate freeze. It is confirmed on 30 to 50 shots with section cuts at four positions. T1 then collects dimensional data across a full cavity set and a full shift.
Write acceptance criteria into the purchase order. Skin thickness of 0.3 to 1.5 mm at all four quadrants of every section, with a spread under 0.3 mm across the cavity set. No core breakthrough in 500 consecutive shots, gate vestige under 1.0 mm, and part weight within 1 percent of nominal. A tool that meets the dimensions and breaks through on shot 700 has been postponed, not accepted.
DieStrike builds co-injection and precision injection molds to IATF 16949 with 120+ machines and ±0.005 mm mold accuracy. EDM and jig grinding hold ±0.002 mm, and heat treatment reaches HRC 62 maximum. Tier-1 references include TE, Amphenol, Luxshare and Dongshan. The injection mold manufacturing process covers DFM feedback in 24 hours. Standard components ship in 3 to 7 days, and tool lead times run 2 to 5 weeks.
Co-Injection Mold Design FAQ
Q1. How does co-injection differ from two-shot molding?
Two-shot molding fills one material, indexes the part to a second station and fills a second material. That needs a rotary platen or a core-back action. Co-injection injects both materials through one gate on one station from two injection units. The skin goes first and the core follows inside it, so the tool problem is a sequence rather than a station layout.
Q2. How many gates does a co-injection mold need?
One gate, placed in the thickest section and sized 2 to 6 mm deep on a 3 mm wall. Two gates create two melt fronts that meet in the middle, and the skin and core mix at that weld line. If the flow path is too long, thicken the wall or raise the melt temperature instead of adding a gate.
Q3. Why does the core break through the skin?
Four reasons, in order of frequency. The skin lead is too short, the core volume is too high, or unit B velocity is too high at the end of fill. A viscosity ratio below 2 to 1 causes it too. Breakthrough almost always appears at the last point to fill, where cavity pressure is lowest and the skin is thinnest.
Q4. Which material pairs work in a co-injection mold?
Same-family pairs are the safe choice: PP skin over talc-filled PP core, PC skin over a PC/ABS core, virgin PET skin over an rPET core. Keep the skin viscosity 2 to 3 times the core and the shrinkage mismatch under 0.3 percent. Cross-family pairs need a compatibilizer at 2 to 5 percent by weight and a delamination test before the tool is cut.
Q5. What does a co-injection tool cost compared with a single-shot tool?
Expect a 25 to 40 percent premium, driven by the two-channel nozzle, the second hot runner system and its own temperature controller. The premium is recovered through material cost. At a 60 percent core share and a 30 percent price gap, the material bill drops 18 percent per shot. The arithmetic closes above a 30 percent core share.
Q6. How long does a co-injection tool take to build?
Tool lead time runs 2 to 5 weeks on a released drawing set, and standard components ship in 3 to 7 days. Add 1 to 2 weeks of sequence development if the material pair is new. The boundary window is found on the press, not calculated on paper.
The Bottom Line
Four numbers decide a co-injection tool. A skin lead of 20 to 40 percent, and one gate 2 to 6 mm deep on a 3 mm wall. A skin viscosity 2 to 3 times the core, and a boundary 0.3 to 1.5 mm under the surface. Hold those and the core stays inside its skin for the life of the tool.
When the boundary moves, the sequence moves first and the steel moves last. Cut the core volume, extend the skin lead, and slow unit B at the end of fill. Re-cut the gate only after those moves fail. A tool set up in that order holds a 2 to 5 percent setup reject rate and then runs clean.
KEEP READING
Related Reading
How to Choose Injection Mold Gate Types
Gate land, freeze time and vestige numbers for a 3 mm wall, and what changes when two melts share one gate.
Read articleArticleInsert Molding vs Overmolding: Tooling and Bonding
Where a second material is placed by hand or by robot instead of injected through the same gate.
Read articleServiceInjection Mold Manufacturing
IATF 16949 mold building with co-injection nozzle integration, +/-0.005 mm accuracy and 2 to 5 week lead times.
Read articleArticleHow to Design Molds for Consumer Electronics
Cosmetic surfaces, texture depth and gate placement for enclosures that cannot show a mark.
Read articleNEXT STEP
Ready to Start Your Mold?
Send us your element dimensions or part numbers — our team responds within 24 hours with pricing and lead time.

Written by
Ray ChanMold Buyer's Guide Author · Precision Mold Manufacturing Specialist. Ray helps global importers, distributors and OEMs source factory-direct molds and mold parts.