
How to Design Molds for Robot Part Handling: Drop, Grip and Signals
Table of Contents
A 16 cavity connector tool held its 24 second cycle and still lost 6 to 8 percent of planned output. The picker grabbed sprue instead of part, the sprue slapped finished parts off the chute, and the cell stopped every 40 minutes for a jam clear at 100 to 150 dollars of press time per hour. Extraction failures trace to mold geometry more often than to robot programming, and geometry is the cheapest thing to fix before steel is cut.
The route below covers drop physics, cup sizing, sprue break, ejector timing, sensor wiring, multi-cavity order, cell envelope and the payback arithmetic.
The Snapshot
- Free-fall band of 200 to 500 mm. A 30 g part dropped 300 mm lands at 2.4 m/s carrying 0.09 J, harmless on a 2 to 3 mm UHMW chute liner and damaging on bare steel. Cosmetic faces need kicker pins tilted 5 to 10 degrees.
- One 40 mm cup at -60 kPa holds a 30 g part with 2x margin. Static pull is roughly 75 N against a 0.9 N dynamic need. Textured or oily pick faces double the cup count and tighten the leak budget.
- Air blasts at 0.2 to 0.5 MPa for 0.5 to 1 s. The ejector fires on the mold-open signal with a double-eject dwell of 0.5 s, and the robot enters at 70 to 80 percent of platen opening.
- A picker adds 8 to 15 percent to tooling cost. It removes 1 operator per 3 to 6 presses, pays back in 2 to 5 years, and holds extraction variance inside 0.5 s where a manual station drifts 3 to 8 s.
The Handoff Physics: Drop Height, Landing and Orientation
A drop is the cheapest handoff a cell can run: the part leaves on gravity alone and lands where the cell can find it. The budget is mass: drops work cleanly below roughly 200 g, and a 500 g part falling 300 mm dents bosses on most polycarbonate and ABS geometries.
Landing speed follows v = the square root of 2gh. A height of 200 mm puts a part on the belt at 2.0 m/s, 300 mm gives 2.4 m/s and 500 mm gives 3.1 m/s. Energy scales with mass, so the 30 g part carries 0.09 J at 300 mm and 0.15 J at 500 mm. A 2 to 3 mm UHMWPE liner on the chute absorbs that energy and cuts bounce re-rise to under 30 mm.

Orientation is the part physics does not control. A tumbling part presents any face up, so the drop is only free when the cosmetic face may land down. Where it may not, mold-side geometry fixes it. Kicker pins set 5 to 10 degrees from vertical push the part sideways into a deflector instead of straight down, so it rides a designed slide path into the nest. Deflector and chute angles of 30 to 45 degrees keep parts sliding at 0.2 to 0.5 m/s instead of stacking.
Keep the column clear of guide pins, fittings and the sprue path, with the chute 1.5 part-widths wide and ledge-free. Part and sprue paths should not share a vertical line; a sprue landing on a resting part is the double-drop jam.
Vacuum Cup Rules: Pick Surface, Cup Size and Safety Margin
For parts too large or fragile to drop, a suction arm picks them from the open mold, and this is a seal calculation, not a force calculation. A 40 mm cup seals 12.6 square centimetres. At -60 kPa of vacuum that is about 75 N of static pull against a 30 g part needing 0.3 N in flight, so the paper margin looks infinite until the lip leaks.
Specify the pick surface in the part design, not after it. The cup needs a flat, dry land with 10 to 15 mm of material outside the lip. A textured face in the VDI 27 to 33 range leaks air through the grain and doubles the cup count. An oily release film does the same, which is why release decisions made for manual extraction can silently break an automated one.

Center the cups over the projected center of gravity. A cup off the centerline yaws the part, and a part that spins 20 to 40 degrees in flight misses its nest. The fix for rotation in transit is a second cup spaced 60 to 90 mm away, or a 0.1 to 0.2 mm anti-vacuum break port.
Run vacuum at -50 to -70 kPa with a pressure switch that alarms at -40 kPa. A 0.5 to 1 mm wall oil-cans inward above -80 kPa, so deeper vacuum is not more margin. Cups run NBR or FKM at 30 to 50 Shore A, and a bellows cup with 5 to 10 mm stroke tolerates height differences across a domed face. Blow-off at 0.2 to 0.3 MPa for 0.2 s releases the part into the nest instead of carrying it to the conveyor.
Sprue Break Strategy: Break Ring, Ejector Bank and Slug Well
A cold-runner tool hands the robot two objects per shot, and a picker that lifts part and sprue together changes the drop mass in ways the cell was not sized for. Keep sprue weight at 1.5 to 2 times part weight: below that the sprue flips off the cup mid-transit, above it the sprue slaps parts on landing. Where the runner is heavier than 2x the part, design for separate removal instead of a shared pick.
Separate removal starts at the gate with a break ring. A sprue puller pin or a 0.5 to 1 mm V-groove land concentrates peel stress so the runner shears at the part, not mid-runner where a snapped tail becomes a variable-weight flyer. Gate freeze sequence sets whether the part stays on the core while the sprue lifts, and the mechanics are in the gate type selection guide.
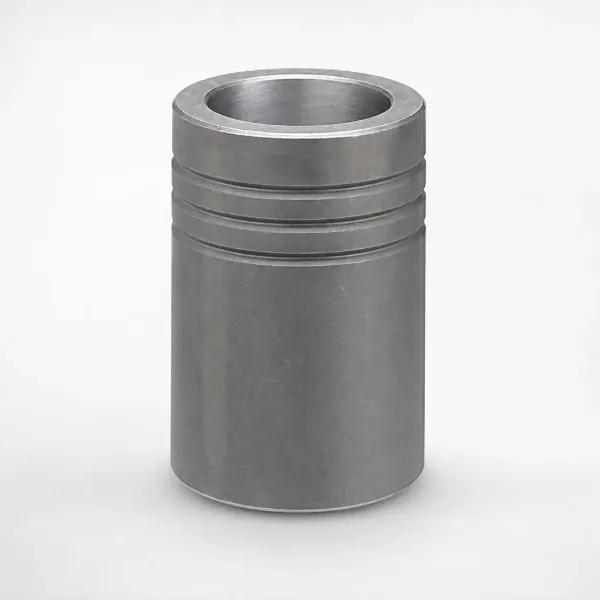
Put the sprue puller on its own ejector bank with its own stroke and timing. A 0.3 to 0.5 s offset between the part bank and the sprue bank separates the two drop events so they cannot collide in the air column, which matters on tall tools with daylight above 1,000 mm.
Keep the cold slug well out of the drop path. A well 1.2 to 1.5 times the slug diameter at the nozzle face captures the 3 to 8 mm slug that would otherwise land on freshly dropped parts. Hot-runner tools want the same feature for 1 to 3 mm nozzle drool.
Ejector-to-Robot Timing and Air Blast Pulses
The ejector does not fire on a robot timer. It fires on the machine mold-open signal, the only event the press and the cell agree on. The sequence: mold opens, ejector advances at 70 to 80 percent of platen opening, dwells 0.5 to 1.0 s at full stroke, returns, and the clamp closes only after the ejector-down switch proves retraction.
Use double-eject with a dwell between strokes on any automated tool. The first stroke breaks the vacuum seal at the cavity face, the 0.3 to 0.5 s dwell lets air rush under the part, and the second stroke throws it clear. A single stroke on a shallow-draft part leaves it hovering on the core, where the next shot crushes it into the parting line.
Back the strokes with air. Blow-off ports around sticky cores run 0.2 to 0.5 MPa in 0.5 to 1.0 s pulses on the ejector-up signal, exiting parallel to the draft face, not at the cosmetic skin. Above 0.6 MPa the blast re-seats a light part on the core, which is how a mold with adequate pins still feeds the robot a part that is not there.
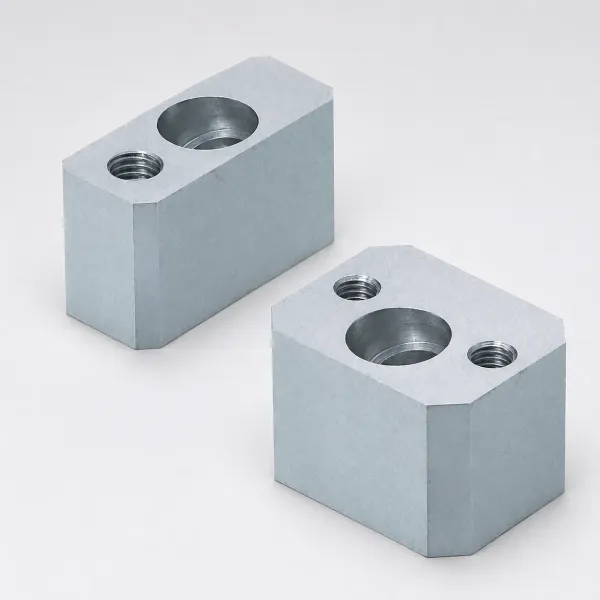
Coordinate the robot entry with the same signals. The arm should reach the pick position between 70 and 85 percent of daylight, linger no more than 0.3 to 0.5 s, and exit before the mold-open signal falls. Six-axis cells typically take 1.2 to 1.8 s for a single pick; linear extractors do it in 0.8 to 1.2 s. Either way, put a mechanical stop or soft-limit in the program at half daylight so a dropped part under a closing tool cannot become a crushed core at 100 to 300 kN of clamp force. The bank layout that timing rides on is in the ejector system design guide.
Sensor Interface Wiring Through the Mold Drop Connector
Every signal the cell needs should terminate on one mold-side drop connector. A tool wired to the press cannot move between machines or ride a quick-change cart, and troubleshooting becomes a cable inspection. The connector carries 12 to 24 V DC sensor power, the fiber and switch inputs, and the blow-off pilot lines, and its body should sit above the mold waterline so condensation never pools in the pins.
Four signals carry most decisions. First, part-presence at the drop chute: a fiber-optic amplifier with 100 to 300 mm range, cross-beam over retro-reflective because a shiny black part swallows a reflective target. Second, vacuum good and vacuum bad as separate inputs so the press can tell "never attempted" from "attempted and lost"; the alarm threshold is -40 kPa, and a lost-vacuum event must stop the next clamp close within one cycle.
Third, mold-open proven at the 95 percent-open position, so the robot enters only when the cavity is visible. Fourth, ejector up and down as two switches; a single switch cannot tell a stuck ejector from a slow one.
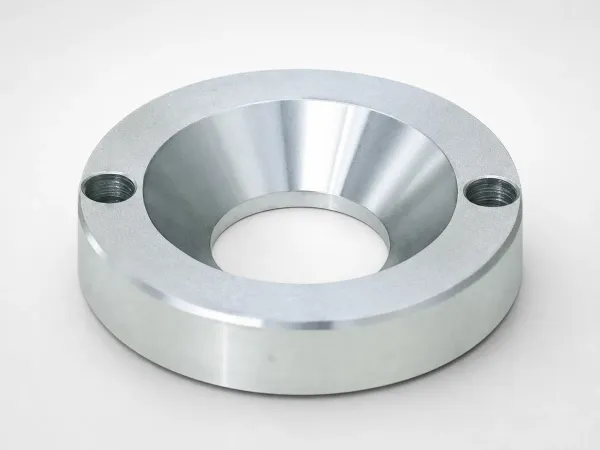
Route the wires like a tool shop, not like an electrical panel. Signal cable and air line run at least 10 mm clear of ejector travel and 25 mm from any heater bore, on high-flex jacketed cable rated for 5 to 10 million bend cycles across moving plates. Strain-relief every 150 to 200 mm, and no splice inside the mold: a broken wire should cost a connector screw, not a plate strip.
Multi-Cavity Drop Order, Diverters and Vision Nests
A 16 cavity tool ejecting at once creates 16 falling objects in one column. They collide and land in unpredictable attitudes, and the collision rate climbs above 8 cavities on a single bank. The fix is time separation: split into two or three ejector banks and stagger strokes by 0.3 to 0.6 s, so groups of 5 to 8 parts drop in sequence. A bank that carries 8 parts should have a stroke 2 to 3 mm longer than a bank carrying 4, so the heavier group is not overtaken in flight.
Where short shots are possible, the mold should say so before the cell inherits the problem. A diverter at the chute sends a flagged part to a reject bin instead of the good nest. The trigger is the press shot-monitor: cushion-stroke or peak-pressure variance beyond 5 to 10 percent flags the shot, and the diverter fires 0.5 to 1.0 s later, timed so the flagged part is airborne over the fork, the same discipline as the short shot troubleshooting guide.
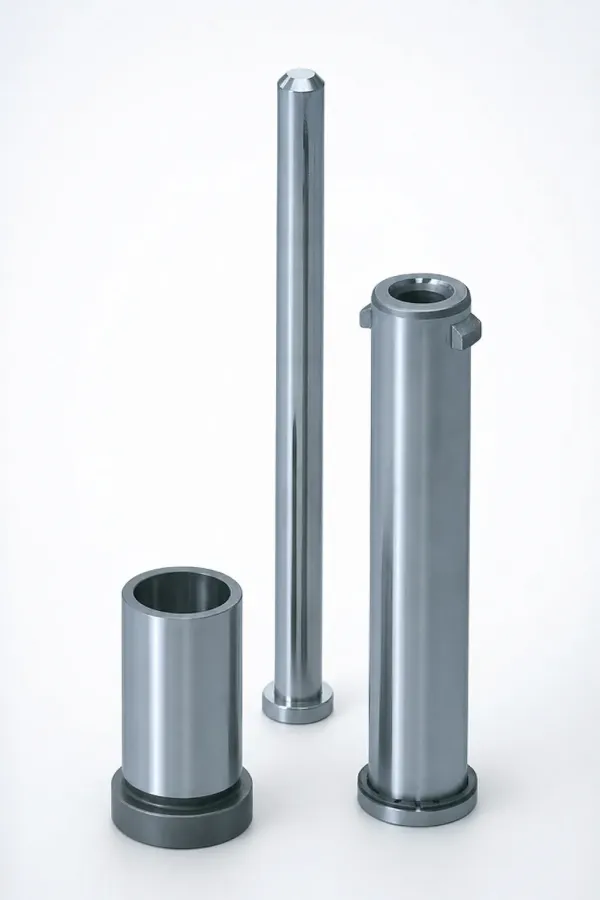
Where parts must land in a known attitude for a second operation, build the nest into the cell. Fixed-pitch pockets at 40 to 60 mm on center, with a 0.5 mm chamfer at every pocket mouth, give a vision system or a blind pick a repeatable target. A pocket 2 to 3 mm larger than the part footprint keeps the part dropping in under 0.2 s; an exact-size pocket becomes a wedging fixture the moment a gate vestige of 1 to 2 mm stands proud. Keep pocket pitch above 40 mm so a 40 mm cup and its lip clearance never straddle two parts at once.
Robot Cell Details: EOAT Change and Clearance Envelope
The mold and the cell must agree on the arm. End-of-arm tooling for a part family belongs on a quick-change plate with a 0.02 to 0.05 mm repeatability coupler, so an EOAT swap is a 5 to 10 minute event, not a 30 to 60 minute re-teach. Every arm-side plate wants a matching steel plate machine-side; a robot retracting into the daylight of a closing press becomes a guard-interlock investigation.
The clearance envelope is arithmetic before it is a simulation. Minimum vertical access equals platen daylight plus part stack height plus 50 to 100 mm of arm clearance, measured to the actual open position of the tool, not the nominal daylight on the machine sheet. A 500 mm daylight machine with a 600 mm tall insert-loaded mold needs 1.2 to 1.5 m of arm height, and the ceiling, gantry and cable bundle must all fit the same drawing.
Horizontal access through the side door needs 150 to 200 mm of reach margin past the far mold face, with heater and connector panels off the door side for six-axis side entry. Schedule insert loading as a stopped-mold event with its own proven sensor, not as a motion through half-open daylight. Where the program also runs quick-change carts, their clamp-side hardware should share the same drop connector standard, not a second parallel one.
Retrofit Checks for a Manual Mold
Retrofit jobs reveal how much of a tool was designed for the operator's hands. Before the cell contract is signed, walk the existing mold against one checklist: the ejector must carry at least 50 percent more contact area than manual release needed, because a hand pull becomes a purely aerial event under automation.
- Add the sprue puller and break ring before buying a bigger cup; a picker cannot sort a fused part from a fused sprue.
- Add the mold drop connector and the four signal circuits; the tool should leave the shop with the wiring labeled.
- Swap one center pin for a kicker pair tilted 5 to 10 degrees wherever a cosmetic face lands on steel.
- Line the chute and pan with 2 to 3 mm UHMWPE; the fix for a 0.15 J impact is one 60 dollar liner.
- Prove the gate vestige under 1 to 2 mm, because a 3 mm tail is the feature that hooks a nest pocket.
- Add the anti-vacuum break port to any face the cup reads oily at the first trial.
Each change costs a few hundred dollars during design and multiples of that once the tool is on the press: an insert re-cut at 500 to 1,500 dollars, a plate strip and reweld for the puller, a shift of downtime for the trial. The cheapest automation project is the one that never becomes a retrofit.
Failure Catalog: Symptom, Cause and Mold-Side Fix
Most automation alarms are mold symptoms wearing robot clothes. The catalog maps each symptom to its cause and mold-side fix, in trial order.
| Symptom at the cell | Physical cause | Mold-side fix |
|---|---|---|
| Part spins in the cup mid-lift | Single cup off the center of gravity; lip leaks on a 25 to 33 VDI texture | Add a second cup 60 to 90 mm away; add the anti-vacuum break port |
| Double-drop: two parts, one shot | Sticky ejector left a part hovering on the core; it falls on the next cycle | Double-eject with 0.3 to 0.5 s dwell; air blast 0.2 to 0.5 MPa at the stuck bank |
| Scratched cosmetic face in the nest | Part lands face-down and slides on steel; cup was never the marker | Kicker pins at 5 to 10 degrees route the face onto 2 to 3 mm UHMWPE |
| Picker returns sprue only | No break ring; part and runner eject fused and the lighter sprue wins the lift | Sprue puller on a separate bank, 0.3 to 0.5 s behind the part bank |
| Vacuum alarm every 20 to 50 cycles | Release-agent film on the pick face; cup lip chipped from a mis-timed dwell | Cut the release agent, move ejection to the draft face, replace the lip on schedule |
| Parts collide above the chute on 16 cavities | One bank, one stroke, 16 parts airborne in the same 0.4 s window | Split into two banks, stagger strokes 0.3 to 0.6 s |
| Vision rejects 3 to 5 percent for attitude | Free tumble into an exact-size pocket; a 2 to 3 mm vestige wedges it | Fixed-pitch nest at 40 to 60 mm, pockets 2 to 3 mm oversize, vestige under 1 mm |
| Chute jam every shift | Cold slug ejected into the drop path; static build-up on bare steel | Move the slug well off the column; line the chute; slope at 30 to 45 degrees |
← swipe to scroll →
Table note: thresholds are typical industry values for small thermoplastic parts from 5 to 200 g on picker and six-axis cells. Confirm against the cup supplier curve and the press signal map before the trial.
One row deserves extra attention: a part that tolerated a visible pin mark under hand extraction becomes a complaint when the nest presents that face to a camera every cycle. The placement rules are in how to prevent ejector pin marks.
The ROI Arithmetic of Automated Extraction
Automation decisions die on spreadsheets, so the numbers belong next to the design rules. A picker-duty tool adds 8 to 15 percent to tooling cost: the second ejector bank, the puller hardware, the connector and wiring, the kicker pins and the sensor brackets. On a 40,000 dollar tool that is 3,200 to 6,000 dollars, and a six-axis cell runs 25,000 to 60,000 dollars installed by reach and payload.
The return side is labor. One automated extraction removes 1 operator per 3 to 6 presses on two shifts. At 45,000 to 60,000 dollars loaded per operator-year, three freed presses return 15,000 to 20,000 dollars a year against a 50,000 to 100,000 dollar cell, the standard 2 to 5 year payback band. Below three presses the arithmetic flips and manual extraction stays honest.
The second return line is variance. A manual station runs 3 to 8 seconds of cycle-to-cycle spread while the operator checks flash and sets parts down; a picker holds 0.3 to 0.5 seconds. On a 24 second cycle over 4,000 production hours, recovering 2 seconds averages 330 extra cycles, and on a 16 cavity tool that is about 5,300 parts of capacity a year.
Quality recovery is the line buyers forget. A gripper and a lined chute touch designed surfaces; a human hand touches a bench, a bin wall and sometimes a second part. Cosmetic rejects at 1 to 3 percent on manual cells fall below 0.5 percent when drop geometry, cup plan and nest are engineered into the tool. At 500,000 parts a year on a 10 dollar part, 1.5 percent of recovered rejects is 75,000 dollars, which repays the tool premium by itself.
Trial and Acceptance of an Automation-Ready Mold
An automation-ready tool earns its sign-off on the robot, not on the bench, and the sequence belongs in the purchase order like the dimensional criteria. Stage one is a dry-cycle walk: the ejector banks fire on the mold-open simulator, the four signal circuits toggle through the drop connector, and the arm crosses the envelope with interlocks proven over 10 cycles.
Stage two is 100 to 300 consecutive shots in auto with a pass criterion of below 1 percent handling stops, each stop logged to its signal: part-presence, vacuum-bad and ejector. Stage three injects faults: pull the vacuum line and confirm the clamp inhibit stops the next close within one cycle, hand a part into the drop column and confirm the diverter or the stop, then dwell the ejector and confirm the double-eject recovery.
Instrumentation decides whether the numbers mean anything. A light gate on the drop column resolves the 0.3 to 0.6 s bank stagger; the shot-monitor trace shows the cushion variance feeding the diverter. The sampling discipline matches the T1 trial and sampling service scope: 30 to 50 shots for dimensional data, then the 300-shot handling run on the geometry that passed.
Hand over a signal map with the tool: every wire number, every switch position, every setpoint such as the -40 kPa vacuum alarm and the 0.3 MPa blow-off regulator, on one page. Documented wiring changes cells in an afternoon; undocumented wiring becomes the contingency line on the next automation quote.
The Bottom Line
An automation-ready mold is four designed interfaces, each with a number attached. The drop is 200 to 500 mm onto lined steel with kicker pins under cosmetic faces. The grip is cups sized to 2x load at -60 kPa on flat dry surfaces, doubled where texture leaks air. The timing is the mold-open signal, double-eject with a 0.5 s dwell and air blasts at 0.2 to 0.5 MPa. The wiring is four proven signals through one drop connector, so the tool owns the evidence.
Those interfaces are steel, spring and wire at 8 to 15 percent of tooling cost, and they return 1 operator per 3 to 6 presses inside 2 to 5 years. DieStrike builds automation-ready tools to IATF 16949 with ±0.005 mm mold accuracy, ±0.002 mm on EDM and jig-grinding, 120+ machines and 2 to 5 week tool lead times, with standard components shipping in 3 to 7 days.
KEEP READING
Related Reading
How to Prevent Ejector Pin Marks
Pin placement, contact pressure and air assist that keep marks off visible faces.
Read articleArticleHow to Reduce Injection Molding Cycle Time
Where the seconds live in cooling, eject and mold open, and what automation changes.
Read articleArticleMold and Machine Compatibility Checklist
Daylight, stroke, tie-bar spacing and utility hook-ups verified before the tool ships.
Read articleServiceMold Design and DFM Review
IATF 16949 design reviews that carry drop, grip and signal rules before steel is cut.
Read articleNEXT STEP
Ready to Start Your Mold?
Send us your element dimensions or part numbers — our team responds within 24 hours with pricing and lead time.

Written by
Ray ChanMold Buyer's Guide Author · Precision Mold Manufacturing Specialist. Ray helps global importers, distributors and OEMs source factory-direct molds and mold parts.