
How to Specify Heat Treatment for Mold Steel
Table of Contents
A tooling engineer sent a 16-cavity connector mold to a heat treater with one line on the drawing: H13, 52 HRC. The treater chose the cycle, austenitized at 1030 °C, and tempered once for 2 hours at 540 °C. Cavity inserts came back scattered from 45 to 49 HRC, and one measured 0.22 mm oversize across a 120 mm length. The mold was booked for a T1 trial in 3 weeks.
The correction cost 6 days and a recut of two inserts, plus a second furnace load at double the first price. The failure was not the steel and not the furnace. The spec stopped at a hardness number. The preheat steps, quench route, temper count, temper temperature and distortion allowance were left to someone else's judgment.
Heat treatment decides whether a cavity holds dimension, whether a gate resists abrasive wear, and whether a thin core survives the first 100,000 cycles. This guide covers delivered state, hardness targets, hardening routes, tempering, size change, stress relief and EDM white layer. It closes with surface treatments, the 8-line spec sheet and verification. Figures are typical published values for the grade families named, unless marked as DieStrike capabilities. The grade ladder itself is covered in our 12 mold steel grades compared guide.
The Snapshot
- Prehardened P20 ships at 28-32 HRC and skips post-machining heat treatment. Annealed H13 arrives near 200 HB and hardens to 44-52 HRC after machining.
- Vacuum hardening with 2-6 bar nitrogen quench holds distortion near 0.05-0.15% by section. Oil quench cools faster but bends and grows parts more.
- H13 takes a double or triple temper at 540-620 °C, each hold 2 hours minimum, to reach 44-52 HRC with useful toughness.
- Finish EDM leaves a white layer of 0.002-0.015 mm that must be removed or re-tempered 25-50 °C below the original temper.
- Nitriding adds a case of 0.1-0.4 mm at 900-1200 HV. PVD coatings deposit 2-5 µm films at 200-500 °C.
Why Heat-Treatment Specs Fail on the RFQ
A hardening spec fails in four patterns, and none of them shows up at the drawing review. The first is the hardness-only note, like the H13, 52 HRC line in the opening story. The furnace needs roughly 8 decisions, and a hardness target covers 1 of them. Austenitizing temperature, quench medium, quench pressure, temper count, temper temperature, temper hold time, tolerance and test location all stay open.
The second pattern is a target that no grade in the drawing can hold. A spec asking for 58-62 HRC on an S136 cavity cannot be met. That stainless family tops out near 52 HRC in normal hardening practice. The same target is routine on D2 and M2 inserts. Hardness is a property of the grade and cycle pair, not a dial the furnace turns.
The third pattern is a delivered-state mismatch. The drawing says 52 HRC final. Yet the blank was ordered annealed at 200 HB and machined soft. The heat treatment, EDM and finish grinding costs were never in the quote. Cutting the same insert after hardening runs 2-3 times the cycle time per finishing operation, and that delta lands as a change order.

The fourth pattern is missing verification. Without a witness area, a hardness map and a furnace load chart, the buyer accepts a Rockwell reading from an unmarked corner of one plate. Load scatter of ±1 to ±2 HRC is normal across a vacuum furnace load, so single-point testing proves little. This guide fixes all four patterns at the RFQ stage, where a paragraph of text costs nothing.
Delivered State: Prehardened vs Annealed Steel
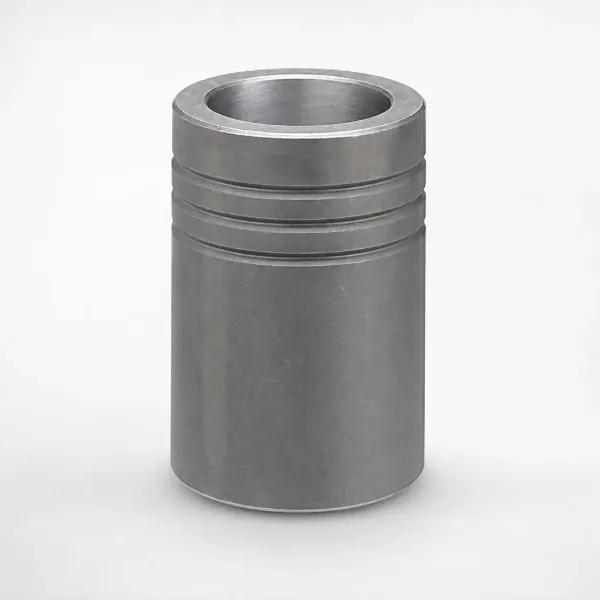
Every mold steel RFQ must say which delivered state the blank arrives in, because it decides the whole machining sequence. Prehardened grades arrive already quenched and tempered. P20 runs 28-32 HRC, 718H runs 33-38 HRC, and 738 reaches 40 HRC. The shop machines them at delivery hardness, and the mold ships with no post-machining heat treatment at all.
Annealed grades arrive soft and machinable, then harden after the cutting is done. Annealed H13 sits near 200 HB, and annealed S136 near 230 HB maximum. The shop roughs and semi-finishes the geometry in that soft state, leaving 0.3-0.5 mm of grinding stock per side on datum faces. Inserts then go out for vacuum hardening and tempering. Finish grinding, EDM detail work and polishing happen after the steel is hard.
The decision rule is a hardness ceiling, not a preference. Below 38 HRC, a prehardened grade costs less and ships faster. The heat treatment step, its distortion risk and its queue time disappear. Above 40 HRC, buy annealed stock and harden after cutting. Ordering P20 annealed to harden it later usually costs more than switching to a grade built for that route.
Two RFQ consequences follow. First, name the incoming hardness range with the grade, so the machining quote matches the real cutting conditions. Second, state which features are machined before hardening and which are finished after, so grinding stock and heat-treatment distortion are budgeted once. Our P20 vs H13 vs S136 guide compares these families in detail.
Hardness Targets by Steel Grade and Application
Set the hardness target from the load case, then pick the grade that can hold it. Four tiers cover nearly every injection mold.
Standard thermoplastics at normal volumes run prehardened at 28-38 HRC. Glass-filled, high-temperature and high-cycle programs run 44-52 HRC on hot-work steel. Optical, medical and corrosive service runs 48-52 HRC on stainless. Wear details such as gates, shutoffs and slide faces run 54-62 HRC on high-carbon and high-speed grades.
| Steel | Typical Hardness (HRC) | Application Driver | Delivered State |
|---|---|---|---|
| P20 / 718H / 738 | 28-32 / 33-38 / up to 40 | General cavities, standard thermoplastics | Prehardened |
| H13 / H11 (1.2344 / 1.2343) | 44-52 | Glass-filled resins, high mold temperature, thin cores | Annealed, harden after machining |
| S136 / 1.2083 stainless | 48-52 | Optical, medical, corrosive off-gassing | Annealed, harden after machining |
| 440C | 54-60 | Gate inserts, slide wear faces, small cavity details | Annealed, harden after machining |
| D2 (1.2379) | 58-62 | Punches, wear pads, shutoff edges, cold-work details | Annealed, harden after machining |
| 18Ni300 maraging | 48-52 after aging | Thin cores, complex geometry, near-zero distortion | Solution treated, age after machining |
← swipe to scroll →
Table: typical published hardness ranges by grade family. Final targets are set per application and verified per part.
Match the tier to the resin. A 30% glass-filled nylon or PBT program erodes a 28-32 HRC gate by 0.05-0.10 mm in 100,000 cycles. Part weight and pressure drop drift with the gate. The same program on H13 at 48-52 HRC multiplies gate life several times over. High-temperature resins such as PEEK and LCP push mold surface temperature toward 150-200 °C, and the cavity steel must keep its hardness there.
State the tolerance on the target, typically ±1 HRC for critical cavities and ±2 HRC for general plates. Name the test location too, because a reading on a witness pad differs from a reading on a polished cavity face. Medical and optical inserts that demand the stainless tier are covered in our medical mold steel guide.
Hardening Routes: Vacuum, Oil and Atmosphere
The quench route sets distortion, surface condition and achievable hardness. Vacuum hardening is the default for mold inserts because parts come out bright, with no scale and no decarburized skin. Typical practice loads the furnace through preheat steps near 650 °C and 850 °C, austenitizes at grade temperature, then quenches with nitrogen at 2-6 bar. Sections above roughly 75-100 mm need 5-6 bar, or the cooling rate drops below what the grade requires.
| Grade | Austenitizing (°C) | Quench | Temper (°C) | Typical Result (HRC) |
|---|---|---|---|---|
| H13 (1.2344) | 1010-1060 | Vacuum gas 5-6 bar, or oil | 540-620, double or triple | 44-52 |
| S136 (1.2083) | 980-1050 | Vacuum gas or oil | 180-250 for peak hardness | 48-52 |
| 440C | 1010-1065 | Vacuum gas or oil | 150-400 | 54-60 |
| D2 (1.2379) | 1010-1065 | Vacuum gas 5-6 bar | 200-540, double | 58-62 |
| 18Ni300 | Solution 820-840, age 480-500 | Air or gas, low distortion | Age 3-6 hours | 48-52 |
← swipe to scroll →
Table: typical published cycle windows. Verify against your heat treater and the steel mill certificate before committing.
Oil quenching pulls heat out faster than low-pressure gas, which suits thick sections and high-alloy grades, but it costs distortion and a cleaning step. Parts emerge oily and often need a wash before tempering, and the quench severity is harder to repeat load to load. Specify oil only when the section size defeats gas pressure.
Atmosphere furnaces still harden large prehardened plates and non-critical blanks. They scale the surface, which is fine when the buyer allows 0.5-1.0 mm of stock removal afterward, and unacceptable on finished geometry. Salt bath hardening remains in service for H13-class hot-work grades in some shops, but vacuum has replaced it for mold work. Write the route on the drawing so the treater does not pick for you.
Tempering, Size Change and Distortion Allowance
Tempering starts the moment the quench ends. The part reaches the furnace while still near 50-70 °C, never after an overnight wait. Untempered martensite is brittle enough to crack from handling. Each temper runs at least 2 hours at temperature, and each pass converts retained austenite. H13 and D2 take two tempers minimum, while M2-class high-speed steel takes three.
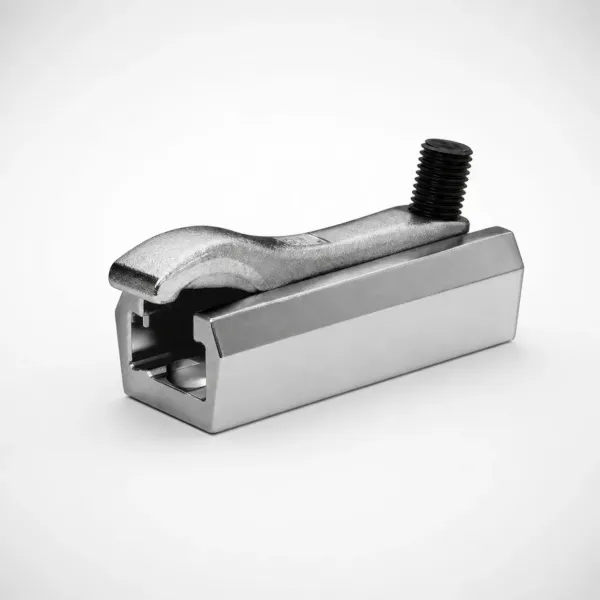
Size change is physics, not error. Forming martensite grows the steel, and typical linear movement runs 0.05-0.15% by geometry for hardened tool steel. A 300 mm H13 plate grows 0.15-0.45 mm across its length. Long thin cores grow and bow more, asymmetric sections move more, and holes close slightly on oil-quenched parts. Maraging steel breaks the rule, aging with near-zero movement in the 0.01-0.05% range, which is why thin complex cores use it.
Budget the movement instead of fighting it. Leave 0.3-0.5 mm per side of grinding stock on datum faces, and keep symmetrical stock removal around thin walls. Specify the distortion allowance in the RFQ so both sides accept the same number. Add a line that prohibits straightening a hardened insert by pressing. Straightening loads a hardened cavity with tensile stress it was never tempered to carry.
Two cycle notes close the section. Sub-zero treatment at -75 to -196 °C sits between quench and temper. It reduces retained austenite on D2 and 440C when maximum hardness is the goal. A low first temper at 150-200 °C followed by the final temper at 540-620 °C is a common H13 sequence for toughness-critical cores. State temper count and temperatures, not just a final hardness.
Stress Relief: When It Belongs in the Machining Sequence
Rough machining removes stock and releases the internal stress locked in the rolled or forged block. On an annealed blank, that stress shows up as movement during the finish cut if nothing is done between roughing and finishing. A 250-400 mm plate that skips stress relief can move 0.08-0.25 mm. The movement appears when the last 2-3 mm per side is taken. That is how a cavity floor ends up 0.20 mm low after the mold is assembled.
Stress relief belongs between roughing and semi-finishing on every heat-treated route. Typical practice holds hot-work grades at 540-650 °C for 1 hour per 25 mm of section, 2 hours minimum. Cool slowly to below 300 °C before the next cut. The roughing pass leaves 2-5 mm per side, the block relaxes, and the semi-finish pass cuts stable material. Finish stock of 0.3-0.5 mm survives to the hardening step.
Prehardened plates need the same discipline at a lower temperature. P20-family steel stress-relieves at 480-550 °C, held below its own tempering temperature so the plate stays above 28 HRC. Verify hardness after the cycle, because an over-temperature hold can drop a prehardened plate 1-2 HRC and quietly change every cutting and wear assumption downstream.
Welding also earns a stress relief. Repair welds on annealed or prehardened steel get a sub-critical stress relief at 480-600 °C by grade. The weld heat-affected zone carries its own locked stress. On already hardened inserts, any post-weld temper stays 25-50 °C below the original temper temperature. Write the stress relief into the machining sequence on the RFQ, not as an afterthought at the furnace.
EDM White Layer and the Post-EDM Temper
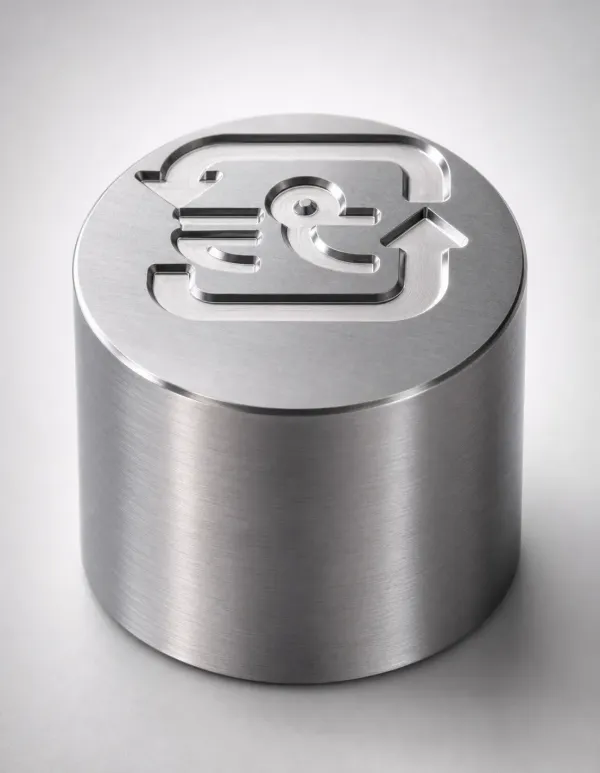
Sinker EDM melts and re-solidifies a thin skin on the cut surface, called the white layer or recast layer. Finish EDM leaves 0.002-0.015 mm of it, and roughing passes can leave 0.025 mm or more. The layer is hard, brittle and laced with micro-cracks, often above 800 HV on hardened H13. It sits on steel that the spark locally re-austenitized, and it cracks out on load-bearing corners or polished faces. The choice between machine types is covered in our sinker EDM vs wire EDM guide.
Two defenses exist, and the spec should say which applies. The first is removal: polishing, micro-blasting or abrasive flow removes 0.01-0.03 mm down to sound steel. Removal is mandatory on optical, medical and shutoff surfaces. The second is the post-EDM temper, a 1-2 hour cycle at 25-50 °C below the original temper temperature that restores the heat-affected zone. Use it when the white layer is machined or polished away in a later step anyway and the subsurface zone still needs recovery.
Sequence discipline cuts the risk: rough EDM, post-EDM temper, then finish EDM and polish. On stainless tempered at 180-250 °C, a post-EDM temper must stay below that range, or the core softens. Mechanical removal of the white layer is the safer route on those grades. Never nitride an EDM surface without removing the white layer first, because the recast skin blocks case formation. Micro-cracks also open under the nitriding cycle, so the layer always comes off first.
Nitriding and PVD: Surface Hardening After Heat Treatment
Surface treatments add wear resistance without changing the core. Nitriding diffuses nitrogen into the surface to build a case of 0.1-0.4 mm on mold steels. Nitrided H13 reaches 900-1200 HV at the surface. Gas nitriding runs at 480-560 °C for 10-80 hours depending on the depth target. Plasma nitriding runs at similar temperatures with a thinner, more controllable compound layer and less distortion.
One rule governs every nitriding cycle: the process temperature stays 30-50 °C below the last tempering temperature, or the core softens. H13 tempered at 580-600 °C takes gas nitriding at 500-550 °C without losing core hardness. Stainless tempered at 180-250 °C cannot take a 500 °C gas cycle. Those parts use plasma nitriding at lower temperature, or re-temper higher first. Nitrided cavities typically outwear untreated steel 2-4 times on glass-filled programs.
PVD applies a thin hard film instead of a diffused case. Deposition runs at 200-500 °C depending on the coating and process, and films land 2-5 µm thick. Titanium nitride measures near 2300 HV, chromium nitride near 2000 HV, and titanium aluminum nitride near 3300 HV, all typical published values. The film copies the substrate, so polish the surface first. PVD will not hide a grind mark.
Choose the treatment by failure mode. Gate and slide wear on abrasive resins responds to nitriding or PVD. Corrosive off-gassing and release problems respond to PVD films on polished stainless. Verify the treatment temperature against the core temper first, especially above 48-52 HRC. Record the treatment on the drawing, because a later weld repair will strip or damage the case.
The Heat-Treatment Spec Sheet: 8 Line Items
A spec sheet that survives the furnace floor has 8 line items, and each one closes a question the treater would otherwise answer himself. Write it into the mold RFQ or onto the part drawing, and reference it by number in every heat-treatment call-out.
Line 1 is the grade and its standard, AISI H13 or DIN 1.2344, plus the mill certificate requirement. Line 2 is the delivered state and incoming hardness range, annealed near 200 HB or prehardened at 28-32 HRC. Line 3 is the final hardness target with its tolerance, 48-52 HRC ±1 HRC for critical cavities, plus the test location. Line 4 is the route, vacuum with 5-6 bar nitrogen quench, oil, or atmosphere.
Line 5 is the austenitizing window, for example 1010-1060 °C for H13 with the preheat steps noted. Line 6 is the full temper cycle: count, temperature, hold time and order, such as double temper at 580 °C for 2 hours each. Line 7 is the distortion and size-change allowance, 0.05-0.15% by geometry, with the grinding stock of 0.3-0.5 mm per side that absorbs it. Line 8 is post-treatment scope: stress relief after roughing, EDM sequence, post-EDM temper, surface treatment, witness area and required documentation.
Omit line 6 and the treater tempers once. Omit line 4 and a 120 mm thick block may go to an oil quench that bends it. Omit line 8 and the EDM department burns a cavity that was already final-ground. Our how to write a mold RFQ guide shows where these 8 lines sit inside the full RFQ document.
Verification: Reports, Hardness Testing and Witness Areas
Heat treatment is verified three ways, and the RFQ should demand all three. The first is the furnace load report: a time-temperature chart from the load thermocouple, the batch number, the grade certificate and the temper log. Furnace uniformity typically holds ±5-10 °C within the hot zone, so the chart proves the soak, not just the setpoint.
The second is a hardness map, not a single reading. Rockwell C testing follows ASTM E18, and each reading needs a flat, clean test spot. Report hardness at multiple positions per insert and at both ends of a multi-cavity set. Load scatter of ±1 to ±2 HRC is normal across a furnace. Shallow cases and small features switch to Rockwell 15N or Vickers, converted per ASTM E140 with its own ±1-2 point uncertainty.
The third is the witness area. Add a test pad of roughly 12 x 12 mm on a runner block or plate corner. It travels with the load and ships in the mold book, and it never marks a cavity face. Incoming and outgoing hardness checks then run on the same surface condition. Pad location and size belong on the drawing in line 8 of the spec sheet.
On receipt, run three checks: hardness at the witness area, dimensions against the allowance, and a visual pass for scale or residue. File the report in the mold book with the steel certificates. When a gate erodes early at shot 80,000, or a cavity shows up 0.15 mm short at T1, the documented cycle points at the cause.
FAQ: Mold Steel Heat Treatment
Q1. What exactly should I write on the drawing for a hardened cavity?
At minimum: grade and standard, delivered state, final hardness with tolerance, quench route, temper cycle and distortion allowance. For an H13 cavity, write: 1.2344, annealed blank, harden 1010-1060 °C, vacuum gas quench at 5-6 bar. Double temper at 580 °C for 2 hours each. Target 48-52 HRC ±1 HRC, allowance 0.05-0.15%.
Q2. Is vacuum hardening always the right choice?
For finished mold geometry, usually yes, because gas quenching controls distortion and leaves a clean surface. Oil quenching suits sections over roughly 75-100 mm that need faster cooling, at the cost of more movement. Atmosphere furnaces are for plates and blanks that carry 0.5-1.0 mm of later stock removal.
Q3. How much size change should I allow on a 300 mm insert?
Plan for 0.15-0.45 mm across a 300 mm length at the 0.05-0.15% typical range, more on long thin cores and less on compact blocks. Leave 0.3-0.5 mm per side of grinding stock on datum faces and machine the finish geometry after hardening. Maraging 18Ni300 ages with near-zero movement for the thin-core cases.
Q4. Do I need a post-EDM temper if I polish the white layer away?
If polishing removes the full 0.002-0.015 mm recast layer on a finish-EDM surface, the brittle skin is gone. A 1-2 hour post-EDM temper at 25-50 °C below the original temper restores the heat-affected zone. Keep it on load-bearing corners and shutoffs. On stainless tempered at 180-250 °C, removal beats re-tempering.
Q5. Can I nitride an insert that is already hardened to 48-52 HRC?
Yes, if the nitriding temperature stays 30-50 °C below the last temper. H13 tempered at 580-600 °C takes gas nitriding at 500-550 °C and keeps its core. Stainless tempered at 180-250 °C needs plasma nitriding at lower temperature or a higher re-temper first. Remove any EDM white layer before nitriding so the case forms evenly.
The Bottom Line
A heat-treatment spec that stops at a hardness number leaves 7 of 8 decisions to the furnace operator. Write the grade, delivered state and HRC target with a ±1 to ±2 tolerance. Add the quench route and the full temper cycle. Include the distortion allowance of 0.05-0.15% and 0.3-0.5 mm grinding stock per side. Each line costs a sentence on the RFQ and saves a furnace load, a recut or a T1 surprise.
Buyers who skip these lines accept load scatter of ±1 to ±2 HRC and white layers of 0.002-0.015 mm on polished faces. They also accept plates that move 0.08-0.25 mm between roughing and finishing. Buyers who write them get cavities at 48-52 HRC that hold dimension, gates that survive glass-filled programs, and a mold book that explains every reading. DieStrike is IATF 16949 certified and runs 120+ machines, holding standard tolerances at ±0.005 mm and precision work at ±0.002 mm. It hardens cavity steel to HRC 62 and builds production molds in 2-5 weeks for connector programs at OEMs like TE Connectivity, Amphenol and Luxshare.
KEEP READING
Related Reading
Mold Steel Guide: P20 vs H13 vs S136: Which One Do You Need?
P20 at 28-32 HRC, H13 at 44-52 HRC, S136 stainless to SPI A1: which grade your resin, volume and finish justify.
Read articleSTEEL GUIDE9 Mold Steel Selection Errors in Automotive Tooling
Nine mold steel errors: 28-32 HRC cavities on glass-filled resin, skipped stress relief, targets no grade can hold.
Read articleRFQ GUIDEHow to Write a Mold RFQ: 10 Fields That Get You Better Quotes
A 10-field mold RFQ missing heat-treatment lines invites guesswork: grade, delivered state, HRC target, temper cycle.
Read articleMANUFACTURINGSinker EDM vs Wire EDM: Which Cuts Your Mold
Sinker EDM leaves a 0.002-0.015 mm white layer. Wire EDM cuts tall cores. Compare recast depth and corner radius.
Read articleNEXT STEP
Ready to Start Your Mold?
Send us your element dimensions or part numbers — our team responds within 24 hours with pricing and lead time.

Written by
Ray ChanMold Buyer's Guide Author · Precision Mold Manufacturing Specialist. Ray helps global importers, distributors and OEMs source factory-direct molds and mold parts.