
How to Build a Mold Acceptance Checklist Before You Pay the Balance
Table of Contents
A 12-cavity connector mold shipped after a "successful" T1. The 65 percent balance cleared on the packing crate, and the first production week flashed three cavities at 0.15 mm parting-line mismatch. Rework cost six weeks and roughly $9,000 in steel, and the launch slipped a full quarter. A mold acceptance checklist with numeric pass criteria is the only point where a buyer still holds the lever. Sign it gate by gate before the balance moves, and this article gives the criteria in numbers.
We cover five acceptance gates with measurable pass lines. It adds the payment mechanics that attach them to the purchase order, the defect classes that stop shipment or the balance, and the acceptance meeting itself.
The Snapshot
- Dimensional gate. CMM on the drawing datums, every cavity touched, at least two cavities fully measured, critical features at Cpk 1.33 or better, parting-line mismatch under 0.05 mm, core-pin offset under 0.10 mm.
- Process gate. 30 to 100 consecutive cycles at the quoted cycle time with no intervention, cycle within 10 percent of target, part weight within 1 percent across the run, and good parts at ±5 percent cushion and ±10 °C melt.
- Hardware gate. Ejector stroke with 2 mm of daylight left, no rub pattern over 0.5 mm wide on any steel, serial, part number and cavity numbers engraved on the B-side, lift points tagged with a stamped safe working load.
- Money mechanics. 30 to 40 percent down, the balance against signed acceptance, a 30 to 60 day correction window, and a warranty shaped as 12 months or 500,000 shots, whichever comes first, with wear parts excluded.
Why the Balance Is Your Only Lever
A custom mold contract typically pays 30 to 40 percent down and the balance before or at shipment. After the balance clears, every correction becomes a favor request. The shop holds the steel, the schedule and your launch date. Before the balance clears, the same correction is a line item on a page you both initialed.
The schedule math makes this worse than it looks. A standard replacement insert or hardened component ships in 3 to 7 days, but a re-cut cavity on a 12-cavity tool runs through grinding, EDM and a fresh trial. Budget 2 to 5 weeks for that loop even at a fast shop, and that window lands directly on your launch.
Acceptance criteria written after the trial are negotiable. Criteria written into the purchase order before the first cutting are contractual. The checklist below belongs in your RFQ and in your PO, not in a wish you form when the crate arrives. That paperwork position is the difference between a punch list the shop owes you and a favor you hope for.
Gate 1: Dimensional Acceptance
Gate 1 answers one question: does the mold make parts that measure inside the drawing, on the datums the drawing specifies. Run the CMM against the datum features named on the print, not against whatever fixture the shop grabs. If datum scheme, true position or profile callouts are unfamiliar, the primer on mold GD&T basics for buyers explains what each control actually binds.
Set the sampling rule before the trial, in writing. Every cavity gets measured. At least two cavities get the full feature list, not a spot check of five easy dimensions. Critical features feed an assembly or a seal, so they carry a capability requirement of Cpk 1.33 or better. In practice that means 25 to 30 measured shots per cavity, so the spread is real.
Two mold-specific numbers separate an accepted tool from a postponed one. Parting-line mismatch between core and cavity must stay under 0.05 mm; above that, the step shows on the parting line of every shot and texture cannot hide it. Core-pin offset must stay under 0.10 mm, or wall thickness varies around the hole and the part will never hold its coaxiality. Both are measured on the part, not estimated on the steel.
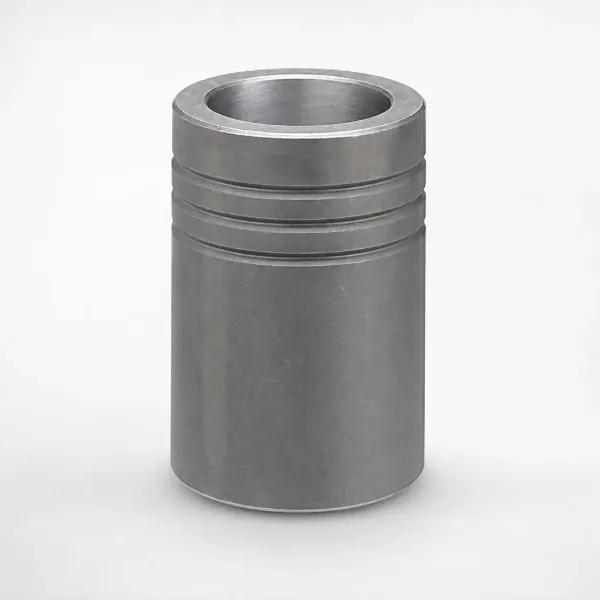
Tie every number to a report you keep. The dimensional summary belongs in a first article inspection report signed by whoever ran the CMM, with the raw layout attached, not a spreadsheet with rounded values. A precision shop will quote its own mold accuracy: ±0.005 mm on mold features, ±0.002 mm on EDM and jig-ground work. The report should show the part-level result that capability produced.
Gate 2: Cosmetic and Class A Surfaces
Cosmetic acceptance fails most often for one reason: nobody wrote down how the check happens. Define the viewing condition in the checklist and you remove the argument. Class A surfaces are judged from 0.5 m under D65 daylight-simulating light, at an angle that rakes the surface, with the part at room temperature and free of mold release.
The pass line on that surface is blunt. No sink marks, flow lines or weld lines visible at the defined viewing condition. Gate vestige stays inside the agreed area and under the agreed height, typically 0.3 to 0.5 mm proud, and never on a Class A face unless the drawing says so. If gate location moved during tooling, the new position needs a written sign-off, not a shrug.
Texture is a sample, not a word. Match the molded surface to the SPI or mold-tech master sample under the comparison card, check the flow direction of the pattern, and sign the card at the meeting. A mold polished to SPI-2 then bead-blasted off-spec passes a phone conversation and fails a customer audit. The retexturing loop costs 3 to 7 days plus a fresh trial shot set.
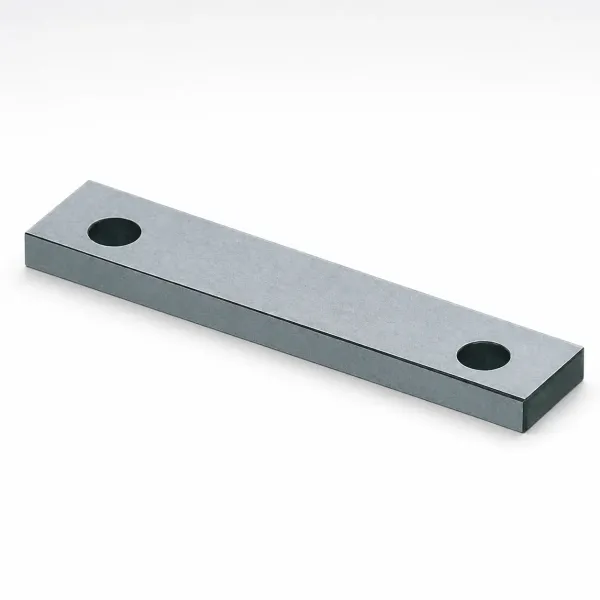
Record gloss, too, if the part is painted or bonded nearby. A 60-degree gloss meter reading within ±5 GU of the approved master keeps a texture change from quietly becoming a paint-adhesion problem three months later. Photograph each cosmetic finding with the comparison card in frame. Photos settle arguments that adjectives never close.
Gate 3: Process Window and Cycle Stability
A mold that makes one good shot in a clean shop makes nothing on a Tuesday night shift. Gate 3 tests the tool as a production device, not a prototype. The pass line: 30 to 100 consecutive cycles at the quoted cycle time with no intervention. No purging the runner by hand, no re-seating a part stuck on a core, no operator thumb holding the strip during a slide reset.
Three numbers decide the run. Cycle time stays within 10 percent of the quoted target, because a 21 second result on a 18 second quote is a 14 percent capacity loss before anyone measures a part. Part weight stays within 1 percent across the run, checked on 10 consecutive shots from each cavity; a 2 percent drift means the feed or the venting is hunting. And the run happens at the supplier's press with your resin and your colorant, not a neutral surrogate. The trial mechanics are covered in how to run a mold trial; acceptance is the half where the numbers become contractual.
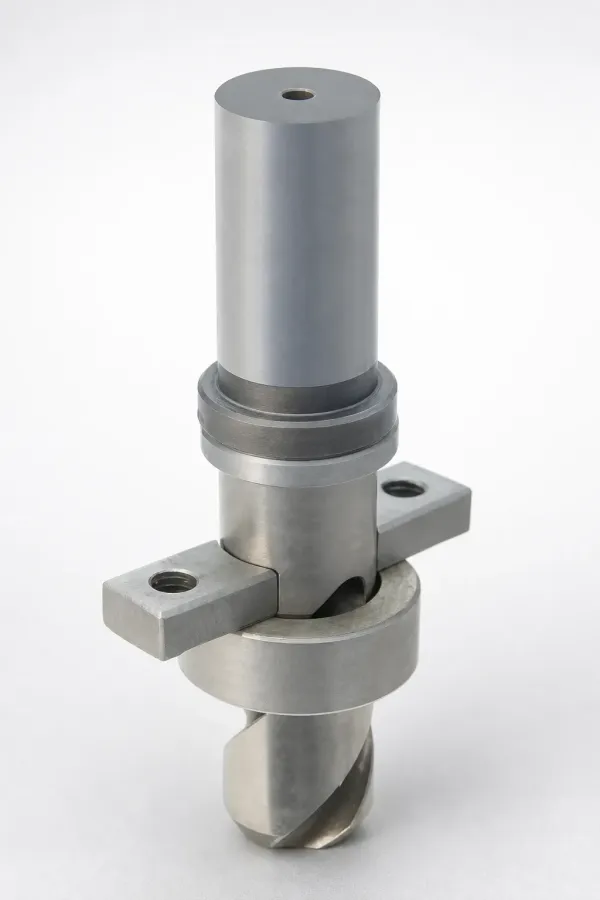
Then prove the window. A mold that only makes good parts at one machine setting is a mold with a hidden defect. Document that the tool still runs to spec at ±5 percent cushion position and ±10 °C of melt temperature, holding the same cycle time at the corners. If cavity 7 flashes when the melt setpoint runs 8 °C hotter, that is a venting or clamp-load problem. You want that finding on the checklist before the balance, not after the first audit.
Add a fill-balance check on multi-cavity tools. Gate or runner weight per cavity must sit within 2 percent of the mean. Otherwise the parts carry a dimensional spread no CMM sampling plan can hide. Record cushion, back pressure, screw RPM, mold temperature zones and cycle during the run and staple that process sheet into the acceptance packet.
Gate 4: Tooling Hardware and Marking
Gate 4 inspects the steel itself after the run: the parts that break production, not the parts that ship. Open the tool and walk it with the checklist. Slides, lifters and angle pins must run on grease at the interval documented in the maintenance schedule, with no scuffing on the wearing faces. A slide that seizes at shot 40,000 was accepted dry.
Ejection gets its own line. Full ejector stroke must clear the part with at least 2 mm of daylight left before the plate bottoms out, and every pin must return flush with no sticking. Verify by cycling the ejector by hand through its full stroke on the open tool. Check that vents are clear after the run, because a 0.02 mm film of release-agent residue closes a vent road and the burn marks return with no process change.
Any steel face showing a rub pattern wider than 0.5 mm fails this gate. A rub that size means the shut-off is carrying clamp load it was never ground to carry, and it will grow into flash. Look for it at parting lines, deep cores and lifters, with a machinist's blue on the high spots if the shop wants to argue.
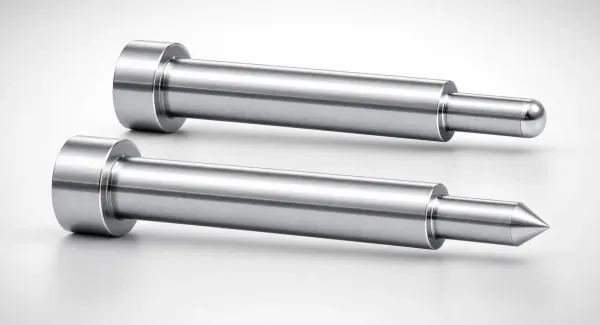
Marking is the cheapest gate item and the most often skipped. The mold carries its serial number, your part number and cavity numbers engraved on the B-side, not on a sticker. Every insert that will be interchanged in the field carries its own number and a fit reference. Lift points are rated for the tool mass and carry a stamped safe-working-load tag. A mold that cannot be lifted safely gets dropped, or rigged to a thread never meant to hold 800 kg.
Close the gate at the safety items your EHS team will check. Lifting eye threads must engage hardened bosses. No hose or heater cable may run where a fork strike reaches it. Cap the water fittings and leak-test them at shop pressure, typically 3 to 6 bar.
Gate 5: Documentation and Handover
A mold without as-built paperwork is a black box that you cannot repair, transfer or insure. Gate 5 is the document list, and every line on it has a name, not a category. The packet starts with as-built 2D drawings and the as-built 3D model, with every insert change, gate move and shut-off correction shown on revision. The mold you accept must be the mold on the drawing, or the next repair shop will machine against geometry that left the building at T2.
Then the steel and heat-treat record per cavity insert. List grade and hardness in HRC, with top shops running hardened cavity inserts up to HRC 62, and attach the certificate traceable to the lot. Add the maintenance schedule with intervals in shot counts, plus the spare-parts list with each part numbered, the quantity you buy and the replenishment lead time. Standard replaceable components ship in 3 to 7 days when they are catalogued. Nobody orders a spare ejector pin from a drawing that does not list one.
The trial evidence closes the packet. Include the trial video or logged run showing the accepted 30 to 100 cycle sequence, and the runner-to-part weight ratio. Prove the gate and runner removal method on production parts, whether that is a cut-off gate on the tool, a degating station, or a manual trim with a stated cycle cost. Every number a future owner needs to restart the tool belongs in this box.
The Five-Gate Checklist in One Table
The working document is one page per gate with a target, a method and a fail action on every line. Copy this into your PO as an appendix before the order is signed. The fail action column is what makes the table contractual: it says what happens when a line misses, so nobody invents the consequence at the meeting.
| Gate | Item | Target | Method | Fail action |
|---|---|---|---|---|
| 1 Dimensional | Critical feature capability | Cpk 1.33 or better | CMM, 25 to 30 shots per cavity, drawing datums | Class 2, correct and re-measure |
| 1 Dimensional | Parting-line mismatch | Under 0.05 mm | Feeler or optical comparator on the part | Class 2, re-grind shut-off |
| 1 Dimensional | Core-pin offset | Under 0.10 mm | Wall thickness at 4 clock positions | Class 2, re-cut bushing bore |
| 2 Cosmetic | Class A sink and flow lines | None visible | 0.5 m viewing under D65 light, raked angle | Class 2, process or steel fix |
| 2 Cosmetic | Gate vestige | Inside agreed area, 0.5 mm proud max | Depth gauge on 10 parts | Class 3, polish unless on Class A |
| 2 Cosmetic | Texture match | Equal to signed SPI or mold-tech master | Comparison card, side by side | Class 2, re-texture insert |
| 3 Process | Continuous run | 30 to 100 cycles, no intervention | Witnessed run at quoted cycle | Class 1 if tool cannot run |
| 3 Process | Cycle time | Within 10 percent of target | Timed log, 20 consecutive shots | Class 2, cooling or venting fix |
| 3 Process | Part weight spread | Within 1 percent across the run | Scale, 10 shots per cavity | Class 2, balance gates or vents |
| 3 Process | Process window | Good parts at ±5 percent cushion, ±10 °C melt | Corner-shot matrix, witnessed | Class 2 before acceptance |
| 4 Hardware | Ejector daylight | 2 mm minimum clearance | Full-stroke hand cycle, open tool | Class 2, re-cut pin pockets |
| 4 Hardware | Rub pattern on steel | Nothing over 0.5 mm wide | Visual plus machinist blue on shut-offs | Class 2, re-grind before shipping |
| 4 Hardware | Marking and lift points | Serial, part number, cavities on B-side; SWL tag | Visual against the engraving spec | Class 3, engrave before crate |
| 5 Documentation | As-built 2D and 3D | All insert changes shown, revision signed | File check against the tool | Class 2, stop balance until issued |
| 5 Documentation | Spares and maintenance list | Part numbers, quantities, 3 to 7 day items flagged | Packet review at the meeting | Class 3, deliver in 14 days |
← swipe to scroll →
Table note: thresholds are common industry acceptance values. Write your own drawing limits into the table before signing; where the print is tighter than the default, the print wins.
Money Mechanics: Deposit, Balance and Warranty
A checklist without a payment trigger is a suggestion list. The market shape is 30 to 40 percent down at purchase order and the balance against acceptance. That single clause is where the five-gate page lives. Write the release condition into the PO: the balance falls due within 7 days of both parties initialing all five gate pages. The acceptance meeting acquires teeth.
Add a correction window of 30 to 60 days, stated in the PO with the defect classes that stop payment named inside it. Without a window, a defect found after crating becomes a warranty argument. With one, it is a Class 2 line on gate 1 and the balance simply does not move until the re-measured CMM report lands. Many buyers also hold 5 to 10 percent as a retention released when the as-built document packet passes review, which keeps gate 5 honest.
| Milestone | Share of contract | Release trigger | What it protects |
|---|---|---|---|
| Down payment | 30 to 40 percent | Signed PO plus frozen part data | Steel purchase, machine time, design slot |
| Balance | 50 to 65 percent | All five gate pages initialed, zero Class 1 or 2 | The buyer's only lever before shipment |
| Retention, optional | 5 to 10 percent | As-built packet accepted: 2D, 3D, spares, schedule | Gate 5 documentation completeness |
| Correction window | No cash, 30 to 60 days | Opens at first trial, closes at final sign-off | Class 2 fixes at the shop's cost |
← swipe to scroll →
Table note: shares are common commercial shapes for custom tooling. Fix the numbers in your own PO; the structure matters more than the split.
Warranty language needs the same numeric discipline. The shape that matches market reality is 12 months or 500,000 shots, whichever comes first, on the mold body against defects in material and workmanship. Wear parts sit outside it: ejector pins, sleeve pins, springs, lifter faces and coatings are consumables with a documented life. A three-year no-limit warranty is either decoration or a priced-in risk premium. Read the exclusions, then compare the warranty to the maintenance schedule, because a real warranty is a spare-parts list and a regrind interval, not a sentence.
The Defect Class Ladder
Findings need a class or the meeting dissolves into severity arguing. Three classes cover every line on the five gates. Class 1 stops shipment: the tool does not leave the building, and nothing about a Class 1 finding is negotiable by email.
The Class 1 list runs short. A cracked cavity block. Ejection that seizes or crushes the part. A shut-off that cannot be ground to close under clamp. A tool that will not fit the quoted press platen or daylight.
Class 2 stops the balance: any gate line missing its number. Examples are a critical feature under Cpk 1.33, parting-line mismatch over 0.05 mm on any cavity, cycle time 12 percent over target, or texture not matching the signed card. It also covers as-built 3D still showing the pre-correction gate position. Class 2 findings get a correction plan dated inside the 30 to 60 day window, at the shop's cost, plus a re-run of exactly the gate page the finding sits on.
Class 3 is the punch list. Think a missing cavity number on one insert, one spare pin short of the agreed quantity, handling scuffs in paint, or an unsigned drawing revision block. Class 3 does not stop money; it stops the file from closing. Set a delivery clock in the meeting itself. Fourteen days is a common line, and route the fixed items with the next shipment you were making anyway.
The class definitions belong in the PO appendix next to the checklist. Get the supplier to agree before the steel is cut that a cycle 10 percent over target is a Class 2 finding. That supplier will not argue at the meeting that it is a resin problem. Tie each finding to its gate page and the correction scope writes itself. Re-measure gate 1, re-run gate 3, re-inspect gate 4.
Running the Acceptance Meeting
The meeting happens at the supplier's press, with your resin, your colorant and your inserts if the part carries them. A neutral surrogate resin hides sink on glass-filled grades and fake flash on flame-retardant ones; a mold accepted on an alternate material is accepted twice. Bring the drawing set, the checklist, the signed texture card and a scale. If the program skipped the supplier vetting stage, the shop-selection review in how to audit a mold supplier lists the metrology and record-keeping evidence the meeting leans on.
Sequence the day in four blocks. Run the witnessed 30 to 100 cycle block first, while the tool is hot and the presses are free. Then open the steel for gate 4 once the tool is cool enough to touch, measure against the checklist, and sit down to the paperwork. Sign one page per gate with initials on every line, both parties, at the table. A page initialed after you fly home is a page nobody remembers arguing.
Retain 20 golden samples at sign-off. Bag them by cavity, label with the mold serial, the shot date, the cycle and the process sheet number, and store two sets, one at each site. Those parts arbitrate every future dispute about drift, coating wear or a repair shop that cut against the wrong geometry. Alongside them, collect the warrant-style paperwork: the signed dimensional report, the steel certificates, the trial video, the process sheet. A shop running T1 sampling to an IATF 16949 trial protocol hands these over as a standing package; at anyone else, they are your checklist lines.
Now the trap that ends most failed buy-offs: accepting on the trial-shot parts you never saw made twice. A hand-trimmed, three-shot sample from a cooled tool with a molder feeding it good material proves the machine, not the mold. Every acceptance number in this article exists to defeat that trap. No continuous run, no acceptance. If the schedule cannot wait for 30 cycles, the program is not tight, your contract is.
Mold Acceptance Checklist FAQ
Q1. When should the acceptance criteria be written down?
Before the purchase order, ideally inside the RFQ. Criteria written after the trial are negotiating positions; criteria in the PO are contract terms. The five-gate appendix costs one page and decides who pays for every correction window.
Q2. What mold warranty language matches reality?
Twelve months or 500,000 shots, whichever comes first, on the mold body for material and workmanship defects, with wear parts excluded and a maintenance schedule attached. That is the common market shape. Open-ended guarantees hide either exclusions or a priced-in risk premium.
Q3. Is it legitimate to hold the balance over a Cpk of 1.10 on one feature?
Yes, if Cpk 1.33 on critical features is written in the PO. It is a Class 2 finding under the ladder: the shop corrects the steel or the process and re-measures within the correction window. Without the written threshold, it is an argument. With it, it is a line item.
Q4. How long should re-acceptance take after a Class 2 fix?
Budget 2 to 5 weeks for a re-cut insert loop through grinding, EDM and a fresh trial. Give 3 to 7 days when the fix is a standard replaceable component. A shop quoting overnight re-acceptance on a cavity correction is quoting an intention, not a schedule.
Q5. Who inspects the mold at arrival if I buy from overseas?
Two rounds. First, the gate pages signed at the supplier's press before shipping. Second, an incoming check inside 7 days of arrival, against the retained golden samples and the dimensional report. If a number moved in transit, the crate photos and the as-built packet say whether it is a shipping claim or a warranty claim.
The Bottom Line
Mold acceptance is five gates with numbers attached. Gate 1 is the CMM on the drawing datums: Cpk 1.33 on critical features, mismatch under 0.05 mm, core-pin offset under 0.10 mm. Gate 2 judges cosmetics at 0.5 m under D65 light against a signed texture card.
Gate 3 is the witnessed 30 to 100 cycle run inside 10 percent of quoted cycle time, part weight inside 1 percent, and a documented ±5 percent cushion, ±10 °C melt window. Gate 4 walks the steel: 2 mm ejector daylight, no rub over 0.5 mm, engraving and tagged lift points. Gate 5 delivers the as-built packet you can actually run the tool from.
The balance sits behind the initialed pages. Write the 30 to 60 day correction window and the defect classes into the PO, so every finding names what stops payment. Acceptance on a checklist beats acceptance on a handshake in every dispute that follows.
DieStrike builds and trials precision molds and stamping dies to IATF 16949 across 120+ machines. We hold ±0.005 mm on mold features and ±0.002 mm on EDM and jig-ground work, with hardened inserts to HRC 62. Tool lead times run 2 to 5 weeks and standard components ship in 3 to 7 days, so a re-acceptance loop has a schedule, not a hope. Programs for TE, Amphenol, Luxshare and Dongshan are signed off against exactly this kind of gate checklist. The trial video, the dimensional report and the golden samples ship as a standing package before any crate closes.
KEEP READING
Related Reading
How to Audit a Mold Supplier: On-Site Checklist
The shop audit that comes before the build, and the paperwork you re-verify at buy-off.
Read articleArticleHow to Set Up a Mold Spare Parts Inventory
The spare list, quantities and lead times that belong in the handover package.
Read articleIndustryMold Making Industry Solutions
Precision mold building for connector, automotive and electronics programs.
Read articleServiceMold Trial & T1 Sampling
T0/T1 trials, dimensional reports and first-article data from an IATF 16949 shop.
Read articleNEXT STEP
Ready to Start Your Mold?
Send us your element dimensions or part numbers — our team responds within 24 hours with pricing and lead time.

Written by
Ray ChanMold Buyer's Guide Author · Precision Mold Manufacturing Specialist. Ray helps global importers, distributors and OEMs source factory-direct molds and mold parts.